Kitchen appliances and utensils:
- glass or enamel bowls / pans of 1.5-2 liters for whipping ingredients - 2 pcs.;
- blender with a whisk - 1 pc.;
- silicone or wooden spatula - 1 pc.;
- a glass of 200 g - 1 pc.;
- teaspoon - 1 pc.;
- fork - 1 pc.;
- tablespoon - 1 pc.;
- cutting board - 1 pc.;
- kitchen knife - 1 pc.;
- bread knife - 1 pc.;
- a bowl or cup 150-200 g - 1 pc.;
- collapsible baking dish to dia. 22-23 cm - 1 pc.;
- pan for a steam bath (small, based on available) - 2 pcs.;
- dish dia. 25-30 cm - 1 pc.;
- oven;
- microwave;
- parchment cut out on the inner diameter of the form;
- dessert plates for serving.
Ingredients
| Egg | 5 pieces. |
| Sugar sand | 225-250 g |
| Salt | 3 g (1 pinch) |
| Flour | 180 g |
| Ripe banana | 3-4 pcs. |
| Butter 72% fat | 200 g |
| Condensed milk | 600 g |
| Cocoa powder | 50 g |
| Milk | 40 g |
| Lemon | 1 PC. |
| Boiled water | 6-8 Art. l |
| Tap water | depends on the selected pots for the steam bath |
Step cooking
Cooking dough
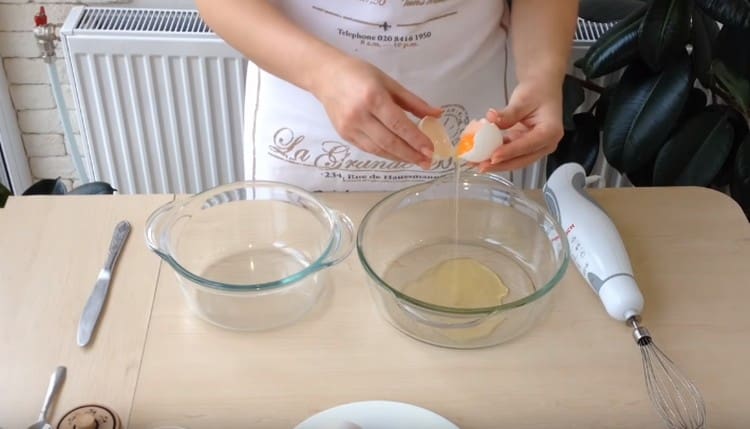
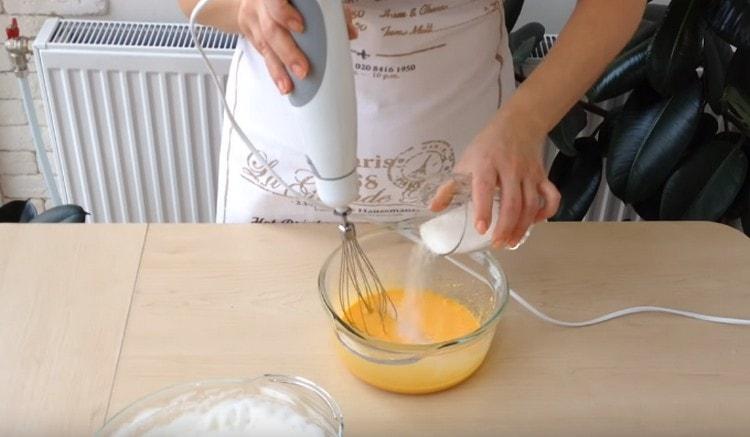
- From 5 eggs, separate the whites from the yolks in two different bowls or pans.

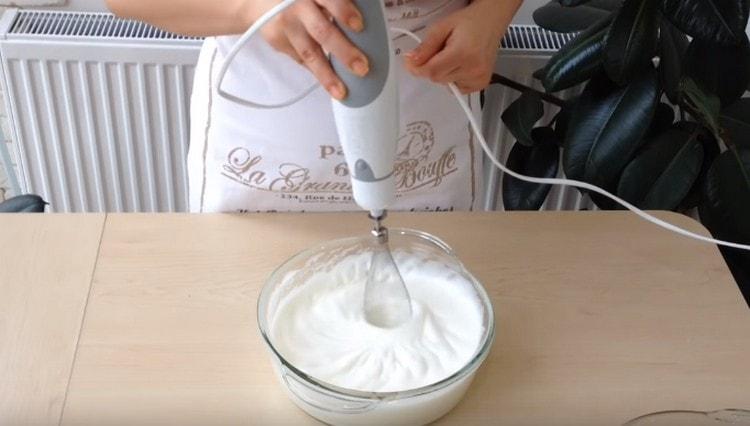
- Whisk the whites with a whisk with a whisk until a stable foam is formed.
- Add 1 pinch of salt and whisk with a blender for another 4-6 seconds.
- Pour 75 g of sugar into the protein at the same time whisking it with a blender to a semi-liquid state.
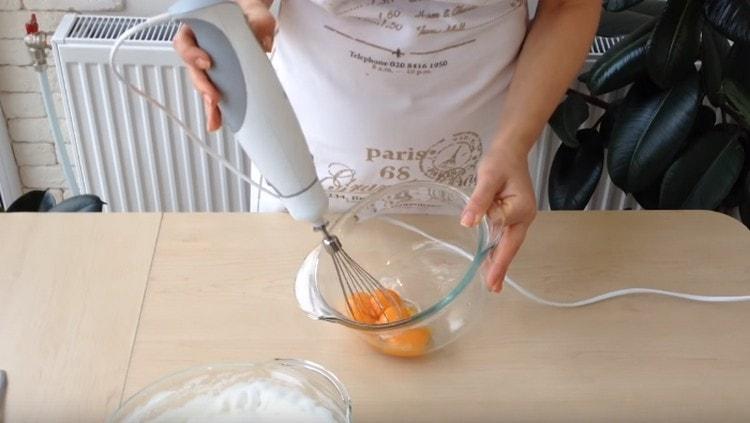
- Beat the yolks with a blender until the color and fluffy condition lighten.
- Pour 75 g of sugar into the yolks in pieces, whisking the blender to the state of foam and dissolving the sugar.
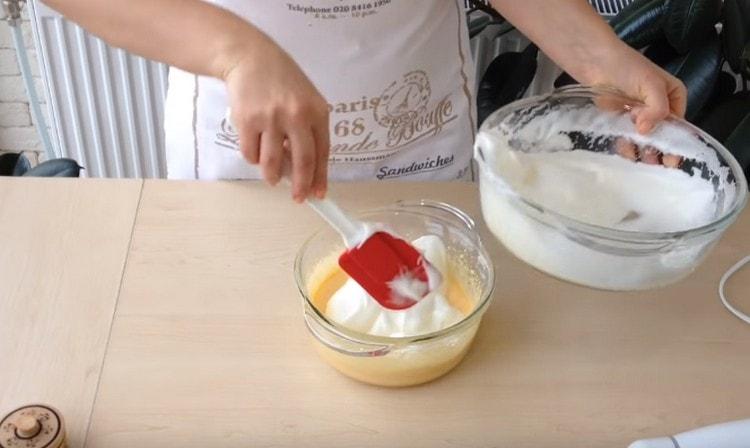
- Whipped proteins are added to the yolks and mixed with a spatula in one direction until a homogeneous mass is obtained.
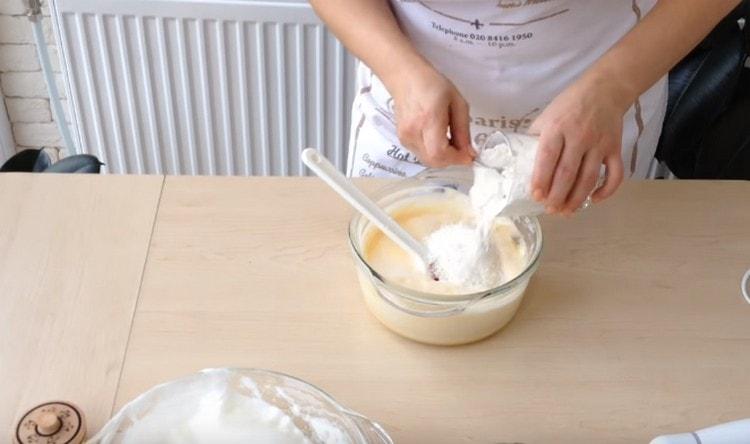
- Add 100 g of flour to the resulting mass, slowly and thoroughly mix the mixture in one direction.
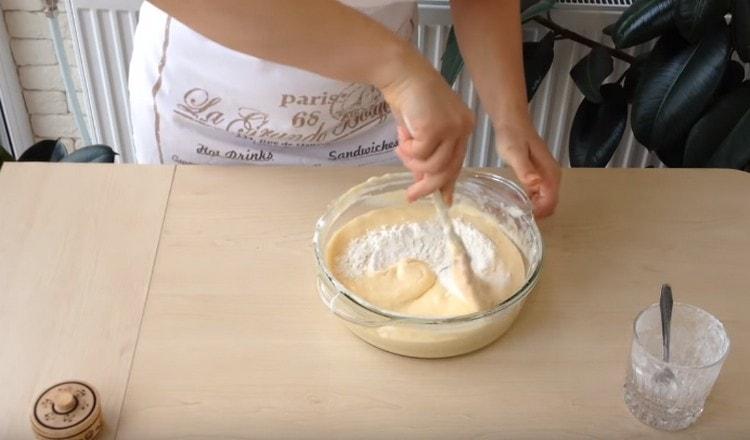
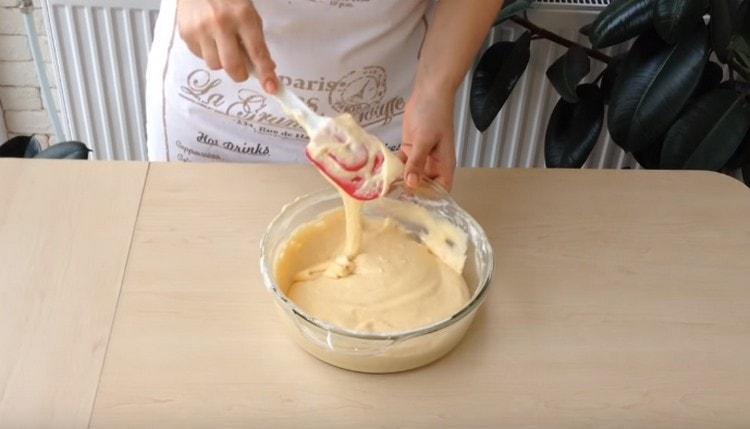
- We put the finished mixture with a spatula in a container with the remains of whipped protein, add 80 g of flour and mix in the same way as in the previous paragraph to a state of homogeneous mass. We interfere for no more than 20-30 seconds, otherwise the biscuit will turn out too dense.
- We leave the finished dough to breathe for 5-7 minutes. until bubbles form on its surface.
- Preheat the oven to 180-190 degrees. After the formation of bubbles, we put the cut out parchment on the bottom of the form and spread the dough into it with a spatula. Evenly level and send to the oven for 25-35 minutes. The first 20-25 minutes Do not open the oven, otherwise the biscuit will settle. We check readiness with a toothpick, as well as by the presence of a browned crust. When the biscuit is ready, we take it out of the oven to cool in shape. Another option is to let the oven stand for 5-7 minutes, then slightly open the oven until it cools.


Cooking stuffing
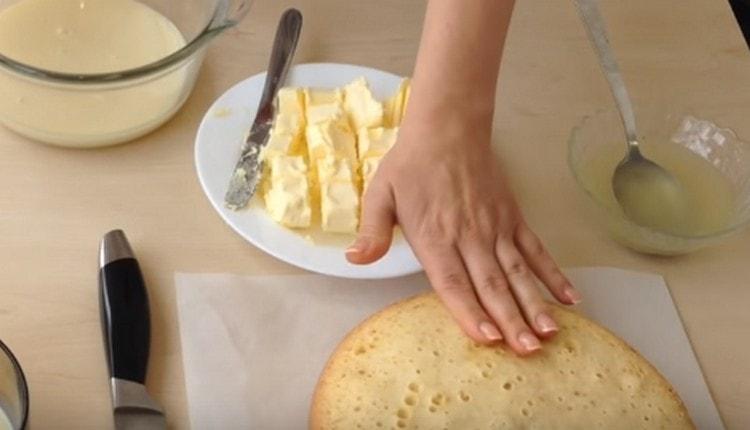
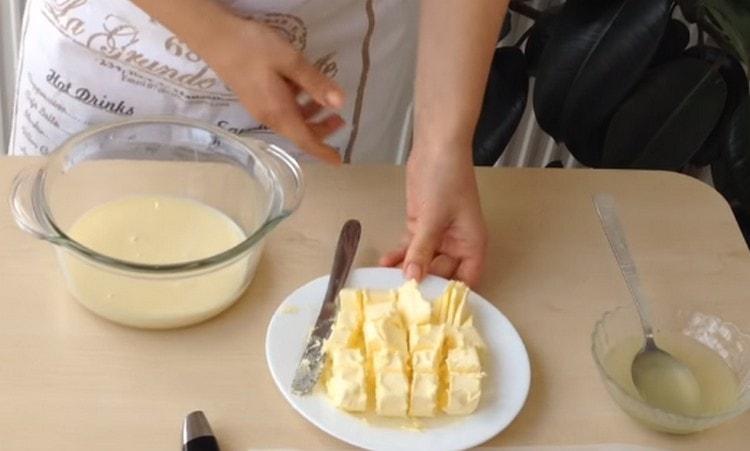
- We take out the butter from the refrigerator to heat until it softens.
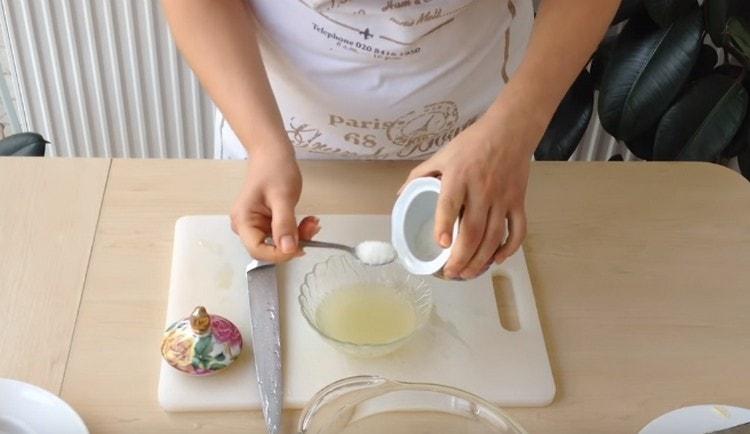
- In a bowl or cup, pour 6-8 tbsp. l boiled water. Cut the lemon and squeeze the juice out of it into the water.
- Add sugar 6-7 tsp to the mixture. (40 g), mix with a spoon, put a little heat in the microwave for better dissolution of sugar. In the future, this will serve as an impregnation for cakes.
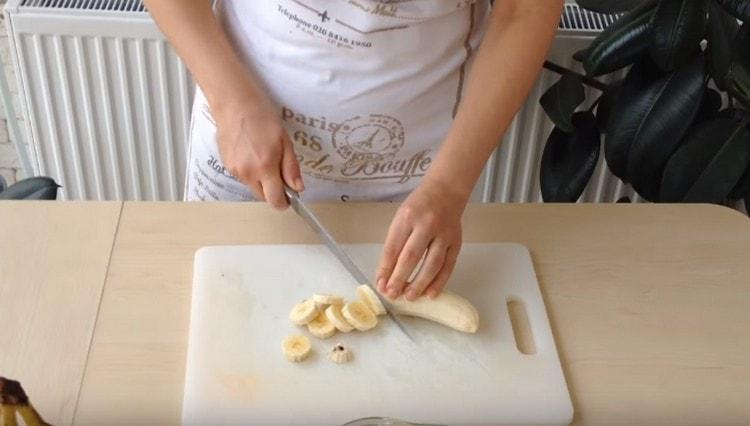
- We clean and cut 2-3 pcs. banana rings 1 cm thick, and 1-2 pcs. cut the banana lengthwise into 4 parts, cut across into slices 0.5 cm thick.
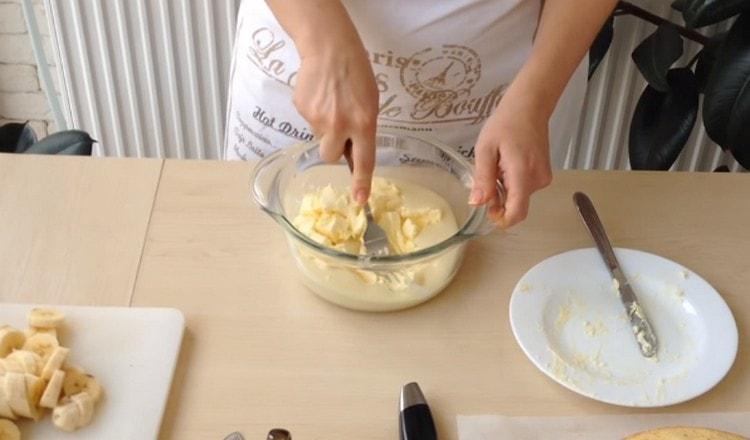
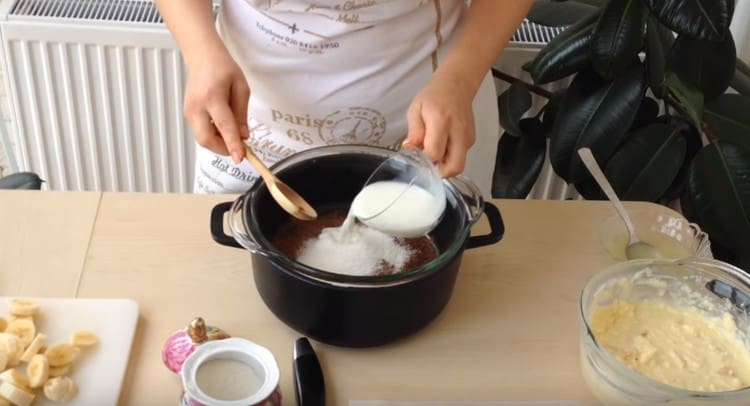
- Pour 300 g of condensed milk into a pan or bowl of 1.5-2 l, add 200 g of soft butter to it, knead with a fork and mix the butter with condensed milk until smooth.
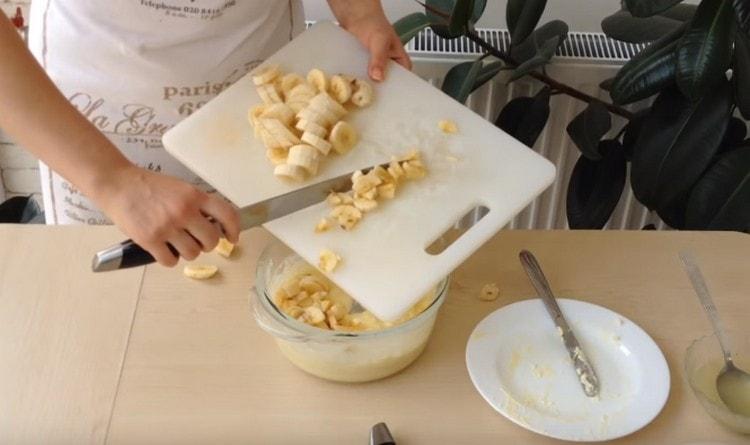
- Finely chopped bananas are sent to a mixture of condensed milk and butter. Mix the mixture with a tablespoon.
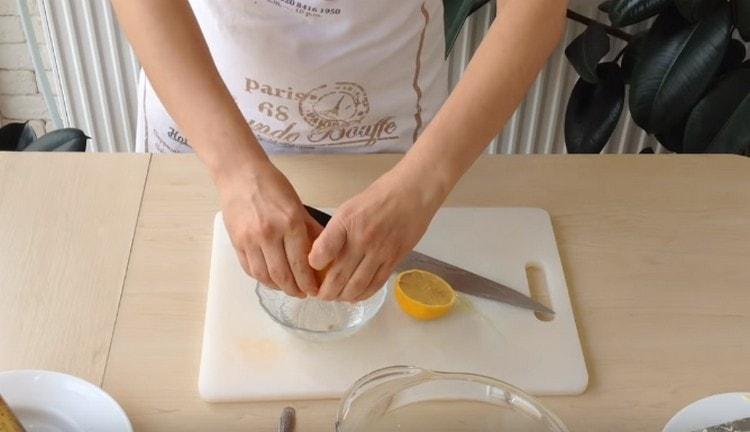
Did you know?To squeeze as much juice out of a lemon as possible, it needs to be rolled on a flat surface, clutching your hands with your palm. The lemon will become softer, squeezing the juice will be easier.
Cooking cream
- Pour water from the tap into the larger of the pots for the steam bath so that the bottom of the smaller pot does not come into contact with the water after it is installed in the bath.
- Pour cocoa into a smaller saucepan, add sugar 75-100 g (3-4 tbsp.) And pour 40 g of milk. Mix with a spatula, put on medium heat.
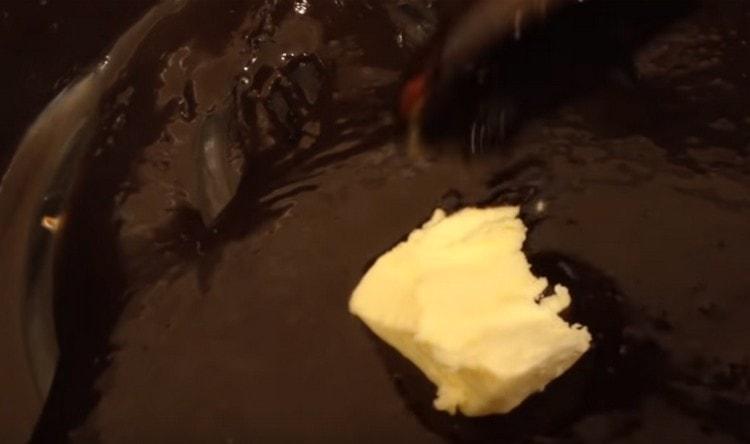
- In the process of boiling a steam bath, cocoa will brew, the process takes about 10 minutes. Stir the mixture periodically with a spatula. Add 15 g of butter to cocoa, mix with a spatula until dissolved, remove the pan.

We make a cake
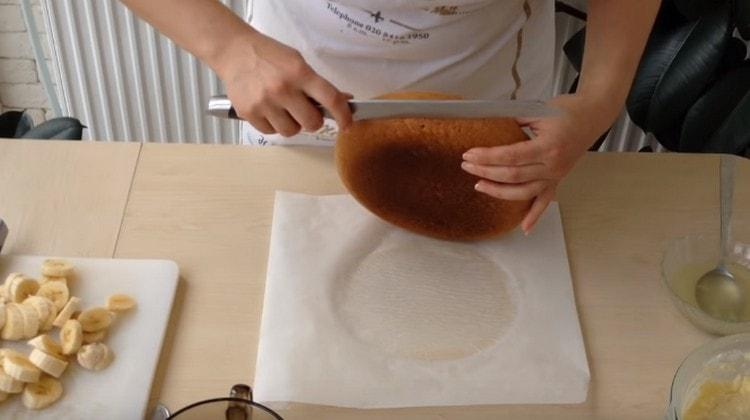
- We take the cake out of the mold and outline in a circle cakes (3 pcs.), Cutting a baked crust with a bread knife, then we cut it completely.
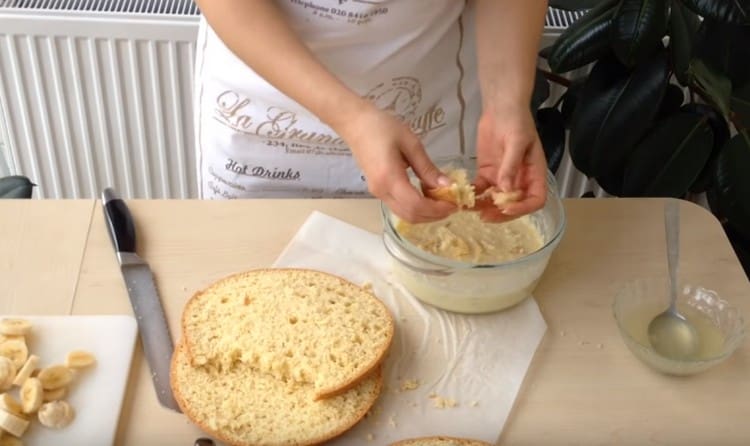
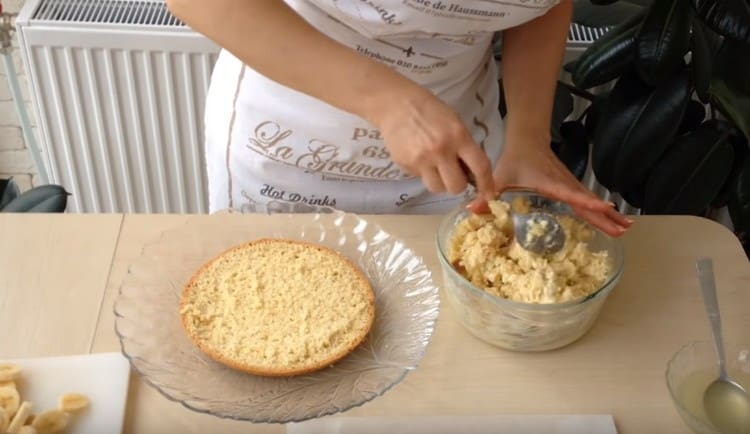
- Tear the middle crust with your fingers into small pieces and put them in a bowl with a mixture of condensed milk, bananas and oil.
- A tablespoon mix the biscuit pieces with the mixture. Leave for 5-10 minutes.
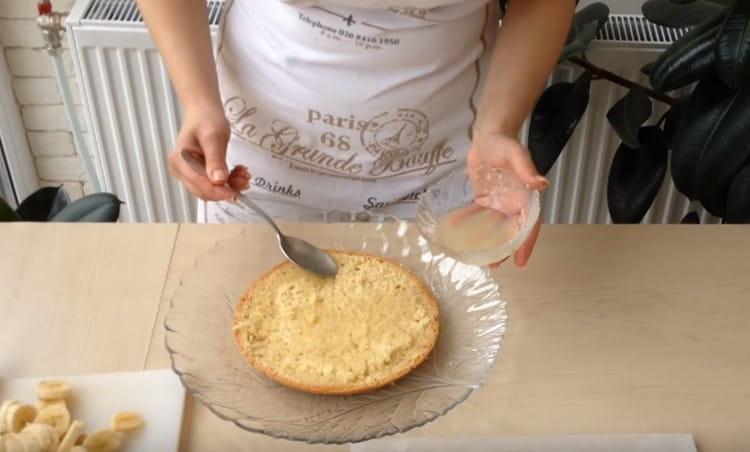
- Put the bottom cake on the dish. The impregnation of lemon and sugar with a tablespoon is evenly distributed on the sides of the slice of the lower and upper cakes.
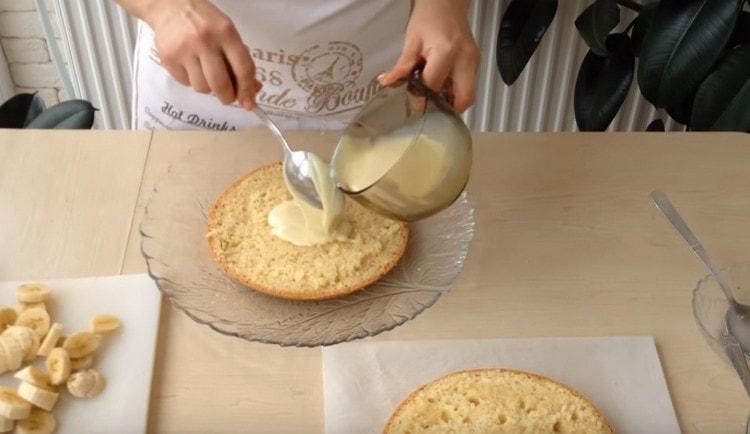
- In the same way, apply condensed milk of 100-150 g to both cakes.
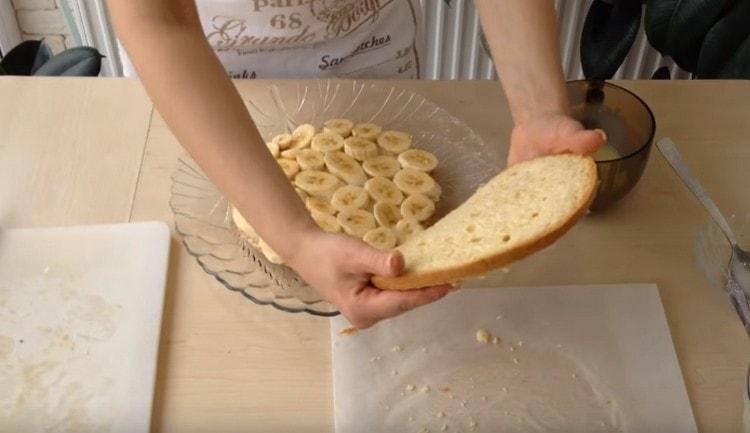
- On the bottom cake, put the circles of bananas, cover the top with the second cake soaked side inward.
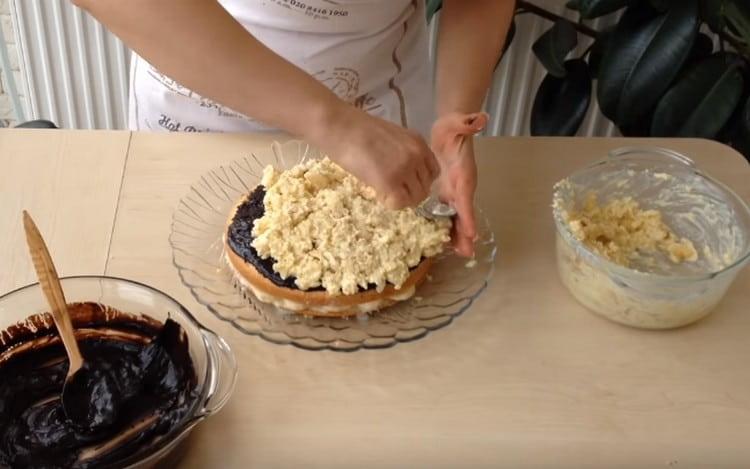
- On top of the cake we stretch 1-1.5 tbsp. l cocoa cream all over the surface.
- The cream layer, as well as the sides of the cake, are covered with a mixture with slices of biscuit, carefully leveled.
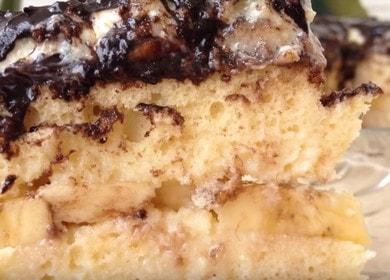
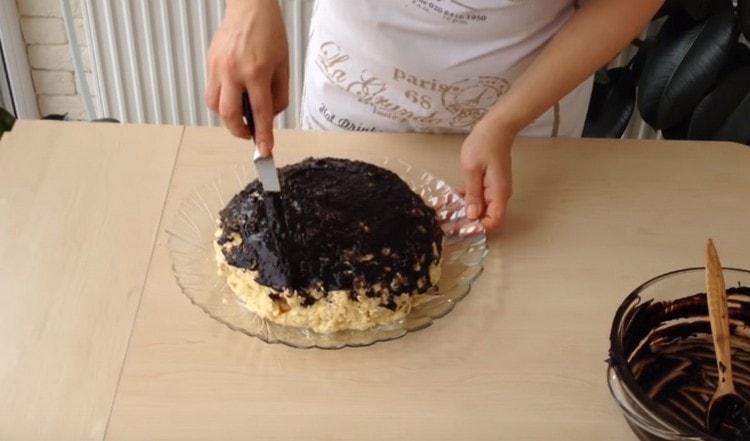
- Tighten the cake completely with the remaining cocoa cream. Leave to soak for 8 hours. Enjoy your meal!

Video recipe
In the video you will see how to cook chocolate banana cake from simple ingredients step by step, learn more about the nuances of the whole process. Enjoy watching!
As you can see, dessert is not difficult to prepare, but it can please you with a pleasant taste and delicate aroma. If you have any questions or want to express your opinion about the recipe, share your cooking results, please leave comments below. Good results in cooking, mastery of the culinary arts and good mood!
Other cake recipes
Cake Sour Cream
Chocolate Cake Sacher
Gingerbread cake without baking
Chocolate cream cake
Sponge Cake with Whipped Cream and Fruit
Chocolate Cake Sacher
Gingerbread cake without baking
Chocolate cream cake
Sponge Cake with Whipped Cream and Fruit
Enjoy your meal!
