Kitchen appliances and utensils:
- kitchen surface for cooking;
- deep dish;
- tablespoon;
- sieve;
- cling film;
- board;
- rolling pin;
- stewpan;
- skimmer;
- serving dish.
Ingredients
| Product | amount |
| Sour milk or kefir | 450 ml |
| Egg | 2 pcs. |
| Flour | 1 kg |
| Sugar | 2 tbsp. l |
| Soda | 1 tsp |
| Salt | 1 tsp |
| Vegetable oil | 340 g |
Step cooking
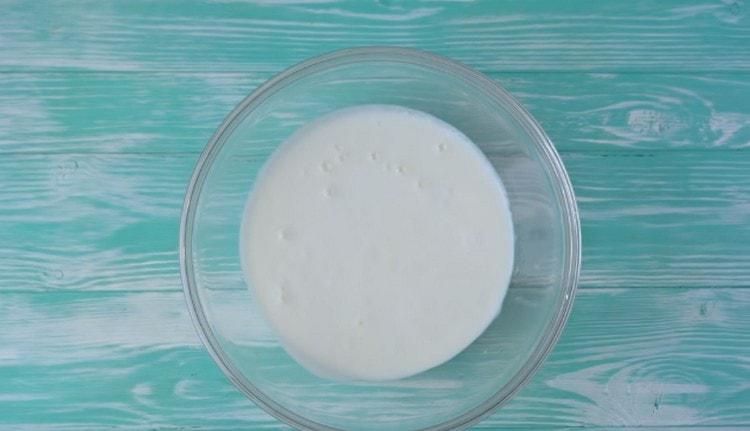
- We cook baursaki without using yeast. To do this, you need to pour 450 sour milk or kefir into a deep bowl. Sour-milk product should be at room temperature.

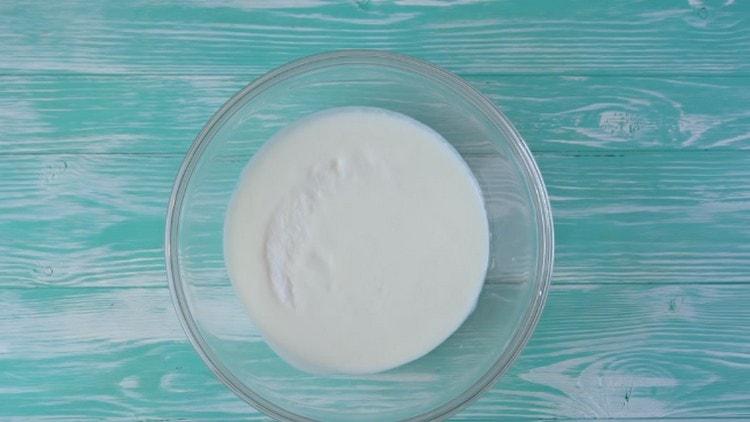
- In kefir add 2 tbsp. l sugar and 1 tsp. soda and salt. Mix all the ingredients thoroughly with a tablespoon. In the process of mixing, the soda immediately begins to quench.
- Add 2 chicken eggs and 40 g of vegetable oil to the kefir mixture, re-mixing.
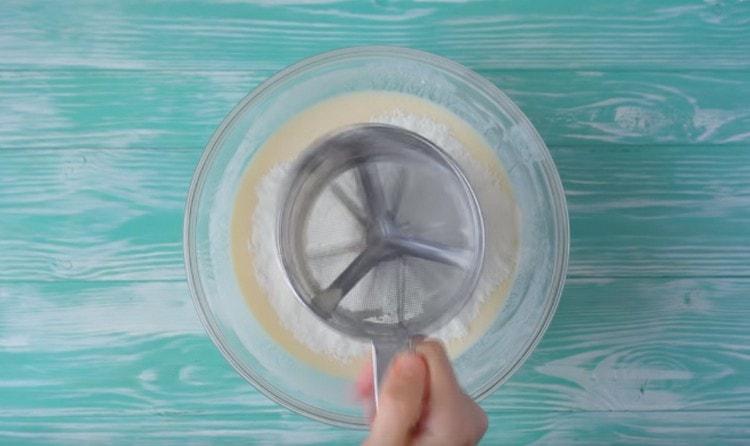
- Using a sieve, sift a kilogram of flour and add it to kefir.
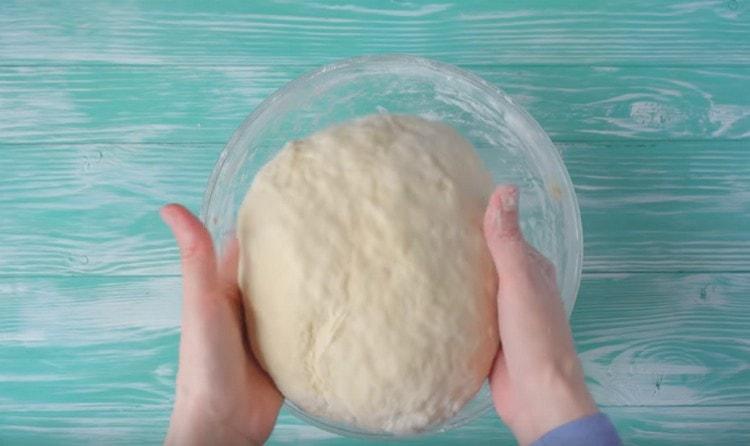
- Actively beat the dough first with a tablespoon in a bowl, then continue to knead with your hands until it becomes elastic and soft.
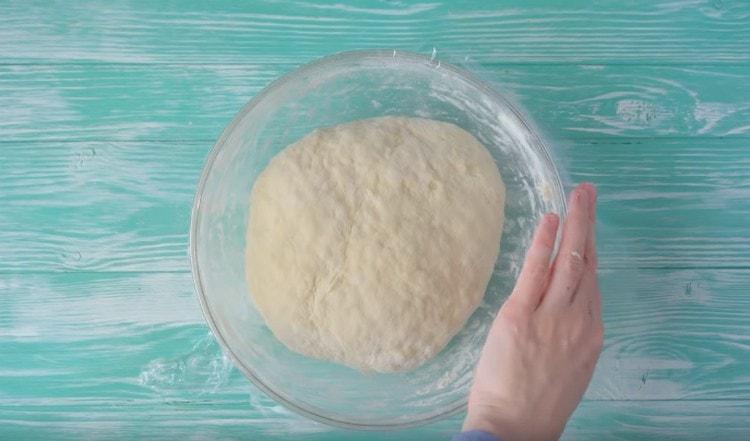
- We leave the finished dough in a deep bowl and cover with cling film. Leave the dough to infuse for 30 minutes.
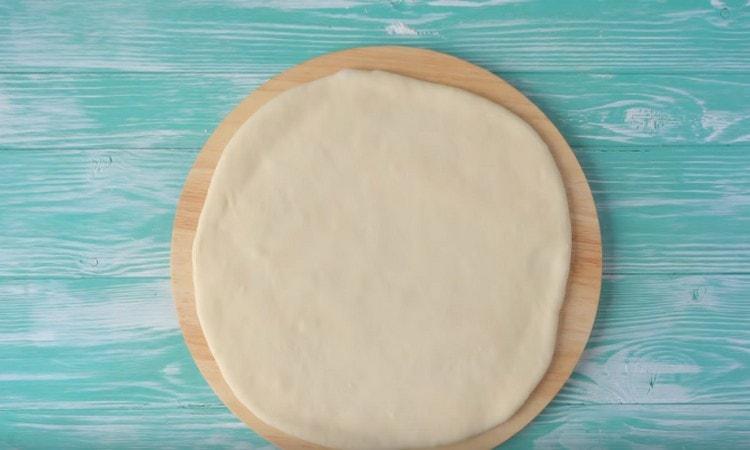
- After half an hour we take out the dough and divide it into 2 parts. We roll out one part using a rolling pin. The thickness of the rolled dough should not be less than 1 cm, optimally - 1.5 cm.
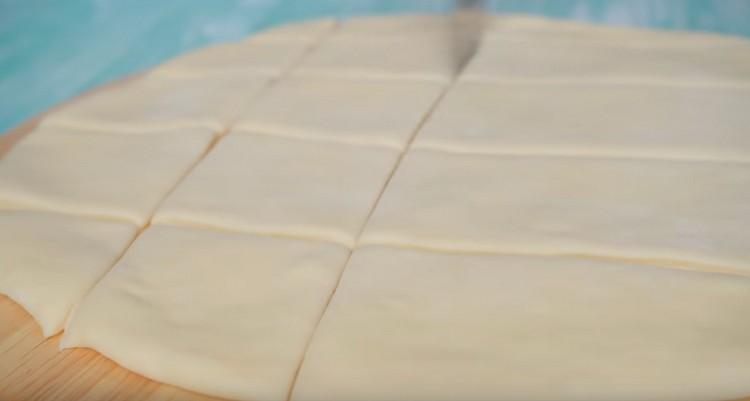
- We cut the rolled dough into any shapes, it is best to cut it into squares.
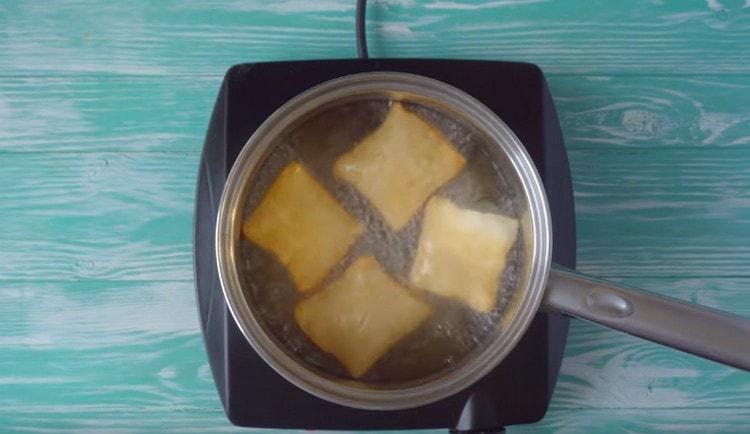
- We put the stewpan on the fire, pouring 300 g of vegetable oil into it. In a hot oil, put a few pieces of dough, frying for several minutes. It is important to turn the baursaki with a slotted spoon to get a uniform golden hue.
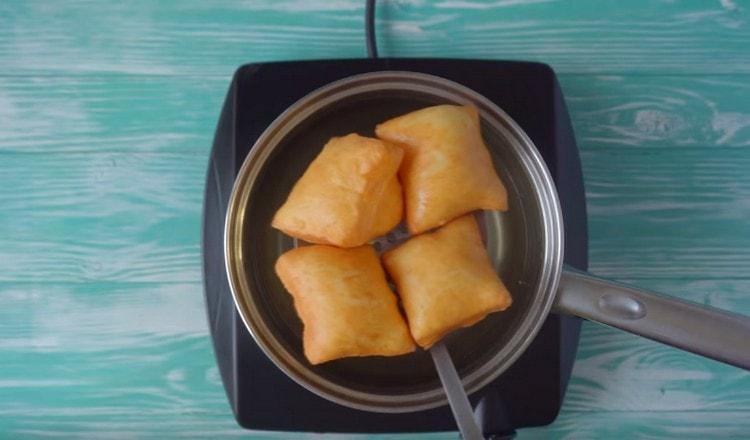
- Similarly, roll and cut into pieces another part of the dough, and fry the baursaki in a large amount of vegetable oil. If you are afraid that the dessert will turn out to be very greasy, it is recommended that you first put them on a plate with a paper towel so that the excess fat is absorbed.
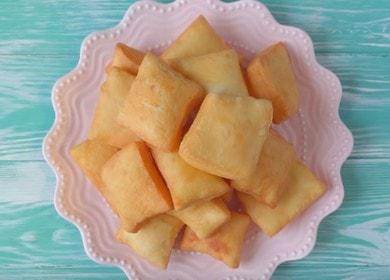
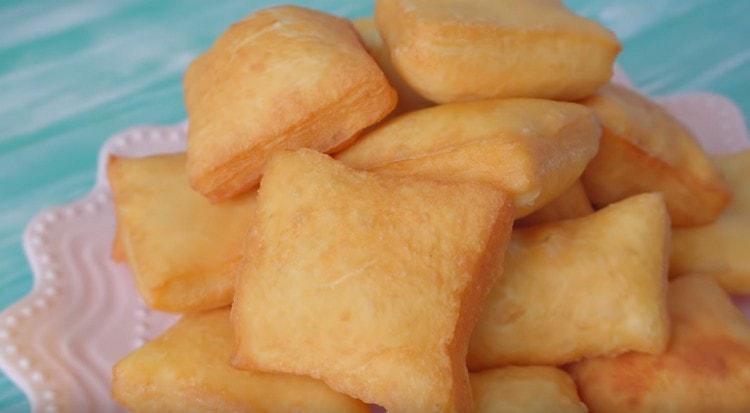
- We lay the finished baursaks on a beautiful dish and serve for tea. It is possible to use the Kazakh dessert by dipping in honey or any jam to your liking. It is also possible to sprinkle a little sugar powder on top of the baursaki.

Video recipe
After watching the video, you will learn how to cook a delicious Baursaki dessert from Kazakh and Tatar cuisine. The recipe involves the preparation of sweets on kefir without adding yeast. Thanks to a detailed description of the cooking process, you will not have any difficulties, and you can easily cope with the baursaks. The video shows all the necessary ingredients in the right proportions.
Have you heard about the baursaks before, and have you tried to cook them yourself? Did you have any difficulties in the cooking process? Which recipe did you like the most? Share your baursak cooking experience in the comments.
