Kitchen appliances and utensils:
- oven;
- several deep bowls;
- whisk;
- kitchen scales and other measuring accessories;
- a baking sheet;
- fine sieve;
- cling film;
- cutting board;
- rolling pin.
Ingredients
| Components | Proportions |
| Wheat flour | 450 g |
| pressed yeast | 20 g |
| salt | 5 g |
| granulated sugar | 80 g |
| butter (82.5% fat) | 150 g |
| egg | 1 PC. |
| bottled water | 230 ml |
| powdered sugar | optional |
| vegetable oil | 10-15 ml |
Step cooking
Knead the dough
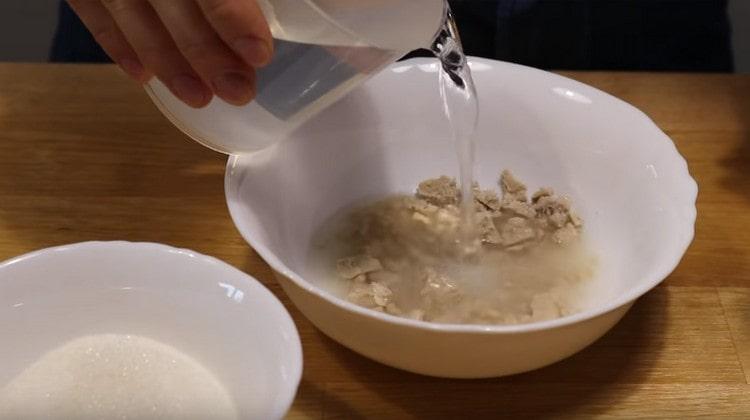
- In a small container we heat 230 ml of bottled water to a temperature of 35-40 ° C. In a deep bowl, spread 20 g of pressed yeast, 10 g of granulated sugar and pour 100 ml of warm water. Instead of pressed yeast, the use of dry yeast in an amount of 6-8 g is allowed.

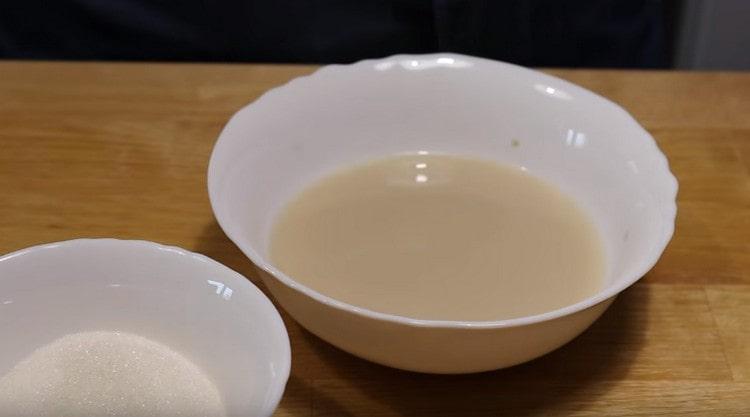
- Stir the components well, and then leave the mixture in a warm place for 5-10 minutes.
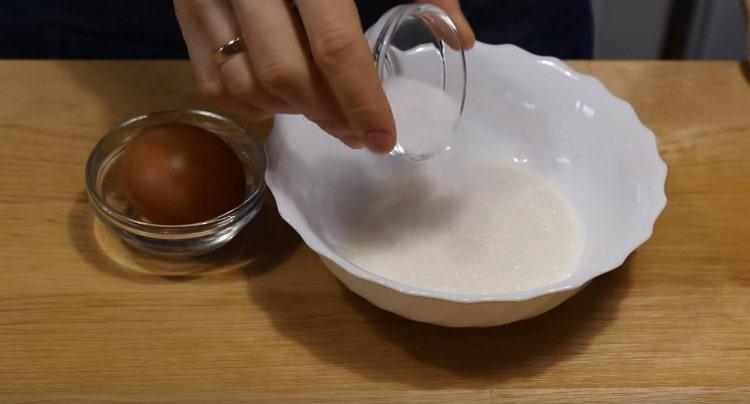
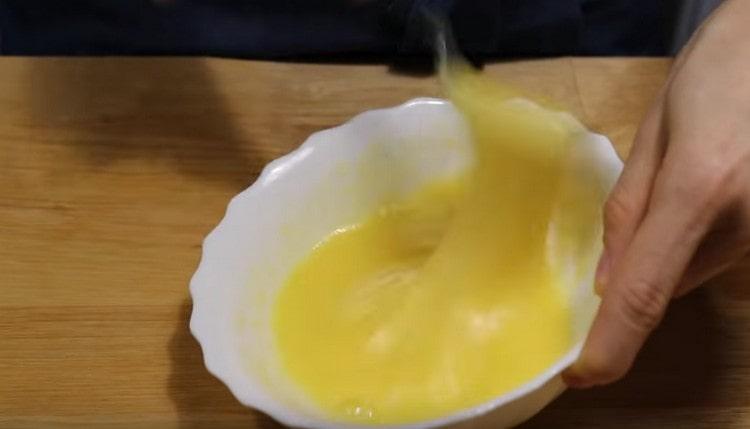
- Separately mix 70 g of sugar and 5 g of salt.
- There we break one chicken egg, after which we beat the ingredients to a homogeneous, lush consistency.
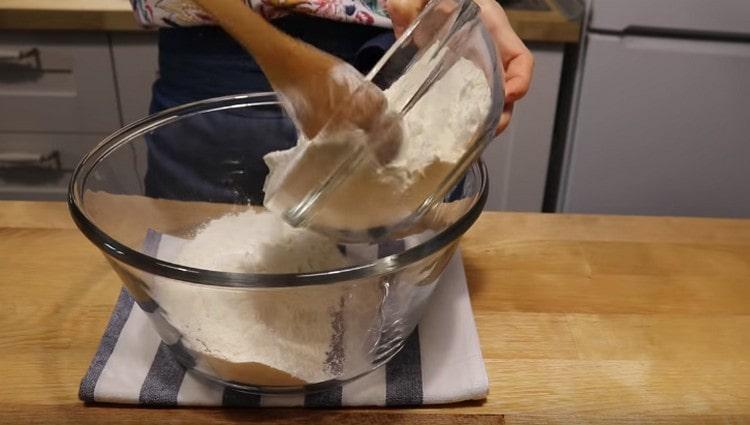
- In a large container, in which we will knead the dough, sift 450 g of premium wheat flour.
- In the center of the flour mixture we make a large recess in which we pour the foaming yeast mixture.
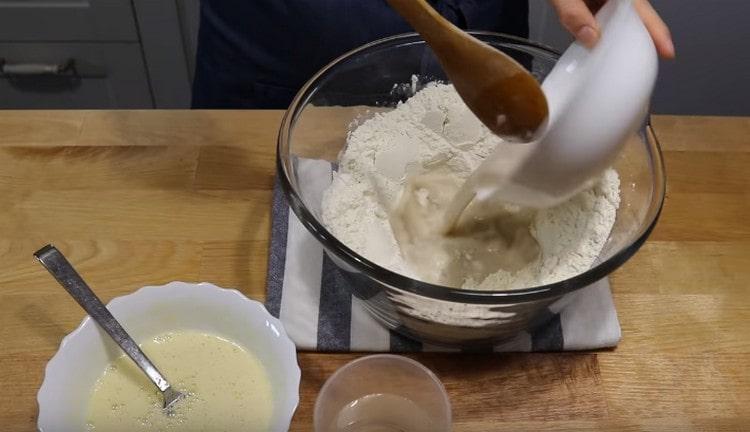
- There we add the egg mass and the remaining warm water.
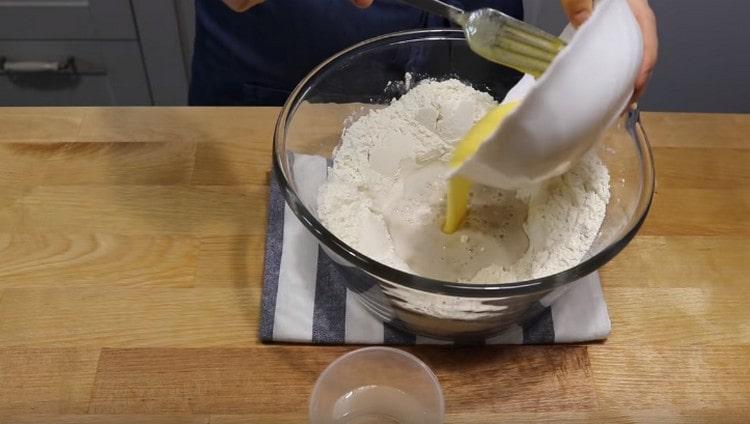
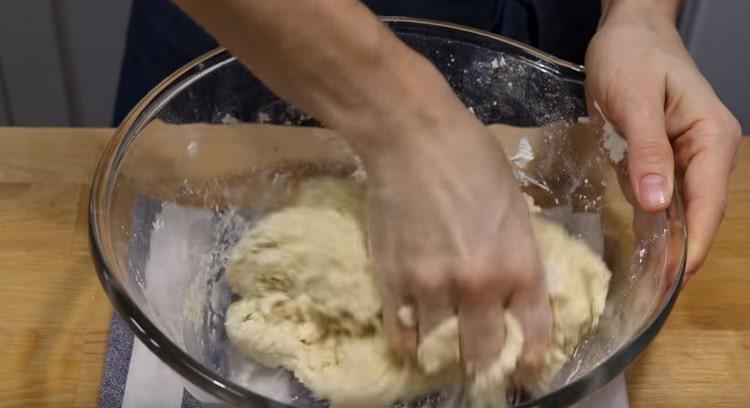
- Mix the ingredients well, kneading a soft and rather sticky dough.
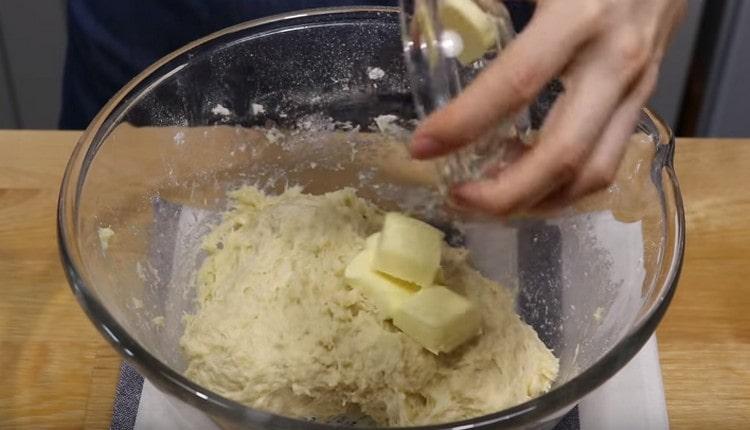
- On top of the prepared dough, lay out 30 g of softened butter and mix it into the dough with clean hands.
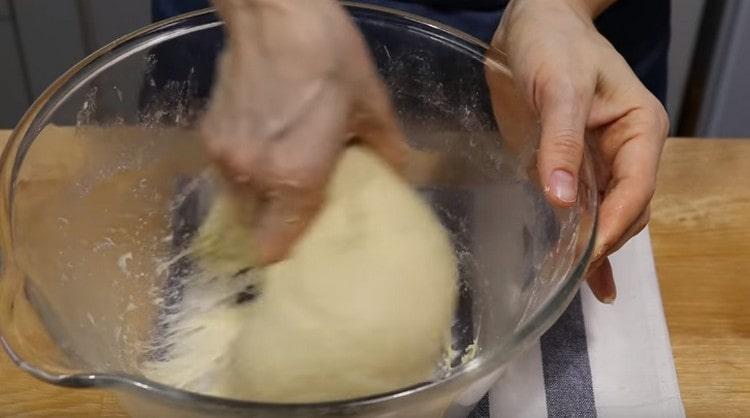
- Knead the dough intensively for about 20 minutes until smooth and soft. Also, the finished dough should not stick to your hands.
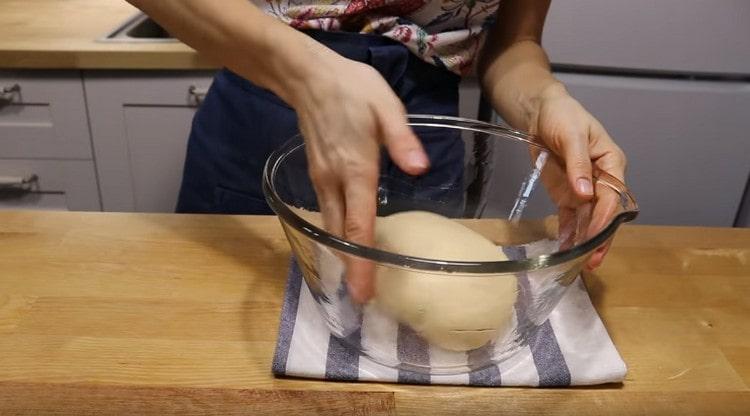
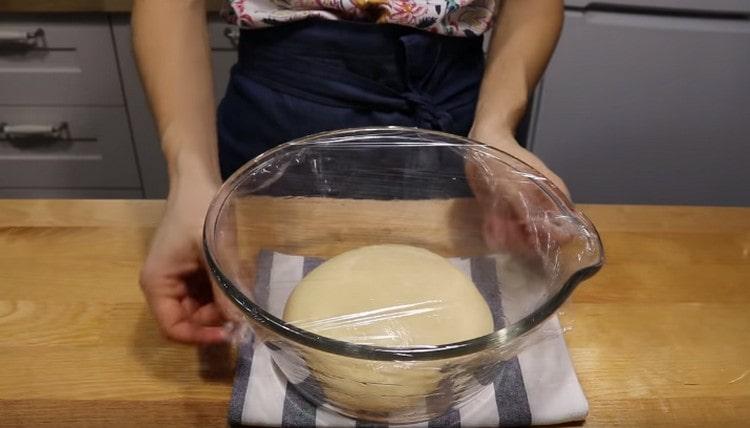
- Grease a clean bowl with a small amount of vegetable oil, on top of which we spread the dough.
- We cover the dough with cling film, after which we place it in a warm place, where we leave it to “fit” for 2-2.5 hours. Around the middle of the fermentation, the dough must be thoroughly washed once.
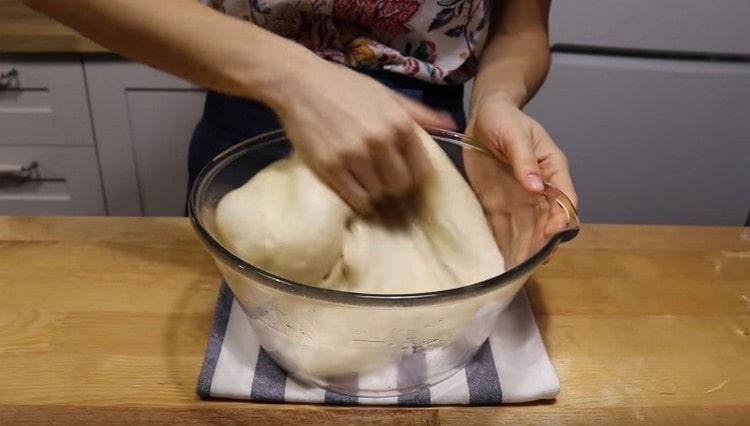
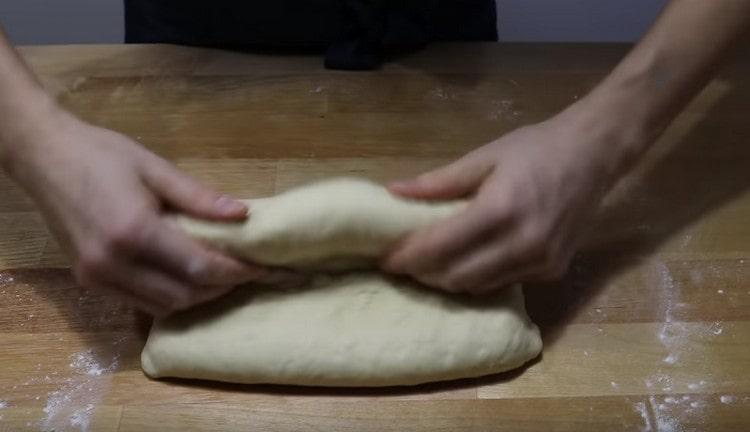
- We crush the approached dough, then put it on a flat surface.
- Hands form a small circle from the workpiece, and then roll the dough into a roll.
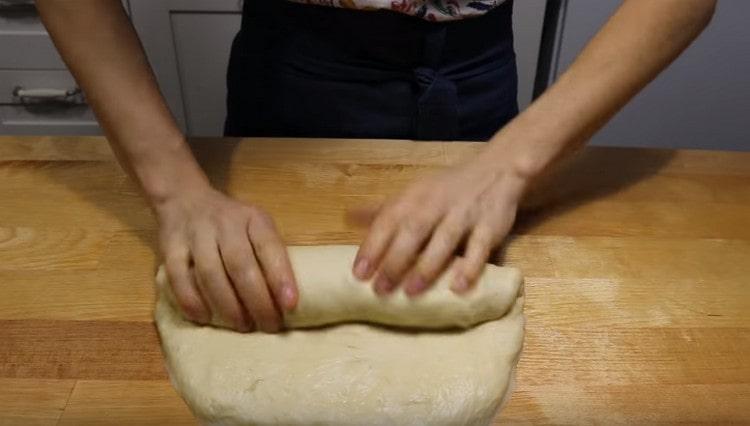
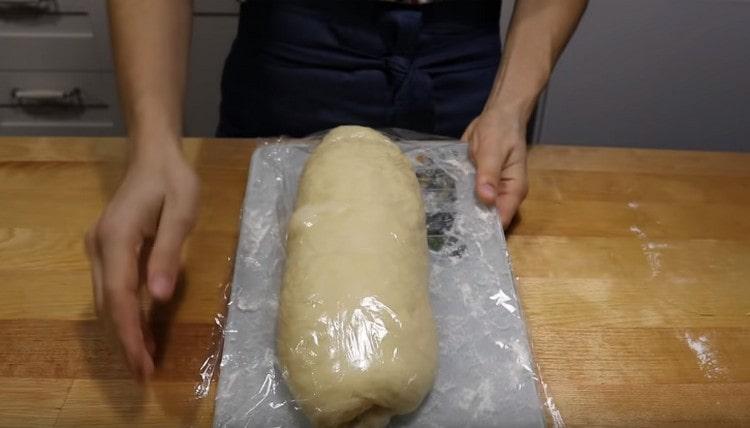
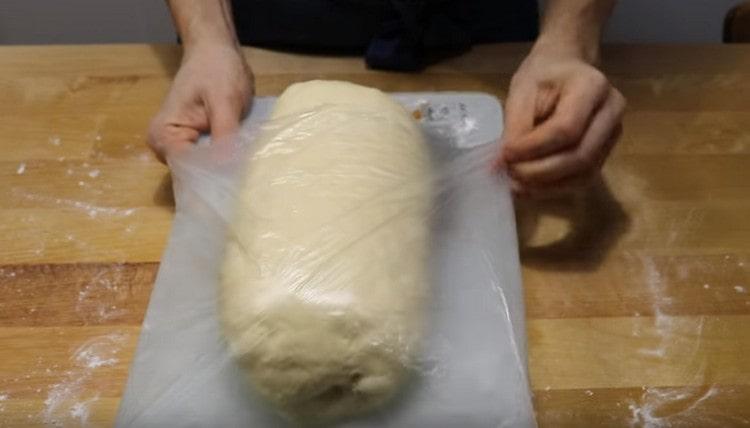
- We shift the dough onto a chopping board, pre-sprinkled with flour.
- We cover the dough with cling film, and then send it to the refrigerator to cool for exactly 1 hour.
We form buns
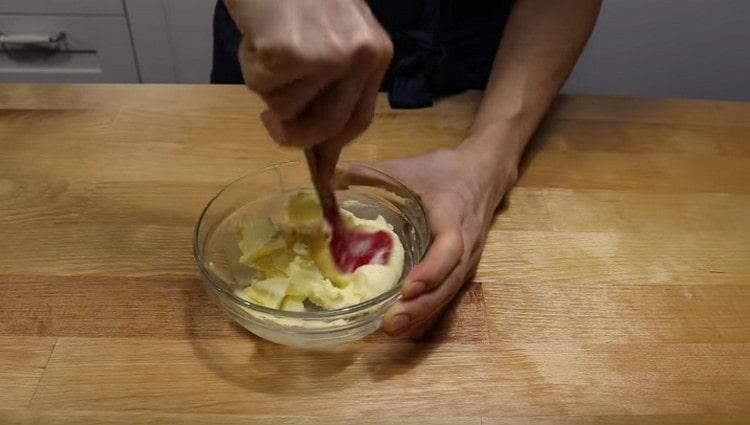
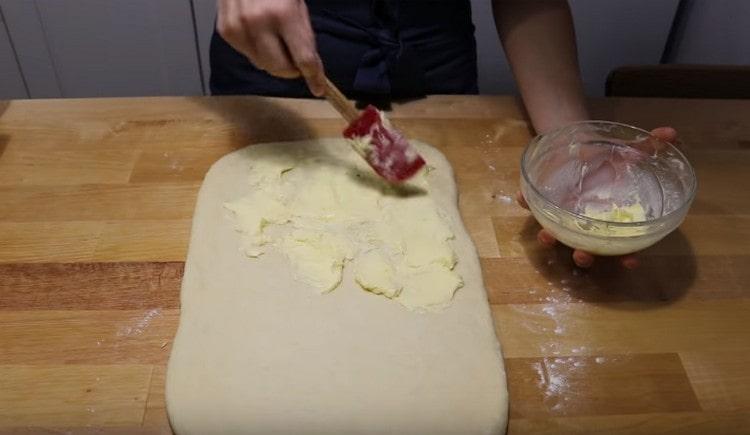
- Meanwhile, thoroughly knead 120 g of pre-softened butter until a homogeneous soft mass is obtained.
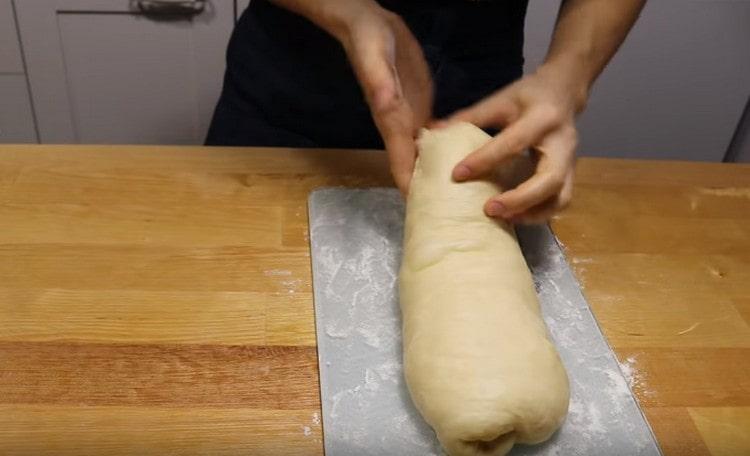
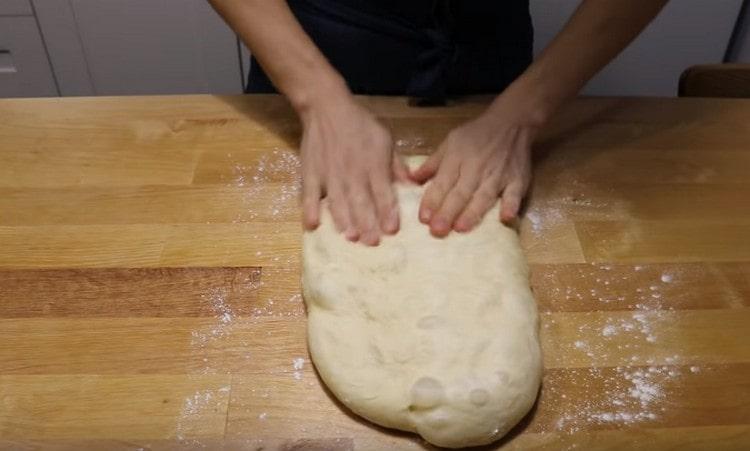
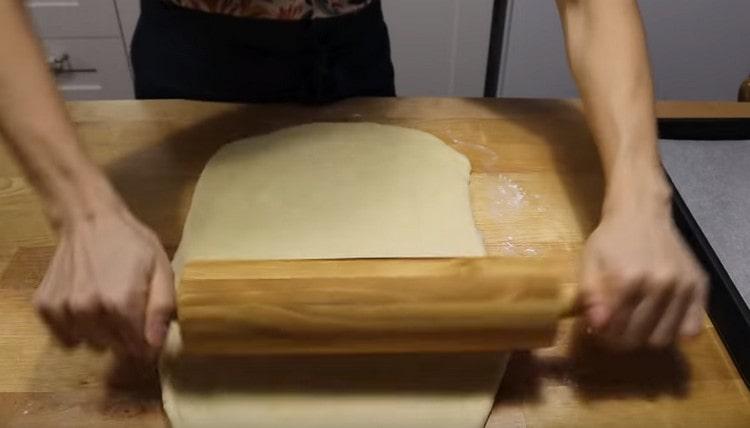
- After the specified period, take out the dough from the refrigerator, then put it on the table, sprinkled with flour.
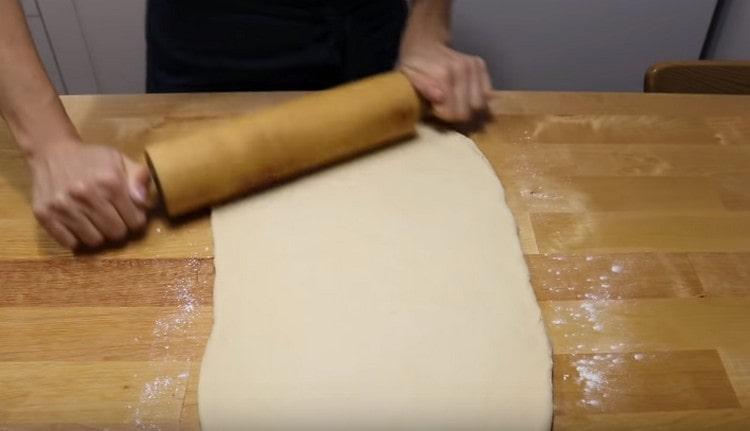
- We roll out the dough with a rolling pin into a rectangular layer with a thickness of not more than 1 cm.
- Grease 2/3 of the dough thoroughly with previously prepared butter, without affecting about 1 cm from the edge of the workpiece.
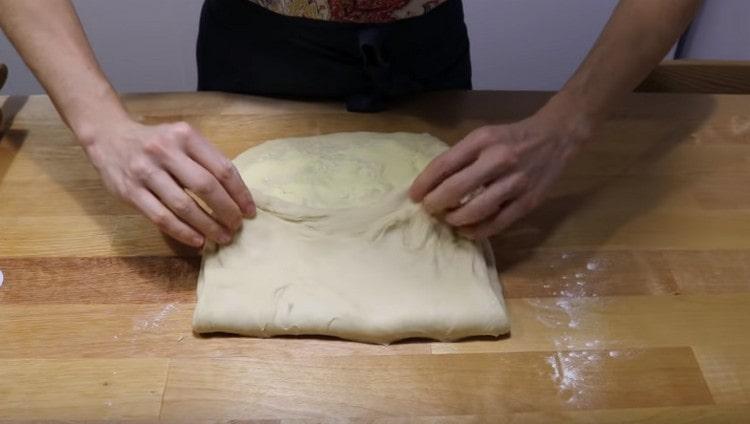
- We add the dough, starting with the part that remains unoiled.
- Wrap the second greased part of the dough. The result should be three layers of dough, two of which are oiled.
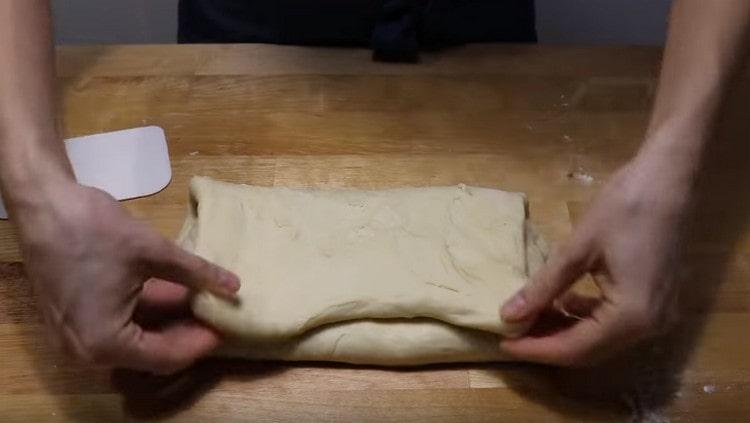
- We carefully pinch the seams of the workpiece.
- Roll the blank slightly into a rectangle.
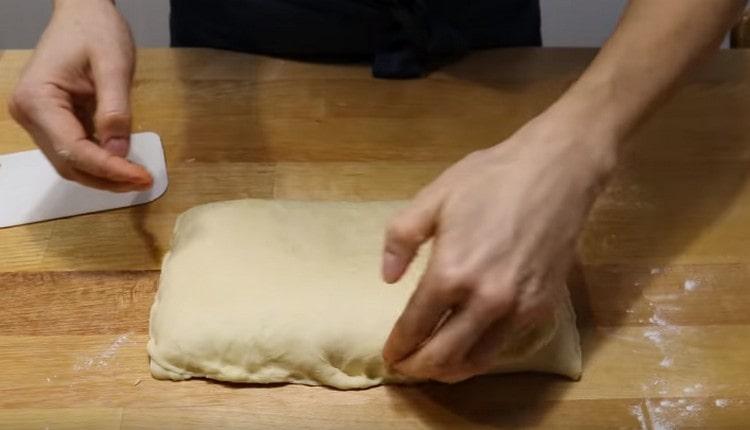
- Then we fold the formation four times.
- We return the dough to a chopping board sprinkled with flour, cover it with cling film and send it to the refrigerator for another 1 hour.
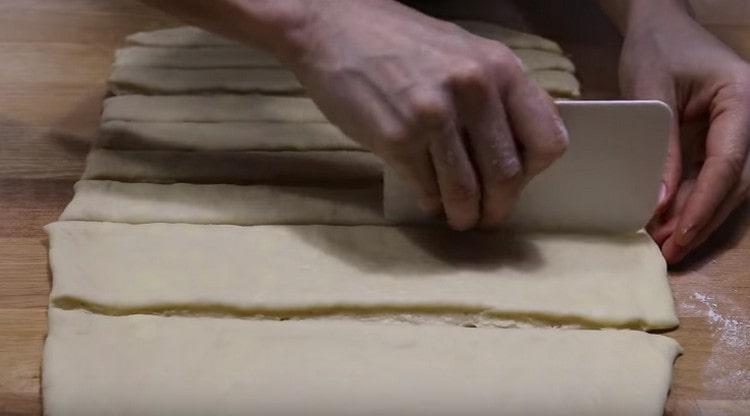
- After an hour, we take out the workpiece and roll it into a layer of 6-10 mm.
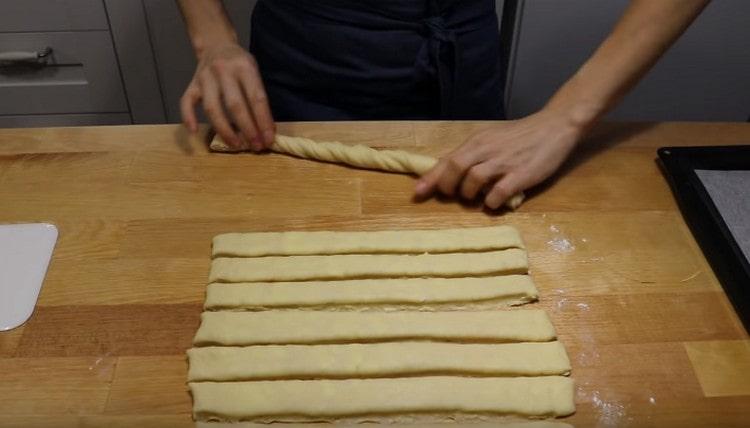
- Using a knife or scraper, divide the dough into 12 strips.
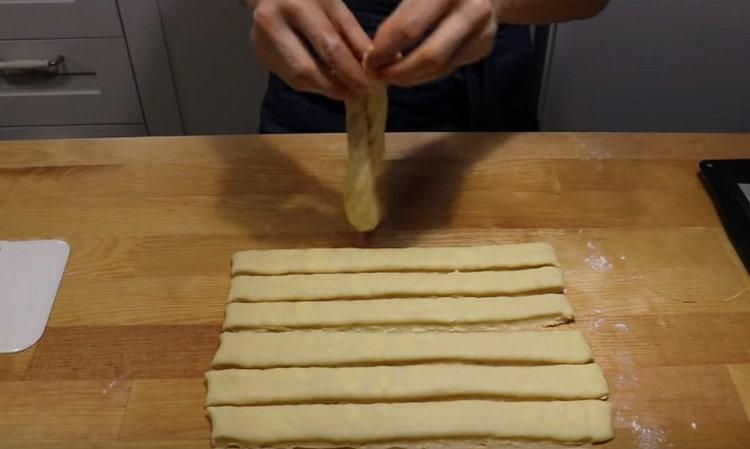
- We twist each strip into a tourniquet.
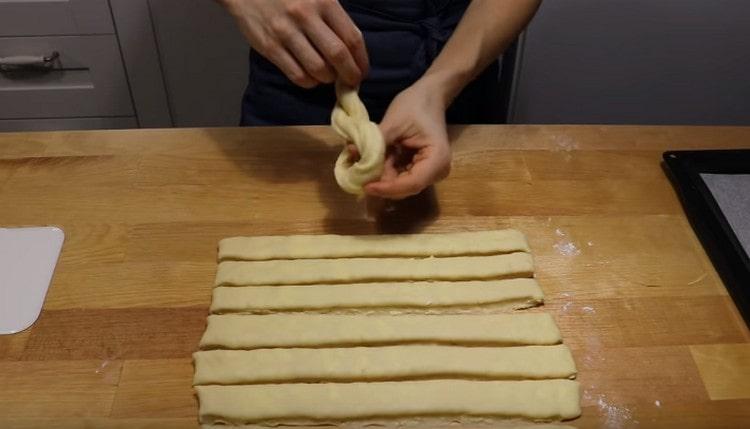
- Then fold in half.
- And knotted.
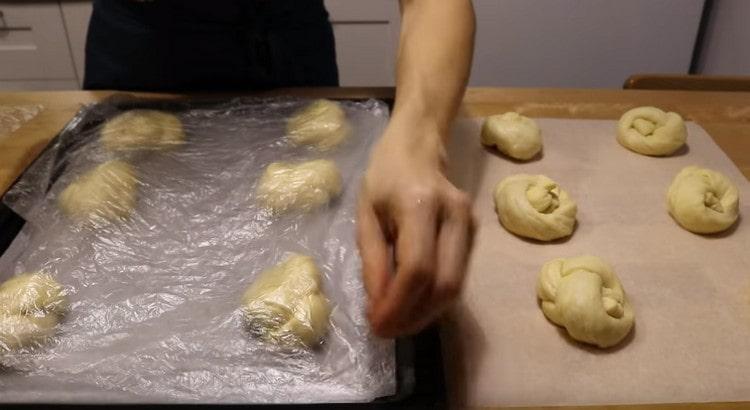
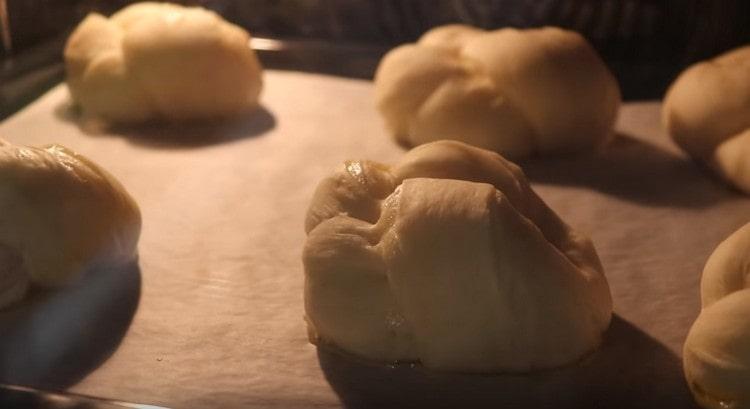
- We send the formed product to a baking sheet pre-coated with baking paper. We cover the products with cling film and leave for proofing for 1-1.5 hours.

The final stage
- We heat the oven to a temperature of 220 ° C. We send the approached buns to the preheated oven and bake there 13-15 minutes until the appearance of the rouge.
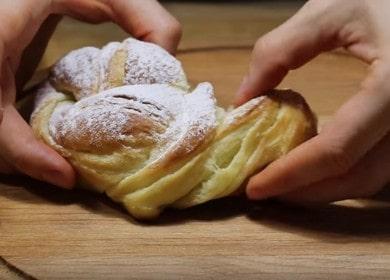
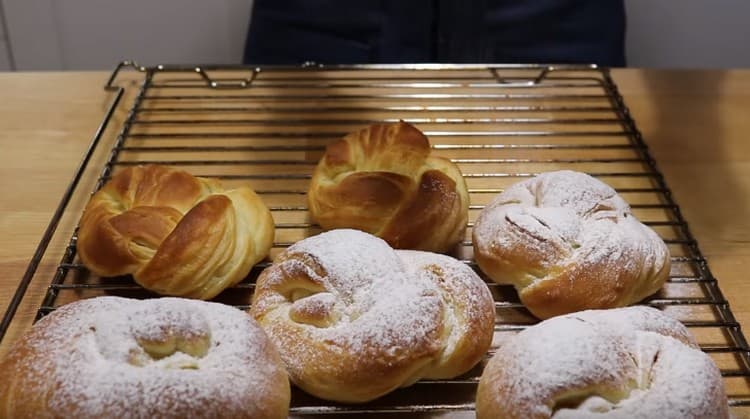
- We put the finished baking on the wire rack and sprinkle it with plenty of sugar while still hot.
Video recipe
In order to thoroughly understand the complicated technology of kneading puff pastry for the manufacture of air puff pastries, I suggest watching the video presented.
Such a delicacy will not be inferior in its taste and aromatic qualities to the French pastries that delight many. Of course, this recipe will require a lot of attention and patience, but the result is worth it. Be sure to let us know in the comments if you liked the puff pastries made according to the described recipe. Enjoy your meal!
