Kitchenware:
- oven with temperature control;
- deep bowl for dough;
- beaker;
- kitchen scales;
- towel;
- spoon;
- baking dish or baking sheet;
- a cup;
- brush for lubrication;
- plate for finished buns.
Ingredients
| Product | amount |
| Kefir | 250 ml |
| Flour | 400-450 g |
| Vegetable oil | 120 ml per dough + for greasing the mold |
| Dry yeast | 12 g |
| Sugar | 40 g |
| Salt | 2 g |
| Raw egg yolk | 1 PC. |
| Milk | 10-15 ml |
Step cooking
Opara
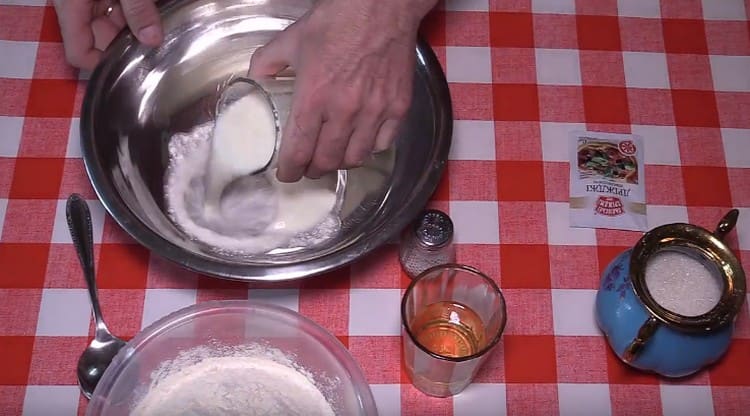
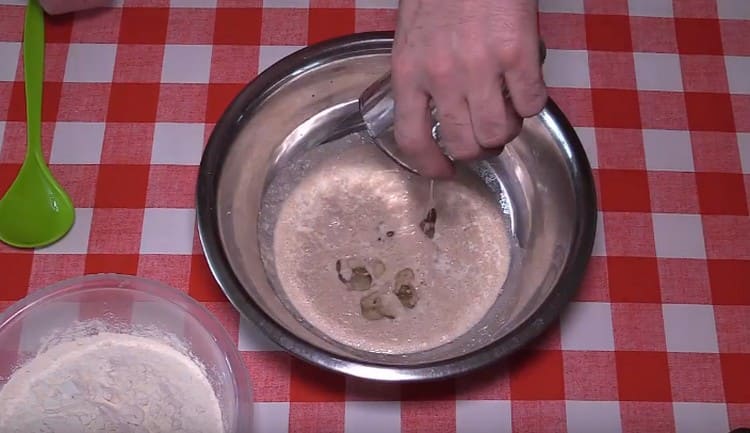
- Pour 250 ml of warm kefir into a deep bowl. It can be at room temperature, but it’s better to warm it up, so the yeast will work faster and better.

- Add 12 g dry baker's yeast and 40 g sugar to kefir.
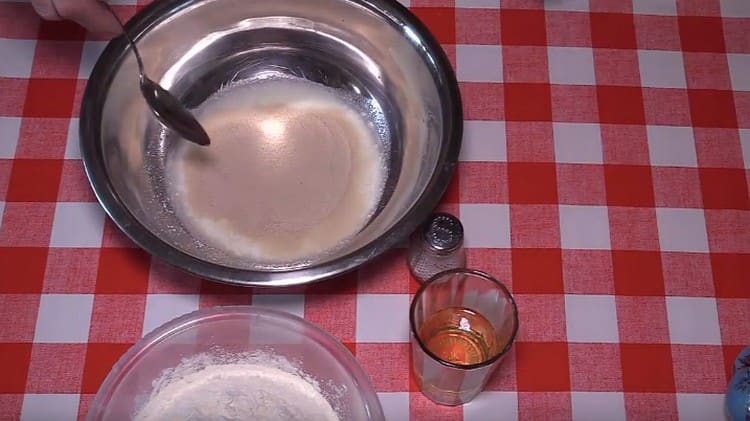
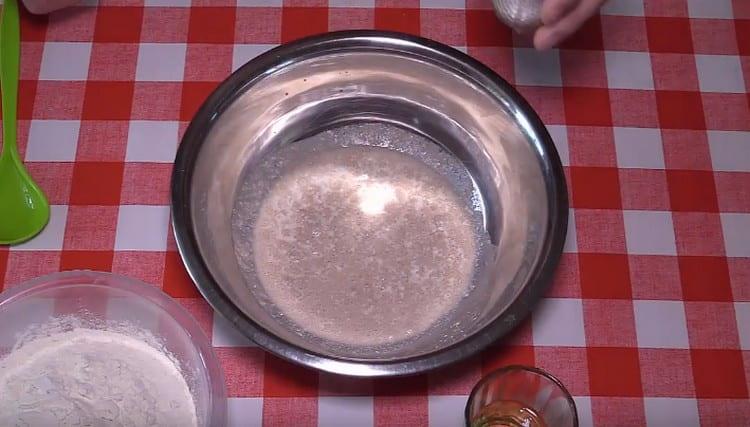
- Mix the dough well and leave for 5-7 minutes at room temperature. During this time, the yeast will disperse - the surface of the dough is covered with air bubbles.
Dough
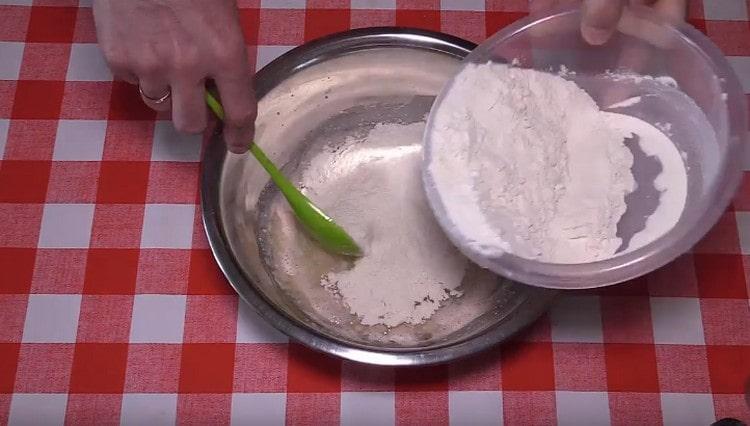
- Add 2 g of salt and 120 ml of vegetable oil to the dough. Shuffle. A homogeneous mixture will not work, but this is not necessary, the main thing is that the salt disperses a little.
- Pour 400-450 g flour into a bowl, stirring constantly. To begin with, you can continue to use a spoon, and when the dough becomes thicker, you have to knead it with your hands.
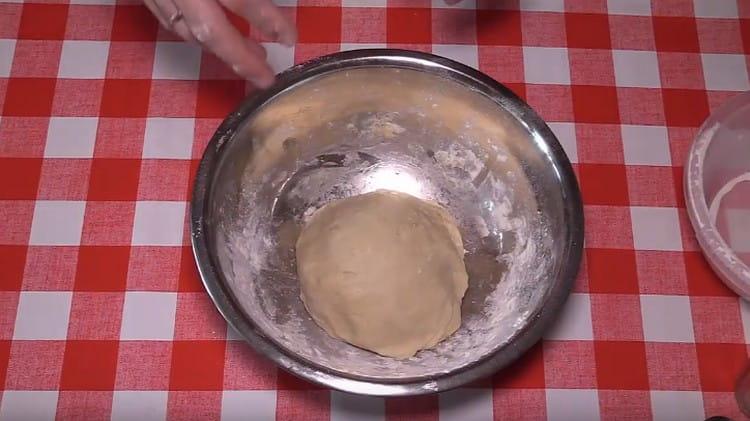
- When the dough stops sticking to your fingers, knead it for another couple of minutes. Then form a ball, put in a bowl, cover with a towel.
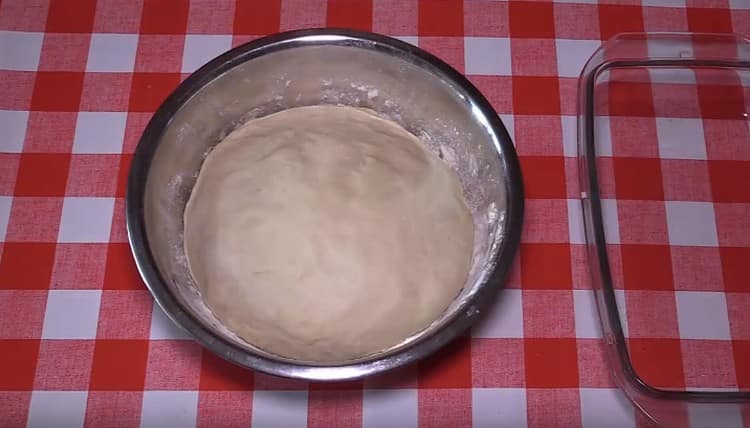
- Put the dough in a warm place for an hour - it should fit well, increasing in volume by 2.5-3 times. Do not forget to follow this process - if the yeast is fresh, the dough can come up faster, in about 40 minutes.
Buns
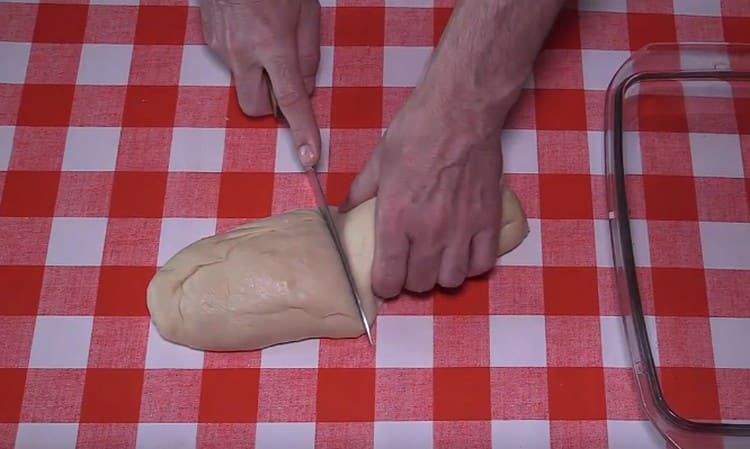
- Crush the dough, form a sausage out of it and divide it into 8 equal parts.
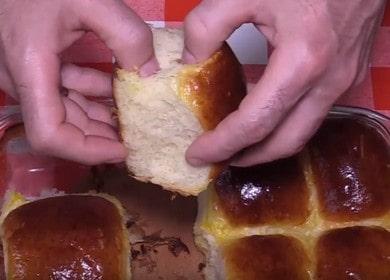
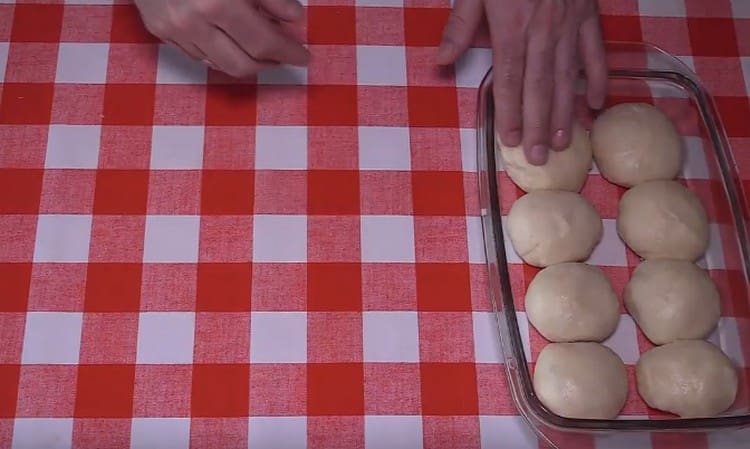
- Each piece needs to be rounded, as if wrapping all the bumps inside the bun, to get smooth, beautiful lumps.
- Grease a baking dish or baking sheet with vegetable oil. Then put the resulting koloboks on it, leaving small gaps between them, somewhere on the finger. Cover the buns with a towel and leave at room temperature for 15-20 minutes - they should come up again before baking, increasing in size.
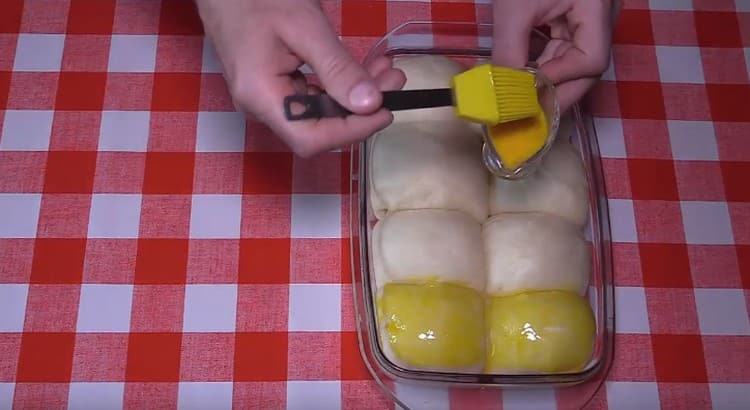
- In a cup, mix 1 raw egg yolk and 10-15 ml of milk until a homogeneous consistency is obtained. Using the brush, grease the top of the rolls with the mixture - so after baking they will be beautiful, ruddy and shiny.
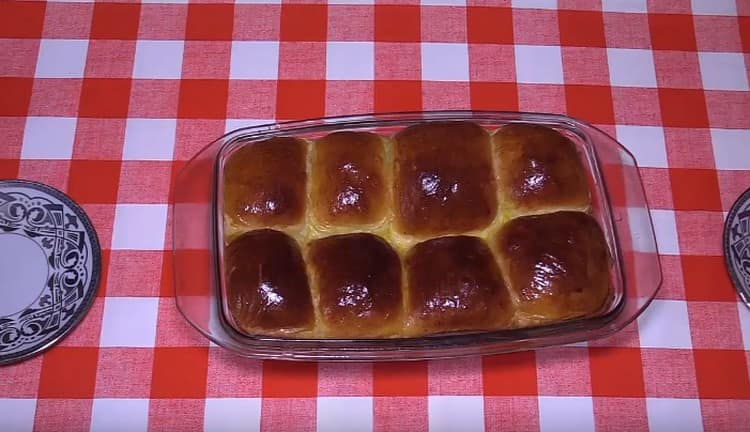
- Place the mold in an oven preheated to 200ºC for 20-25 minutes. Then remove and let the buns cool slightly. Now you can put them on a plate and serve. Enjoy your meal!

Video recipe
This video demonstrates how to knead yeast dough on kefir using dry yeast. You can clearly see how to round the pieces of dough so that smooth and neat buns come out.
Baked in kefir and yeast, baked in the oven, are very tasty, lush, soft and beautiful. Such a dough does not require much time and effort, but the result will definitely please, even if you are dealing with yeast for the first time. You can serve this pastry for tea, you can eat it just like that. And one more plus - this dough is suitable not only for rolls, it is quite possible to make real pies from it, simply wrapping the filling in future rolls.
