Kitchen appliances and utensils:
- pan with a lid;
- rolling pin;
- sieve for flour;
- board;
- teaspoon;
- tablespoon;
- fork;
- scapula;
- grater;
- knife;
- beaker;
- Bowls 2 pcs.
Ingredients
| Ingredients | amount |
| Flour | 250 g |
| Kefir | 190 ml |
| Salt | 0.5 tsp |
| Soda | 0.5 tsp |
| Sugar | 1 tsp |
| Dill greens | 50 g |
| Sulguni cheese | 250 g |
| Cottage cheese and hard cheese | 200 g |
| Butter | 50 g |
Step cooking
Dough
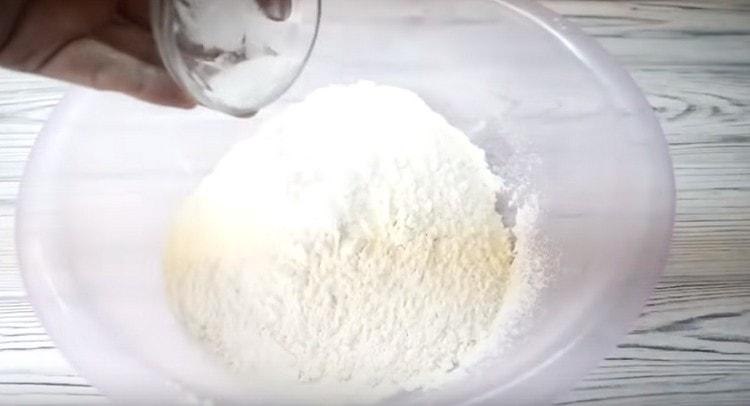
- In a deep bowl, mix the dry ingredients: 250 g of flour previously sifted through a sieve, 0.5 tsp. salt, 0.5 tsp soda and 1 tsp. Sahara. Mix everything.

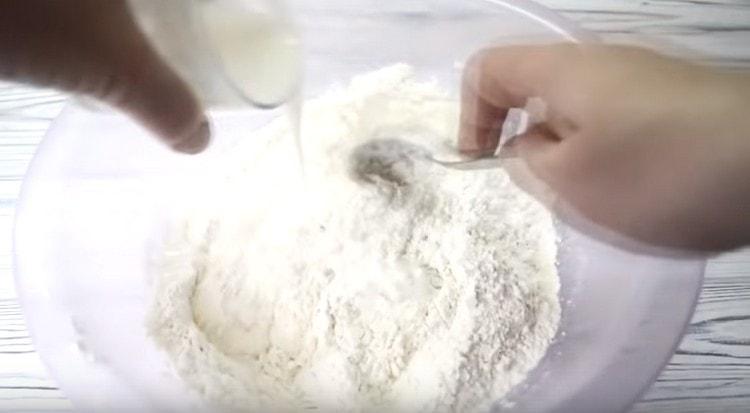
- Pour 190 ml of kefir into the dry mixture and knead the dough.
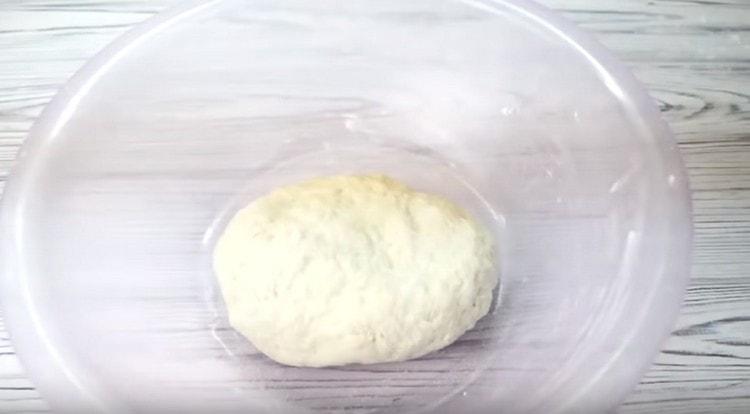
- When it becomes difficult to interfere with a spoon, lay it on the surface and knead with your hands. The dough should be thick but elastic. Transfer the dough into a bowl, cover with cling film and leave for 20 minutes. After that, it will be easier to work with it and it will not break when rolling.
Filling
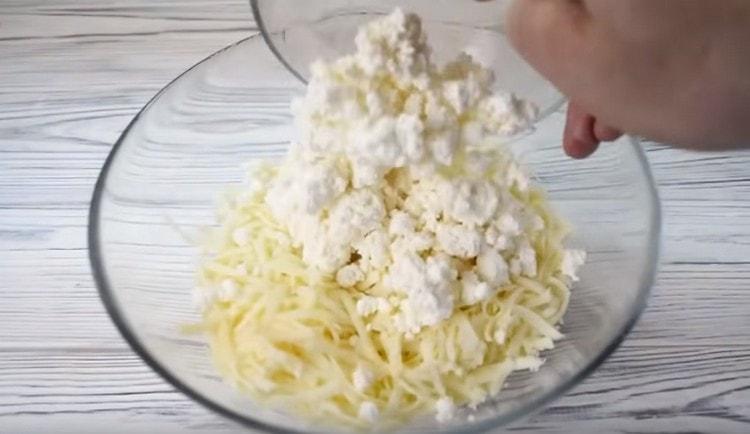
- While the dough is resting, get stuffed. To do this, take 250 g of suluguni cheese and 200 g of any other cheeses, you can use hard cheese like Russian, cottage cheese or feta. Grate suluguni and other hard cheeses on a coarse grater, mash cottage cheese or feta with a fork.
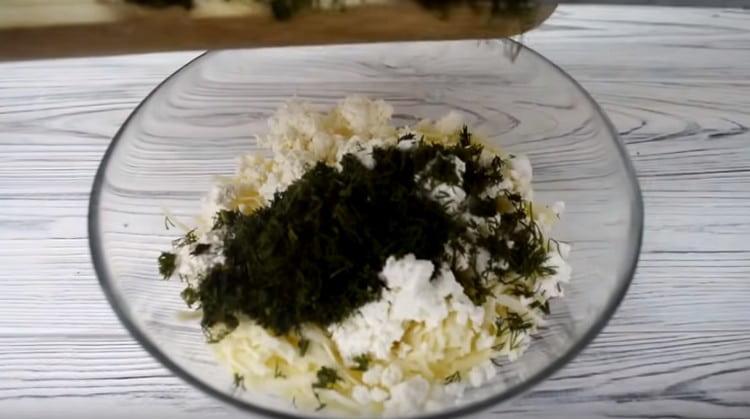
- Finely chop 50 g of pre-washed and dried dill, add it to the cheeses and mix well.
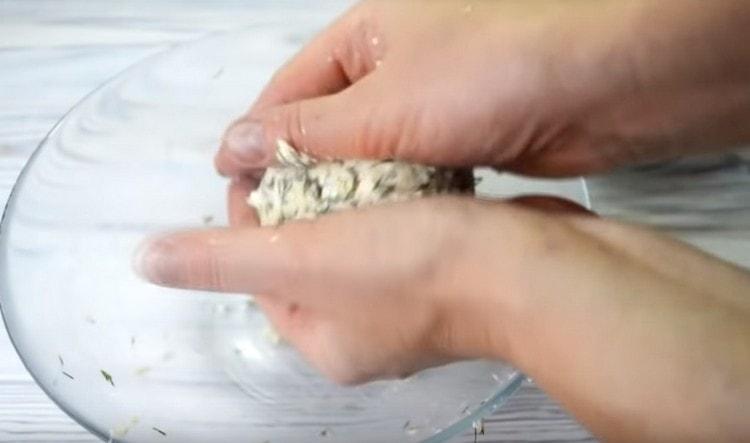
- Divide the filling into 4 equal parts and roll the balls out of them.
Cooking Khachapuri
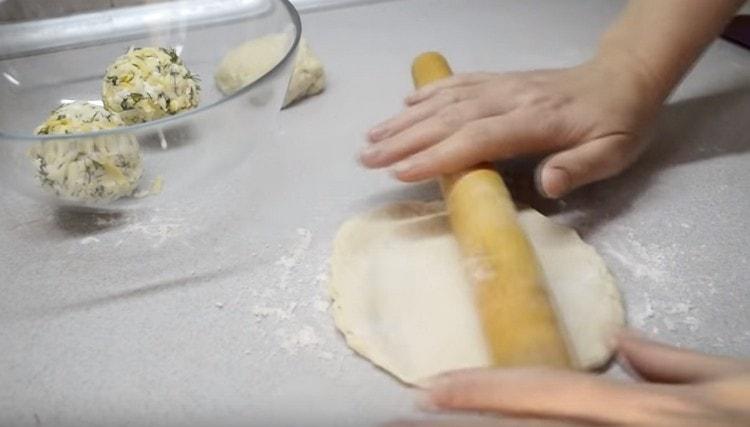
- Divide the dough into 4 equal parts. Roll each part of the dough into a small cake with a diameter of about 12-13 cm and a thickness of 0.4-0.6 cm.
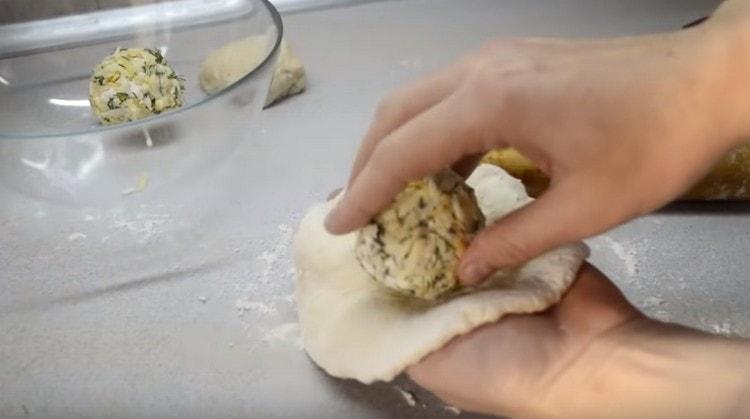
- Lay the balls of cheese filling in the center of each cake.
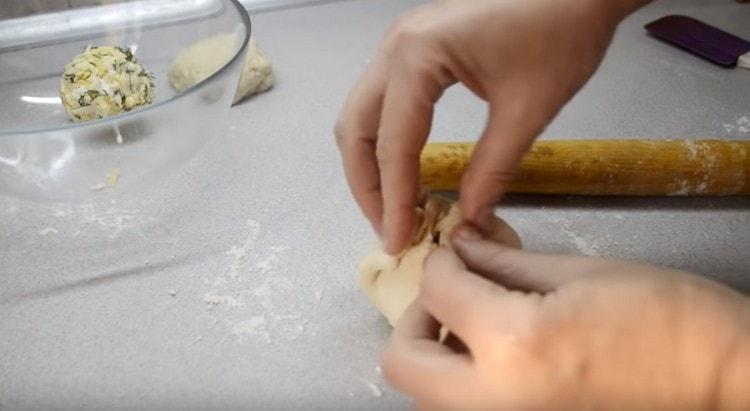
- Connect the edges of the cake, completely covering the filling, you should get a ball. If the dough sticks to your hands, add a little flour.
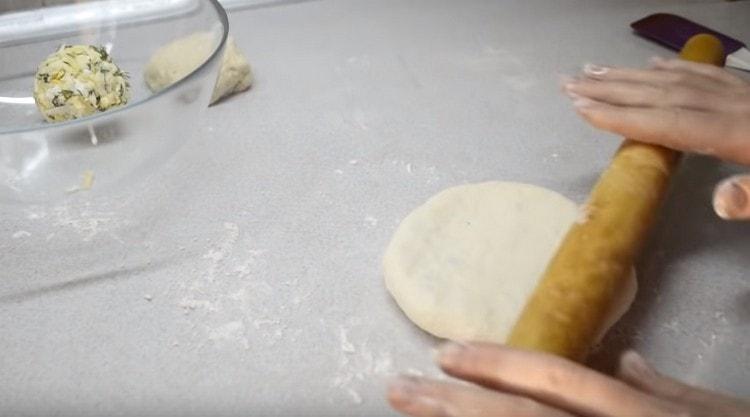
- Roll the balls into cakes 0.6-0.8 cm thick. If in some places the dough is torn, it's okay.
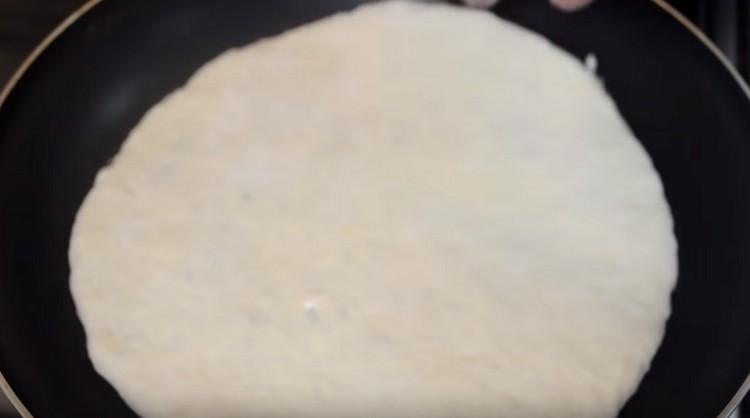
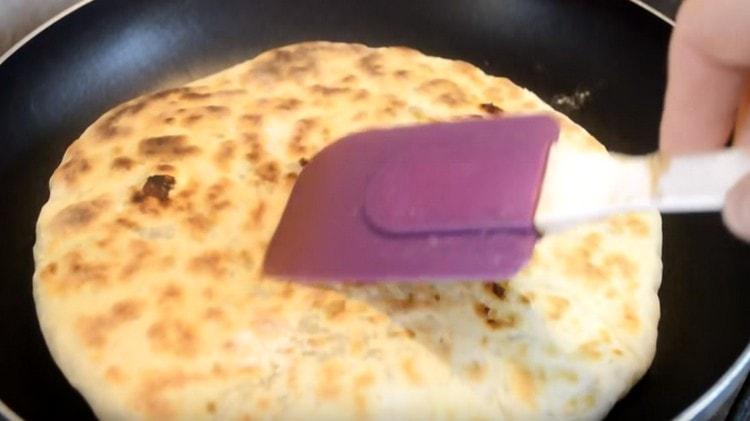
- Spread the formed cakes on a preheated dry pan.
- Cover and fry for 2-3 minutes on each side.
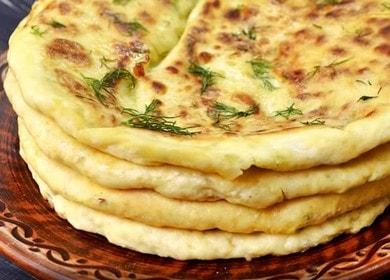
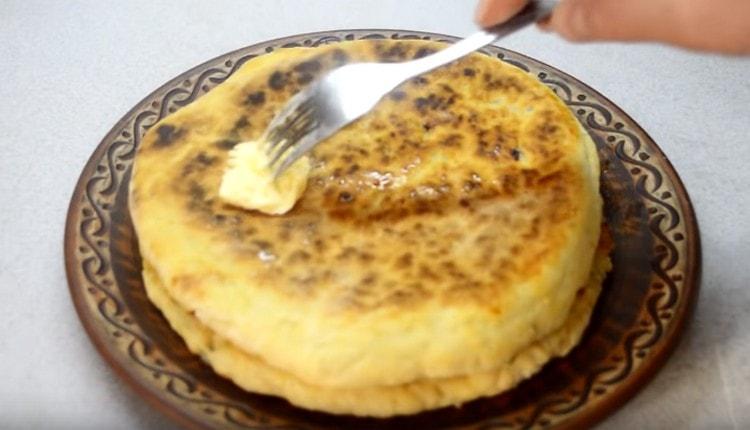
- Put the finished khachapuri on a plate and grease a piece of butter on top. Khachapuri ready, serve whole or cut into portioned slices. Enjoy your meal.
Cooking Tips
- Instead of kefir, unsweetened yogurt or yogurt can be added to the dough.
- The filling may consist of one type of cheese, but it will be tastier if you use 2-4 varieties of different cheeses.
- You can add 1-2 raw eggs to the filling, they will be prepared by baking khachapuri.
- You can use any greens according to your desire, green onions, parsley, cilantro, spinach are suitable.
- For piquancy, you can add a little black or red pepper to the filling.
Video recipe
Thanks to the step-by-step video recipe, you can definitely cook khachapuri in your kitchen yourself.
There are many cooking options, and now you know one of them. Share in the comments if you liked the recipe.
