Kitchen appliances and utensils:
- whisk;
- mixer;
- small pan;
- a bowl;
- a plate or mold for cutting cake layers;
- knife or spatula for spreading cream.
Ingredients
| For shortcakes | |
| Premium wheat flour | 350-400 g |
| Soda | 1 tsp |
| Honey | 2 tbsp. l |
| Butter | 100 g |
| Granulated sugar | 200-220 g |
| Eggs | 2 pcs. |
| Salt | pinch |
| 1st option: sour cream | |
| Butter | 250 g |
| Powdered sugar | 200 g |
| Sour cream 20-25% | 300 g |
| 2nd option: cream-ice cream | |
| Milk | 400 ml |
| Granulated sugar | 180 g |
| Chicken egg (large) | 1 PC. |
| Cream 33% (for whipping) | 200 ml |
| Butter | 100 g |
| Corn starch | 3 tbsp. l |
Step cooking
Cooking cakes
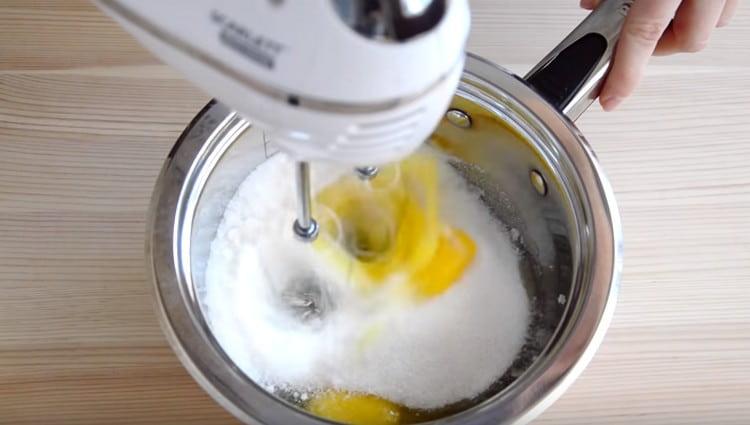
- In a small saucepan, beat 2 eggs, a pinch of salt and 200 g of sugar until smooth, using a mixer or a whisk.

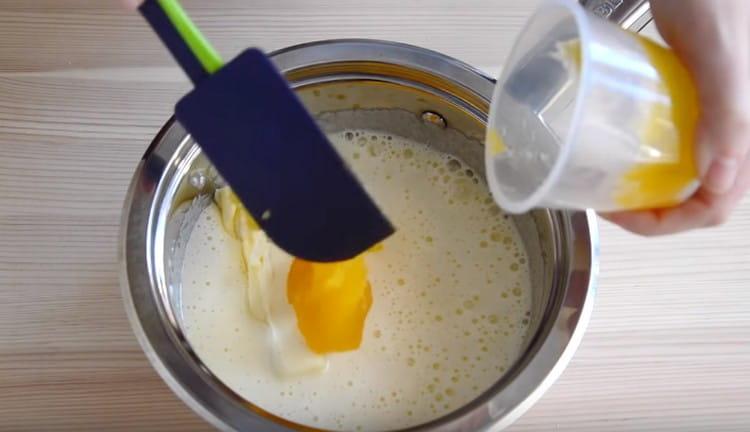
- Add to the stewpan 100 grams of butter and 2 tbsp. l honey.
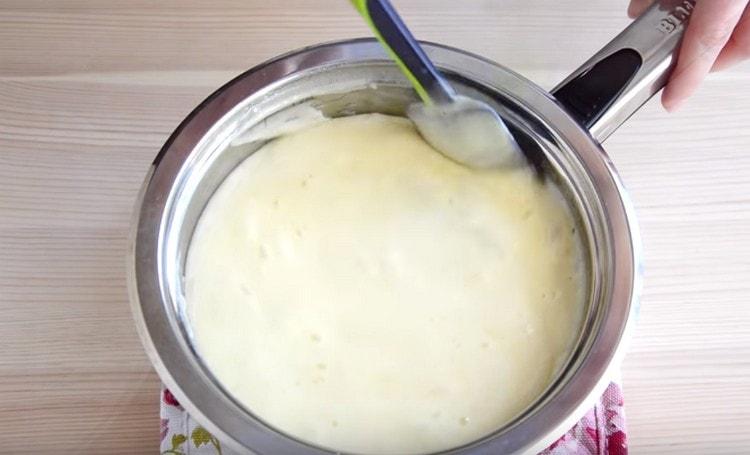
- Send to a small fire. Constantly stirring, it is necessary to bring the mass to a boil. It is important to ensure that the contents of the pan do not boil, as the eggs may curl.
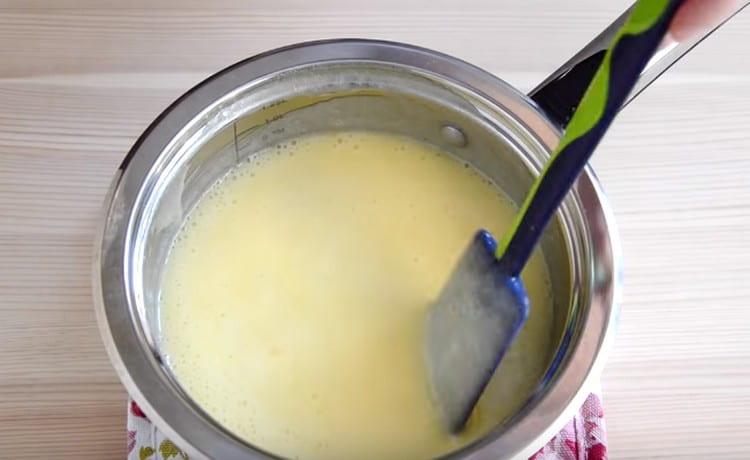
- When all the ingredients have formed a single consistency, remove from heat and add 1 tsp. soda. To stir thoroughly. The mass will begin to increase in volume - it is soda that reacts with honey.
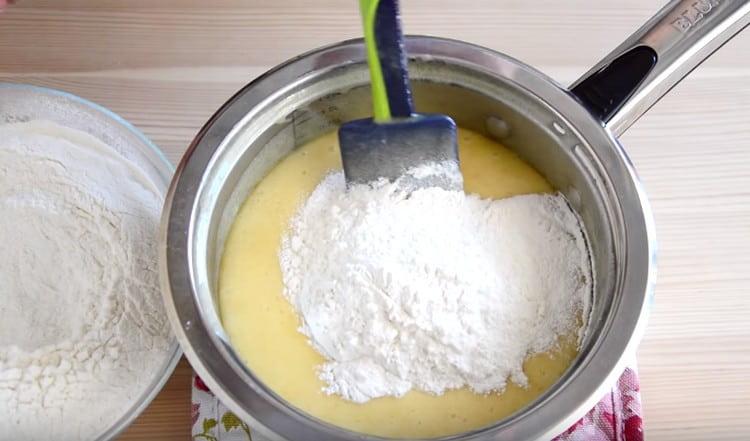
- Gradually add 400 g of flour. First you can knead directly in the pan.
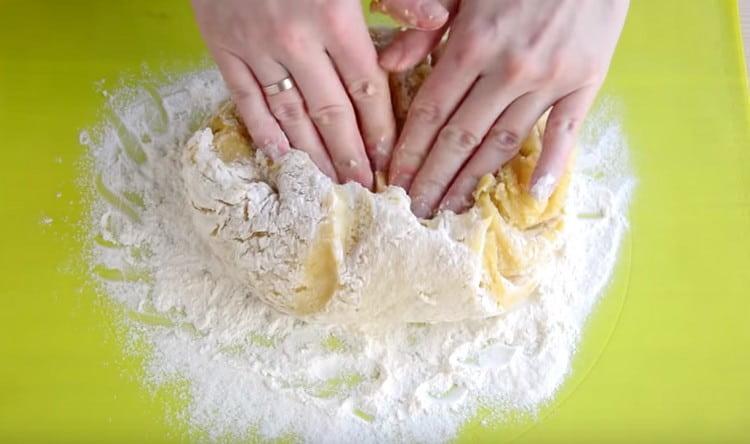
- Then, when the dough becomes more elastic, it will be necessary to move to the working surface. The hot dough seems slightly sticky and soft, but after lying in the refrigerator, it will become denser and will no longer stick to your hands.
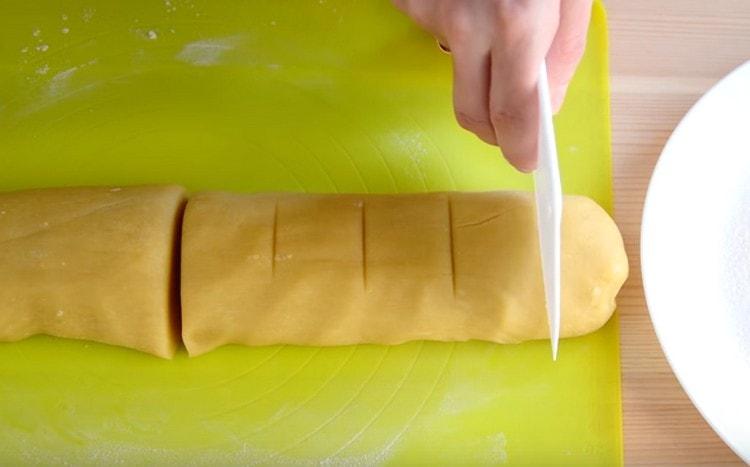
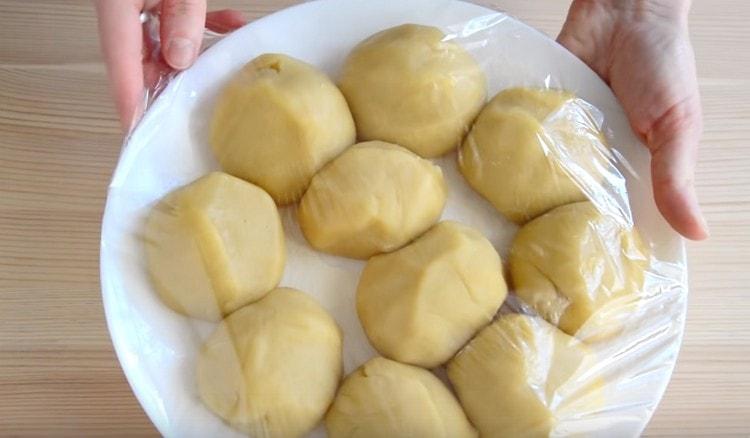
- Roll out the sausage from the dough and divide into 8-10 parts (the number of cakes).
- From each part it is necessary to form a circle. Then put the "balls" on a plate, after sprinkling it with flour, so that the dough does not stick. Wrap a plate of dough in cling film and put in the refrigerator for 1 hour.
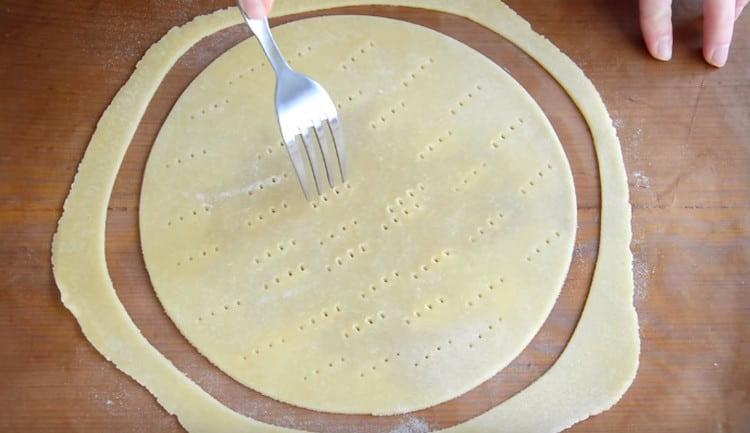
- After the specified time, start rolling the cakes. The layer should turn out quite thin - about 2 mm. The rolled "bun" should be cut according to the diameter of the future cake and chopped with a fork. Do not discard the scraps, nor send them to the oven.
- Bake each cake at 170 degrees for no more than 5 minutes. When a golden color appears, remove immediately.

Did you know? If you prepare 2-3 portions of dough in advance, bake cakes and wrap the excess in cling film, they can be stored for up to 2 weeks in a cool, dry place without loss of taste.
1st option cream - sour cream
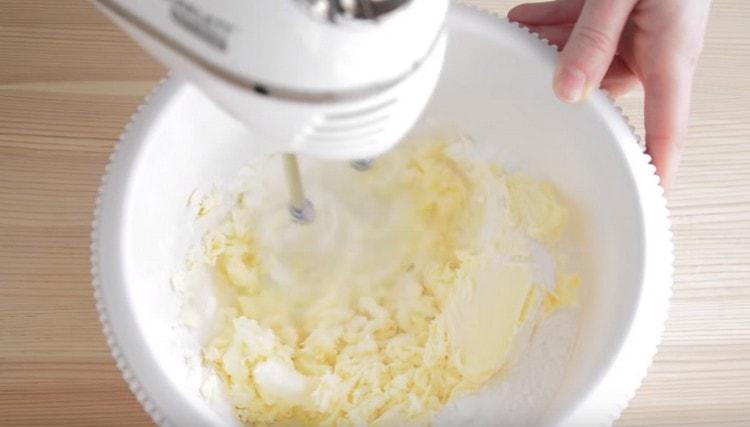
- Beat butter (250 g) at room temperature with 200 grams of powdered sugar with a mixer for 5 minutes. The mass should lighten and become more magnificent.
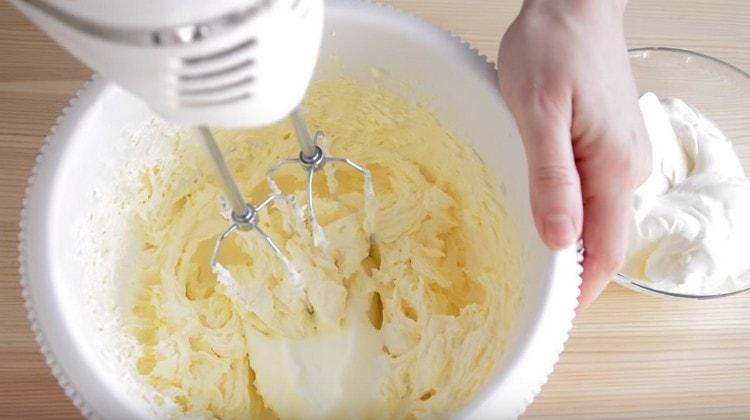
- Gradually add 300 g of fat sour cream, continuing to whip the mass. It would be nice to let the sour cream stand at room temperature for an hour in advance.
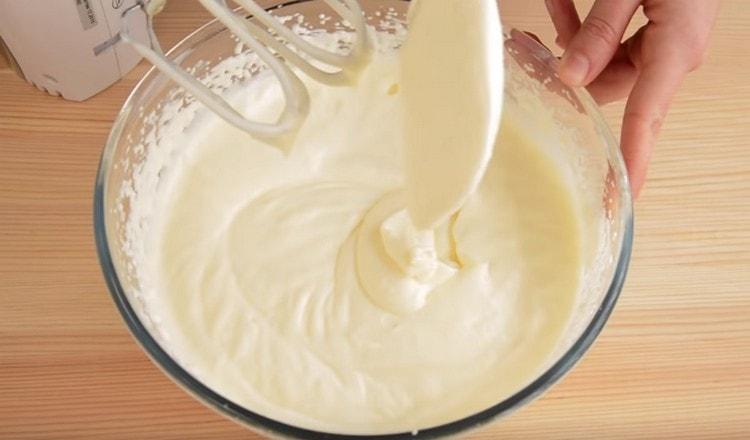
- The result is a lush cream of a homogeneous consistency with a slight acidity. It is incredibly tasty and tender to taste.
2nd version of the cream - ice cream
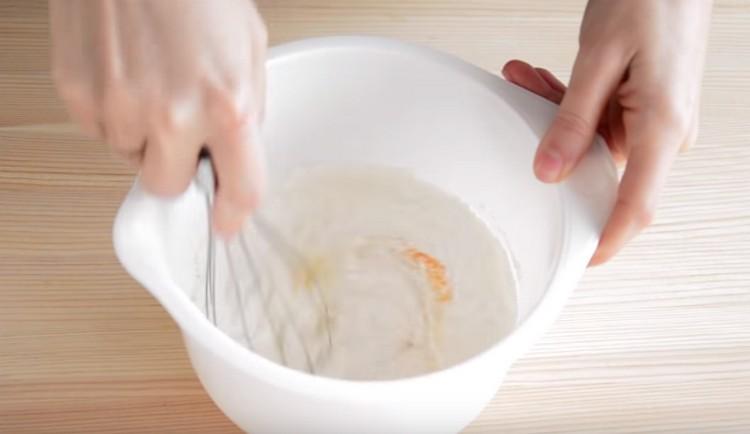
- Mix one egg, 180 g of sugar and 2 tablespoons of corn starch in a bowl and mix with a whisk until smooth.
- Pour milk into a pan and bring to a boil. Next, with a thin stream with continuous stirring, it is necessary to introduce hot milk into the egg mixture.
- Pour the resulting mass back into the saucepan and, stirring constantly, bring the cream to a thick consistency.
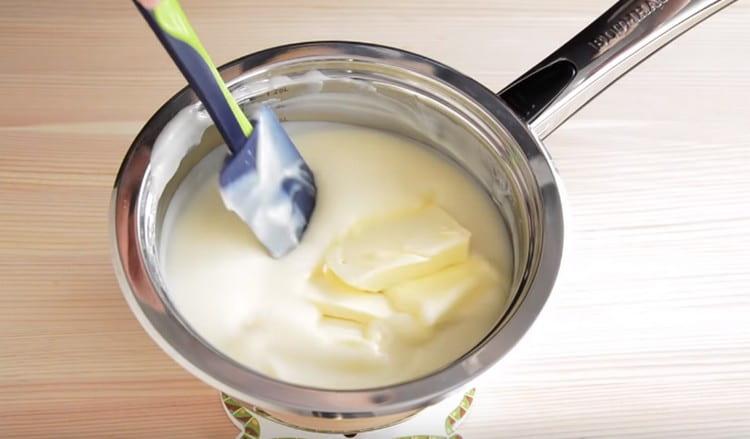
- In a hot custard base add 100 g of butter and mix everything until smooth.
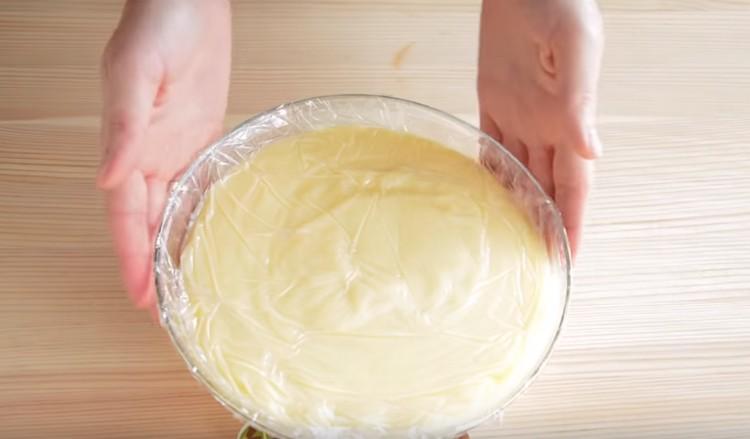
- Then cover the mass with cling film so that the entire surface of the cream is in contact with the film. Put in the refrigerator until completely cool.
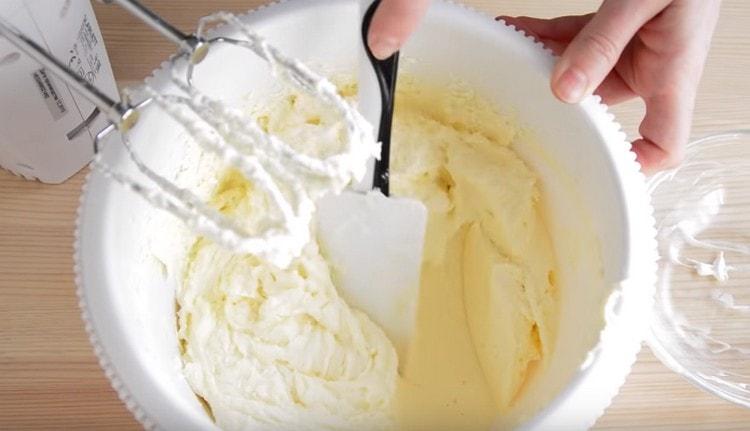
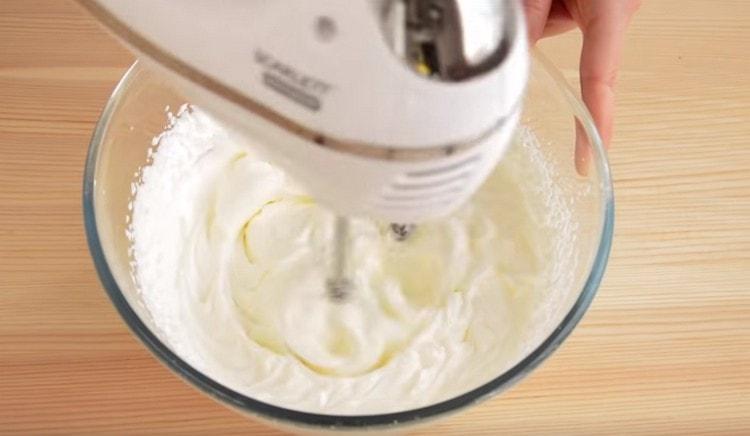
- Beat 200 ml of heavy cream: first at the minimum speed of the mixer, then gradually switch to the largest.
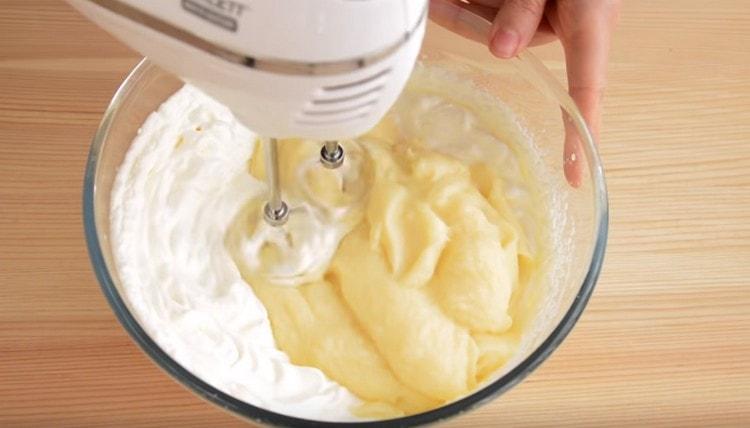
- Then combine the whipped cream and the cooled mass together, mix with a mixer to a single structure.
- The second type of cream is ready! It has a delicate, creamy taste and a very pleasant aftertaste. An interesting fact is that the second name of this cream is Diplomat.


Did you know?To whip the cream well, they must first be removed in the freezer for 20-30 minutes.
Cake assembly
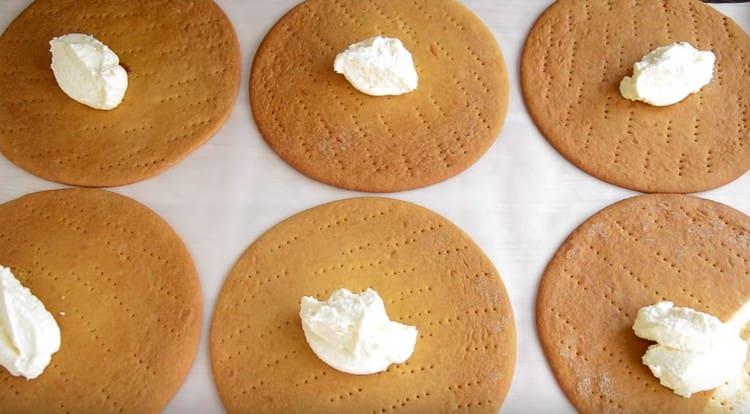
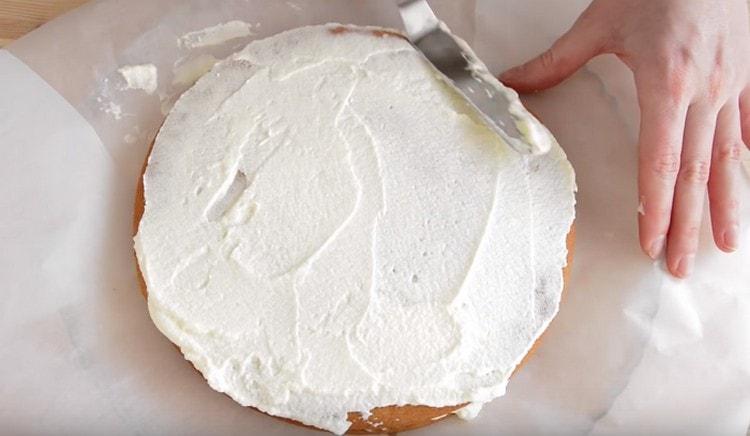
- Spread the prepared cream evenly over all the cakes. Remember to leave a little to cover the sides.
- Then spread the cakes on top of each other, spreading the cream over the entire surface, including the side parts.
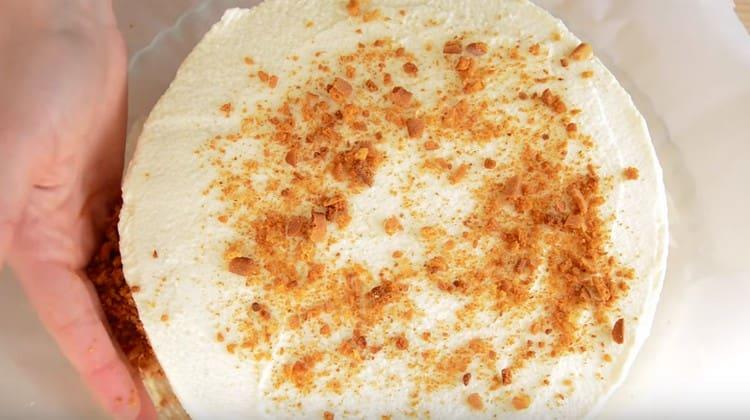
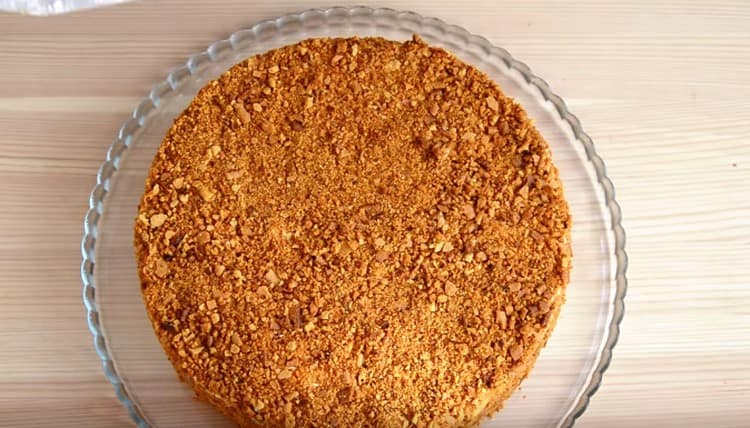
- Cuttings from cakes must be crushed into crumbs and sprinkled on top of the finished cake.
- Put the prepared honey cake in the refrigerator for 2-3 hours so that it is saturated.
Decoration options
This recipe offers a classic honey decoration.
- Shredded walnuts can be added to crust crusts and sprinkled with them.
- There is still an idea to smooth the surface with cream cheese and lay on top the berries or even flowers used to decorate baking.
- If you have the appropriate skill, you can cover the cake with mastic and put on top various thematic figures from the same material.
In fact, there are a lot of options for decorating, and all of them are limited exclusively by your imagination.
Video recipe
The author of this video very clearly explains the whole process of making a honey cake, shows a classic way of serving and tells some useful life hacks to simplify some of the steps.
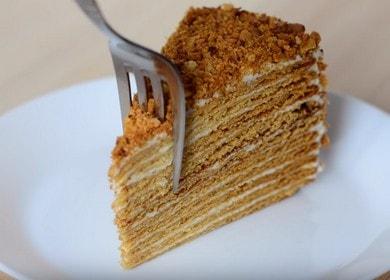
Honey cake is a favorite treat of many children and adults since ancient times. In most families, this cake is the main dish of the festive table. Due to the opportunity to decorate the honey cake in a variety of ways, it can be baked at any event. Tell us how often you cook this cake. Perhaps, after the proposed recipe, you will bake it more often, because it is really easy to prepare.
Other cake recipes
Napoleon cake in the pan
Honey cake in the pan
Kiev cake
Banana cake
Cake Sour Cream
Honey cake in the pan
Kiev cake
Banana cake
Cake Sour Cream
Enjoy your meal!
