
Kitchen appliances and utensils
- can opener
- 4 deep plates
- fork,
- cutting board,
- knife,
- grater,
- kitchen stove,
- pan,
- tablespoon,
- cling film
- dish.
Ingredients
- pita - 3 pcs.
- tuna in its own juice - 1 can
- mayonnaise to taste
- 4 eggs
- cheese - 180 g
- greens (dill, spring onions) - 1 large bunch
Step cooking
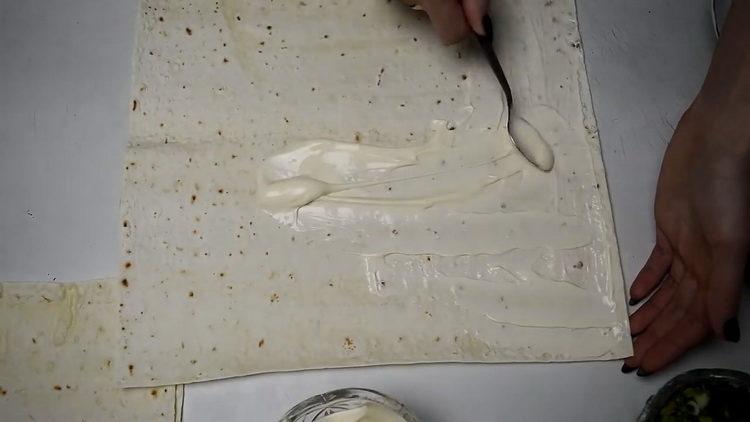
- To get started, take 1 sheet of pita bread. Pita bread you can choose regular, or with any flavoring. Next, grease a sheet of pita bread with a small amount of mayonnaise, lubricate it so that in the future the pita bread is not too dry, but also does not tear. If desired, mayonnaise can be replaced with more useful ingredients, for example, natural yogurt without additives, or sour cream mixed with mustard.
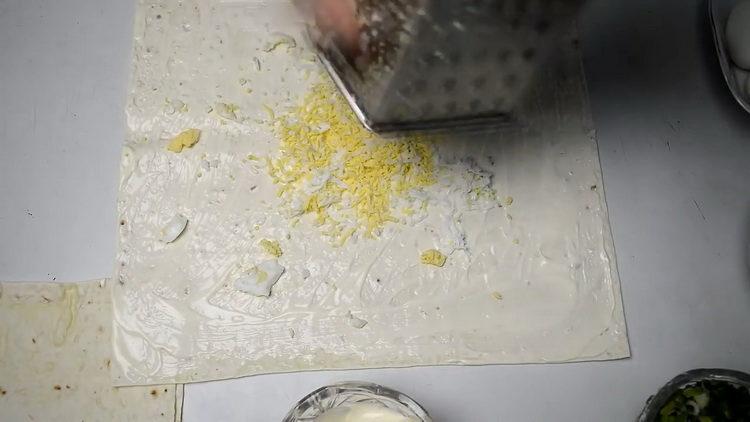
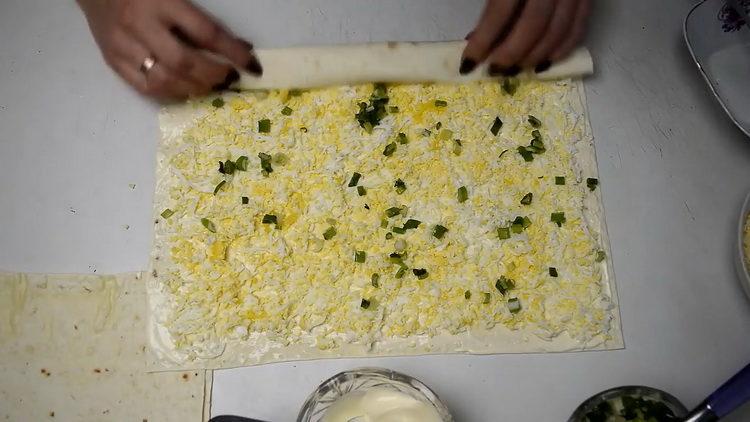
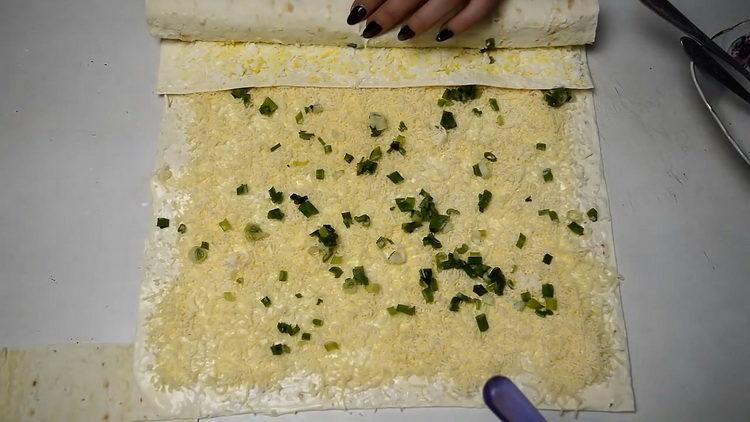
- 4 chicken eggs grate on a small or medium grater. Grated eggs lay on pita bread and evenly distribute over its entire area.
- Sprinkle a small amount of chopped greens on top of the eggs, you can take dill, green onions or all at once. Roll the pita bread into a tight roll.
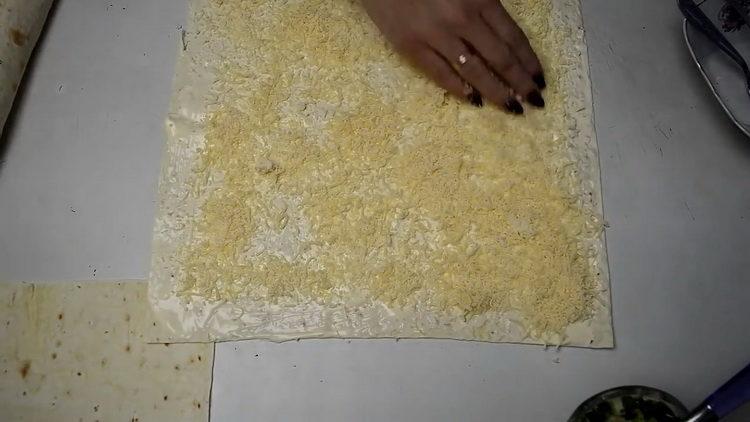
- Grate 180 g of hard cheese on a fine grater. Rub the cheese more or less depending on your taste preferences. Take the second pita bread, grease it with mayonnaise, and then spread the grated cheese all over the sheet.
- Next, you need the first pita bread with an egg, start wrapping it in a pita bread with grated cheese, and then put it aside.
- Lubricate the last pita bread with a small amount of mayonnaise, then open a can of tuna in your own juice, crush it with a fork and put on top of the greased pita bread.
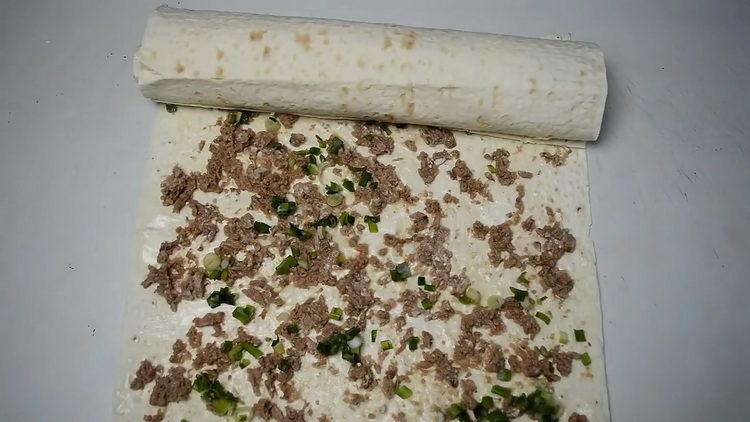
- At the very end, sprinkle the pita bread with chopped herbs and also wrap the previous 2 pita breads inside the last. Now that the pita breads are completely ready, they need to be given time to soak. Wrap the appetizer tightly in cling film so that it does not fall apart and does not absorb excess odors, and then put it in the refrigerator for 1 hour.

- If you do not get too high-quality pita bread that breaks or crumbles during cutting, hold it for 45 minutes in the refrigerator, and then put it in the freezer for another 10 minutes. You should not keep pita bread with filling in the refrigerator for more than 1 hour, otherwise it will become too wet. To cook such an appetizer is better immediately immediately before the feast.

Video recipe
When guests should come to you, you begin to puzzle over how to cook simple and tasty, since layered salads take too much time, and messing with cabbage rolls is not always a desire. We suggest you familiarize yourself with a simple video recipe in which the author shares the secret of making an unusual snack. Cooking such pita bread will not take you too much time, but at the same time, it will surprise your guests with its originality and unusual design.
Dear readers, did you like this simple recipe for rolls with tuna, cheese, egg and herbs? What fillings do you prefer to make pita rolls with? Do you add mayonnaise to the pita bread, or do you replace it with something, if you replace it, then with what? What other not-so-sophisticated snacks you usually serve?
