Kitchen appliances and utensils:
- tablespoon and teaspoon;
- a mixer with two types of nozzles;
- sieve;
- large pan or bowl;
- small bowls;
- disposable or reusable forms for Easter cakes;
- a baking sheet;
- beaker;
- oven;
- paper towels;
- silicone brush;
- wooden stick;
- stewpan;
- cling film.
Ingredients
| Ingredients | amount |
| Premium wheat flour | 1.3 kg |
| Pressed yeast | 50 g |
| Sugar | 650 g |
| Vanilla sugar | 10 g |
| Chicken eggs | 5 pieces. |
| Gelatin | 1 tsp |
| Milk | 380 ml |
| Raisins | 100 g |
| Vegetable oil | 50 ml |
| Butter | 75 g |
| Salt | 0.5 tsp |
| Water | 8 tbsp. l |
| Lemon juice | 1 tsp |
| Color dyes | 3 pcs. |
Step cooking
Cooking Dough
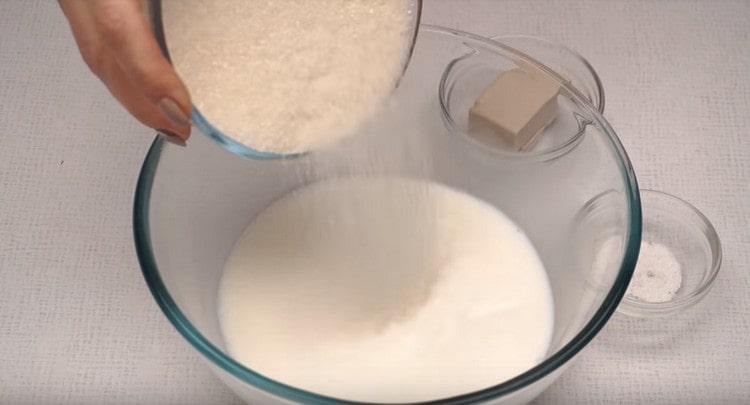
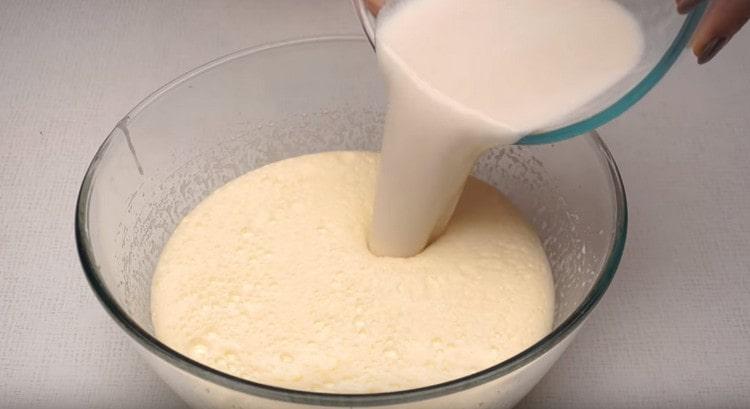
- Pour warm milk (380 ml) into a bowl.

- Pour sugar (100 grams) and salt (1/2 teaspoon).
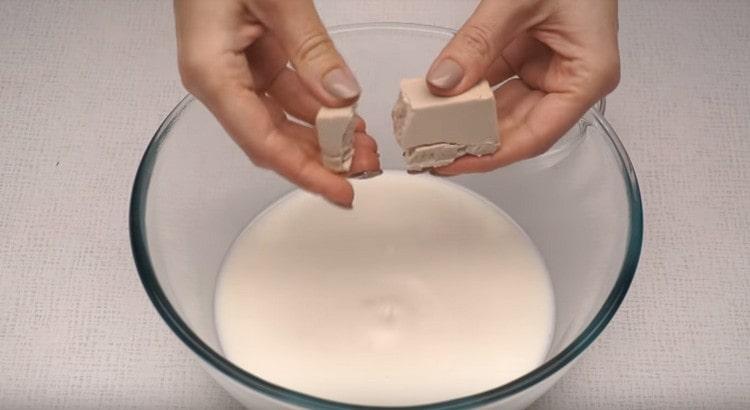
- Crush pressed yeast (50 grams) into a bowl.
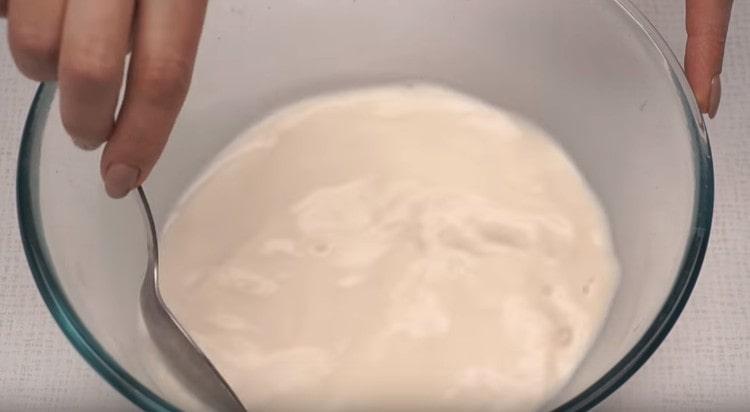
- Mix everything until the yeast is completely dissolved and put in a warm place for 30 minutes. You can put in a slightly warm, disconnected oven.

Knead the dough
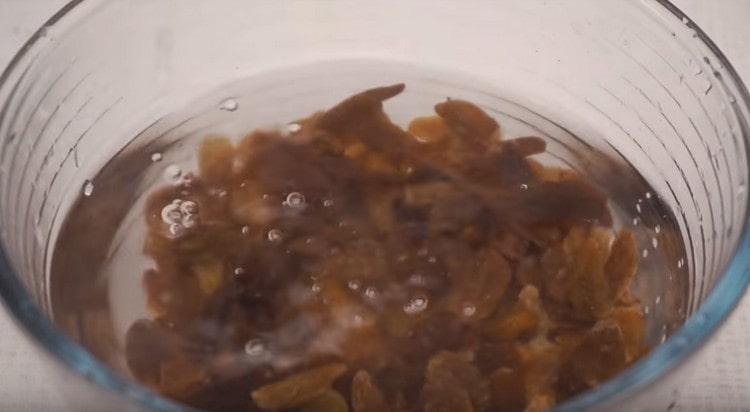
- While the dough is ripening, prepare raisins. To do this, pour raisins (100 grams) with boiling water (1/2 cup) and leave for 10 minutes.
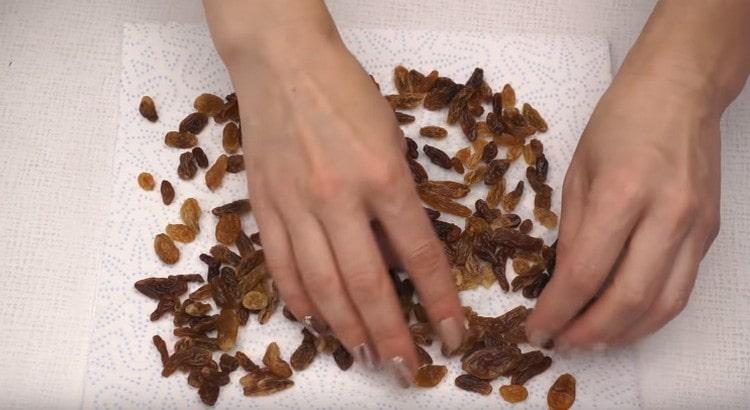
- After the water drain and lay the raisins on a paper towel so that it dries.
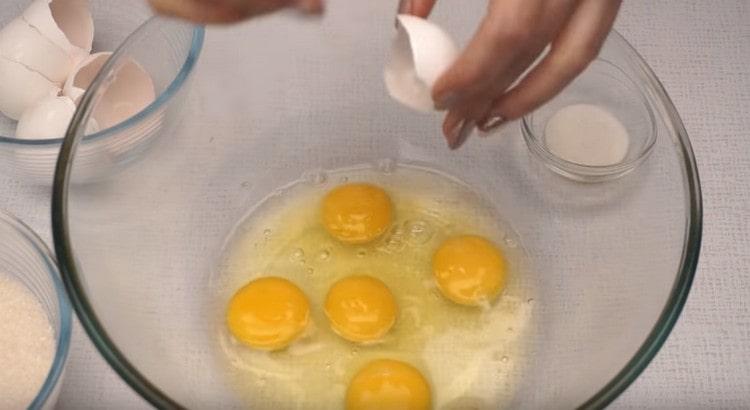
- Beat in a bowl of chicken eggs (5 pieces).
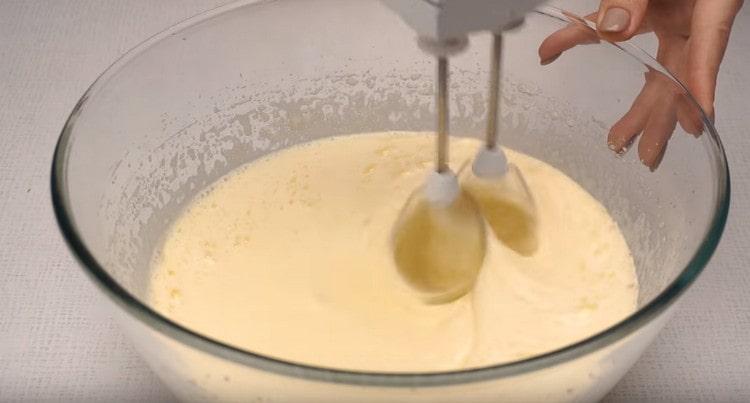
- Add sugar (300 grams) and vanilla sugar (10 grams). Whip with a mixer until lush, homogeneous.
- Melt the butter (75 grams) and pour into a bowl. Mix slightly with a mixer.
- Add ripened dough to the resulting mass and mix with a mixer.
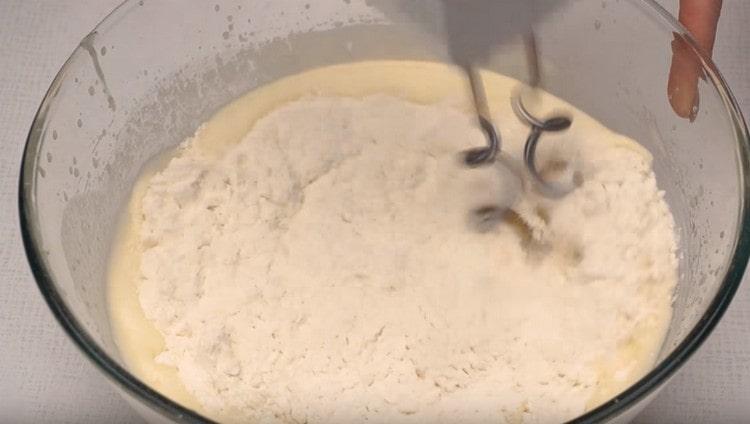
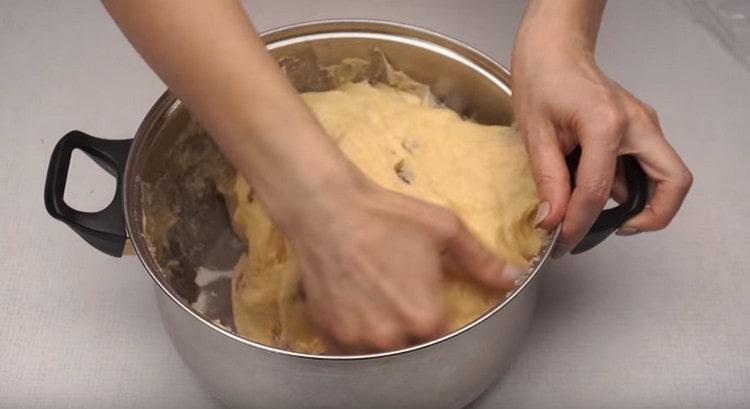
- On the mixer, change the nozzles, put the beaters for the dough and start adding the sifted flour (approximately 500 grams) in parts and gradually knead the dough.
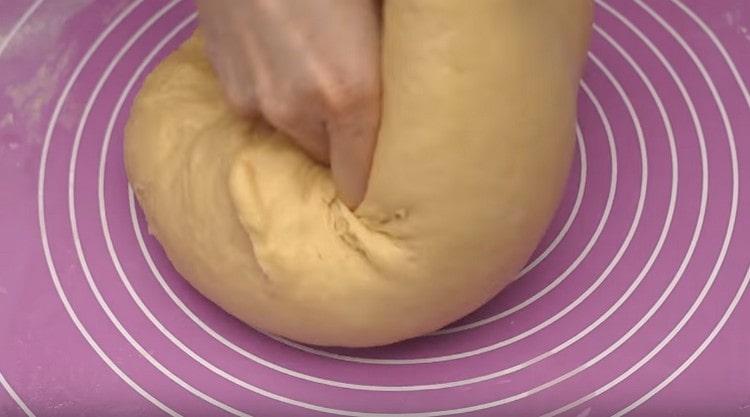
- When the dough becomes thick (stops pouring), put it on the table, sprinkling it with plenty of sifted flour. Gradually add the sifted flour and knead the dough with your hands until smooth and smooth. In time it takes about 10 minutes. It takes 1.3 kg of flour to knead the dough, but you look at the dough, because flour has different properties.
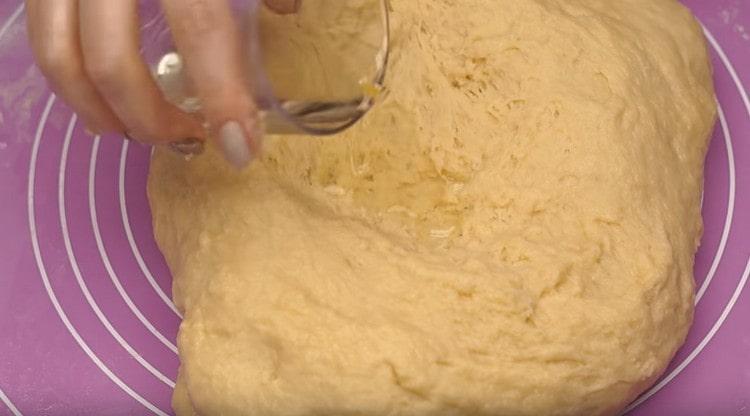
- In the already kneaded dough, add vegetable oil (50 ml) in several approaches and knead the dough for another 2 minutes.
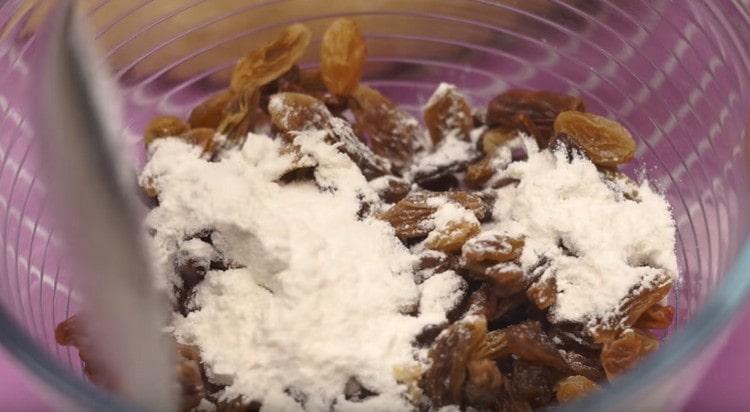
- Add the dried flour (tablespoon) to the dried raisins and mix.
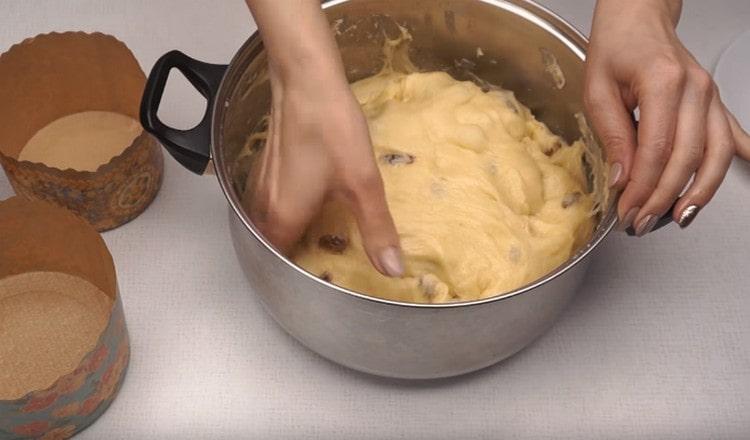
- Mash the dough a little and pour raisins on the dough. Knead the dough thoroughly until the raisins are evenly distributed.
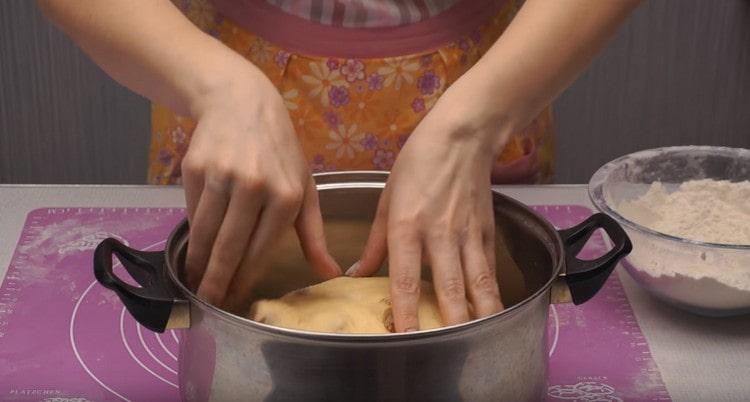
- Sprinkle a large pot or bowl with flour, keep in mind that the volume of the dough will increase by 2-3 times, and lay out the dough.
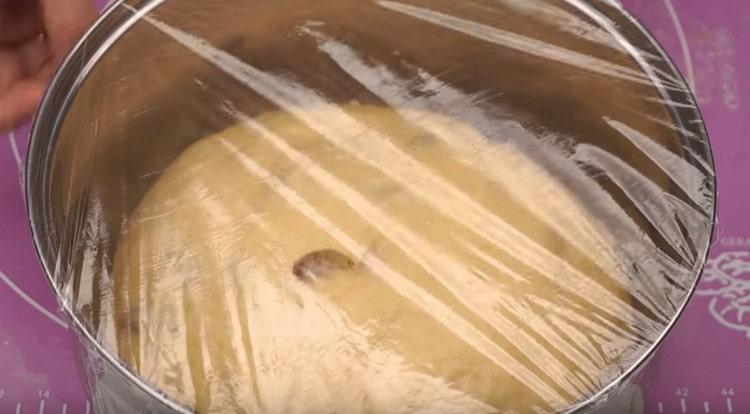
- Cover the pan with cling film so that the dough does not ventilate and place in a warm place.
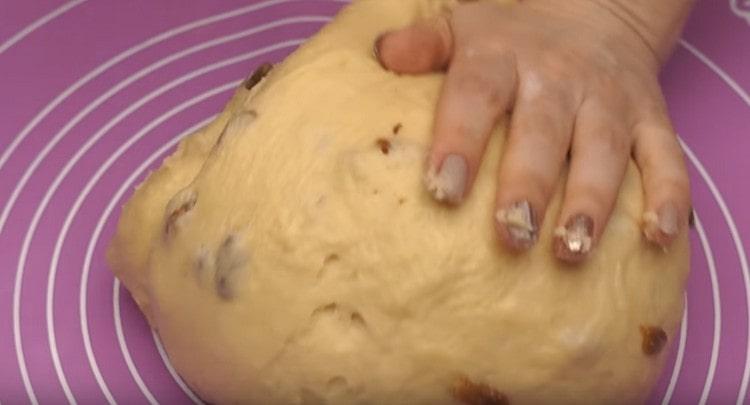
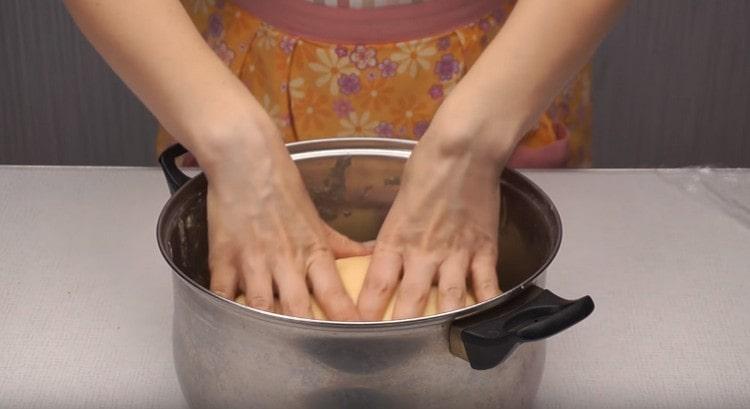
- After the dough has increased in volume by 2 times, knead it with your hands and, having taken out of the pan, hit the table several times to let the air out.
- Re-form the ball from the dough and put it in the pan to come up. Cover the pan with cling film and put in a warm place.
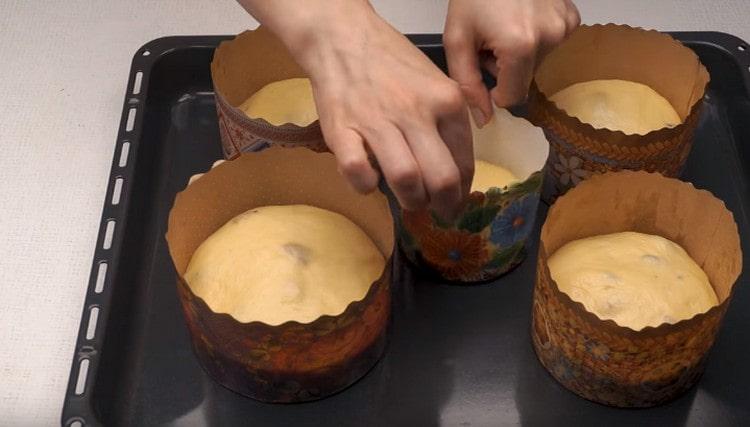
- After the dough has come up a second time, knead it and tear off such a piece of dough in size so that it fills the form from 1/3 to half.
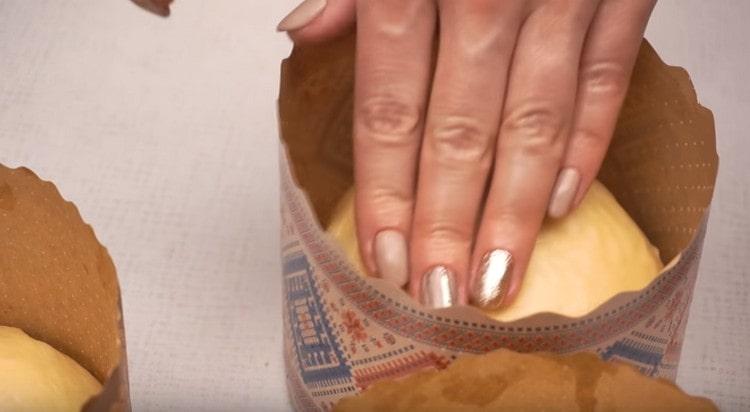
- Press each torn piece of dough into a ball with a smooth top and put it in a mold. If you use disposable forms, then you do not need to lubricate them, reusable forms - pre-lubricate with oil.
- Transfer all completed forms to a baking sheet, on which you will bake cakes, and leave the dough for proofing.
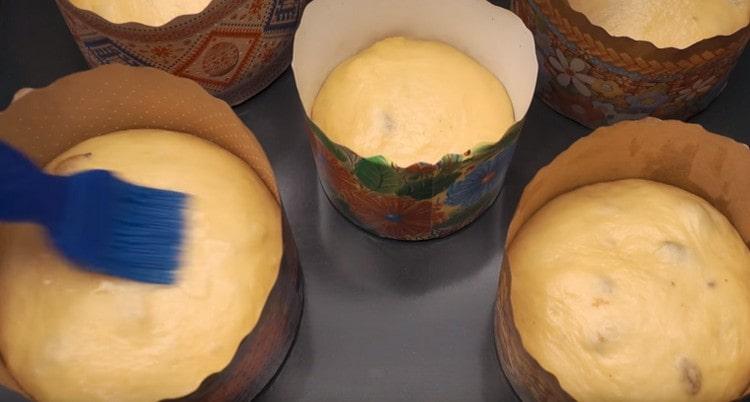
- To prevent the dough from ventilating, periodically lubricate it with a silicone brush with warm water.
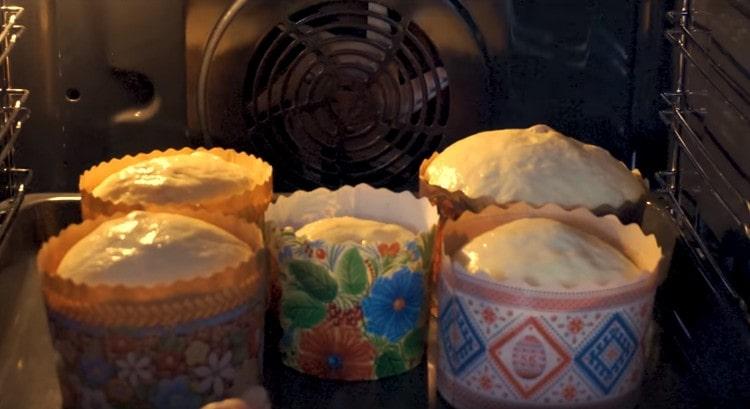
- When the dough doubles in volume, carefully transfer the pan to a preheated oven to 180 degrees and bake Easter cakes for 30-35 minutes. Baking time depends on the size of the cake. Readiness check with a wooden stick.
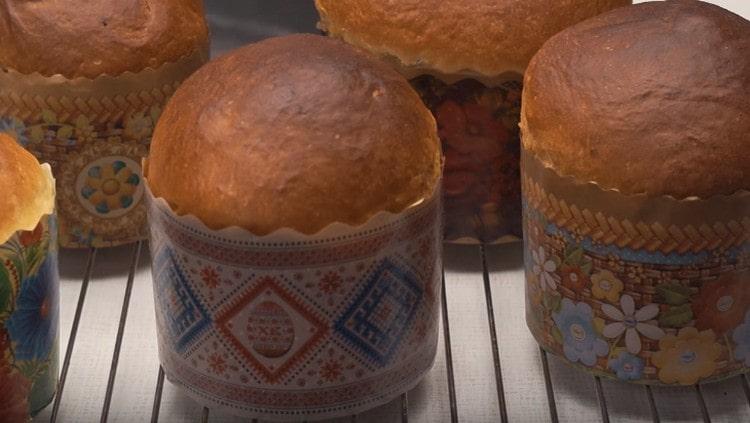
- Place the baked hot cakes on the wire rack and let them cool completely.

We prepare decorations and decorate Easter cakes
Coloring sugar
- Pour sugar (a tablespoon) into a small bowl.
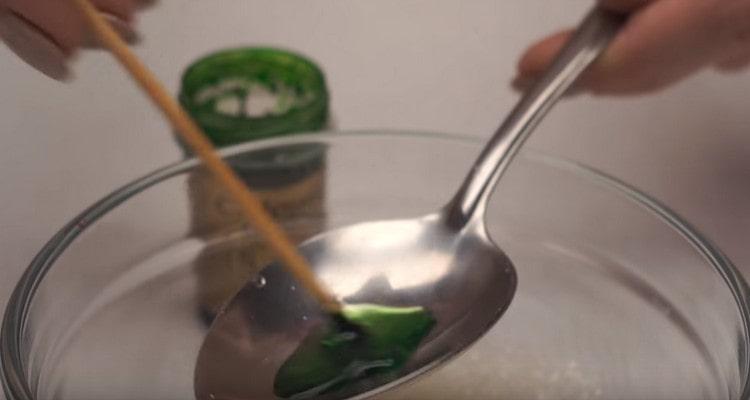
- Pour a small amount of water (a few drops) into a tablespoon and dissolve the food coloring in it by dipping a wooden stick in it.
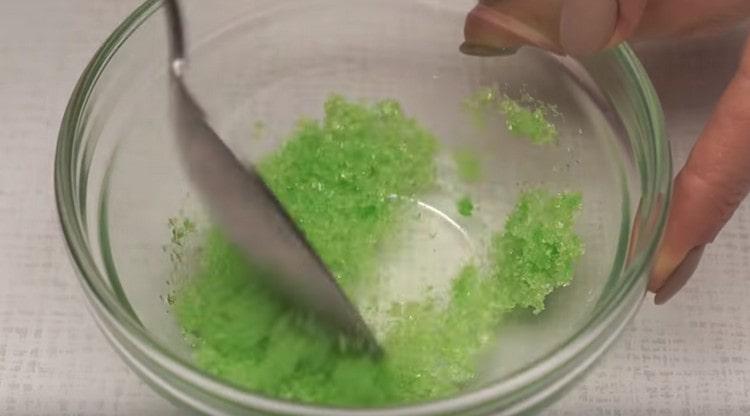
- Add colored water to sugar and mix well.
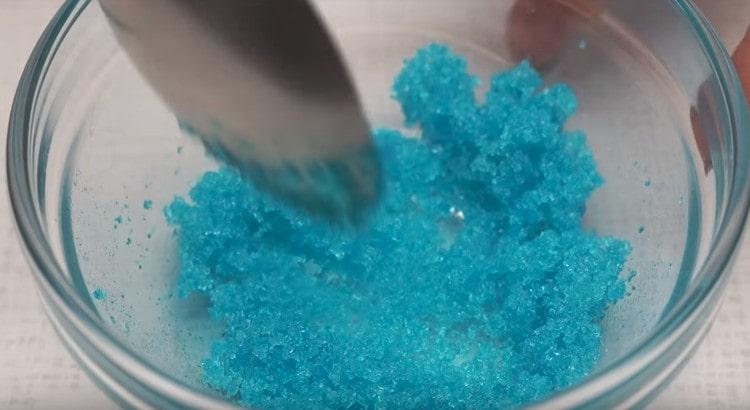
- You can color sugar in this way in different colors, having several food colors.

Cooking Frosting
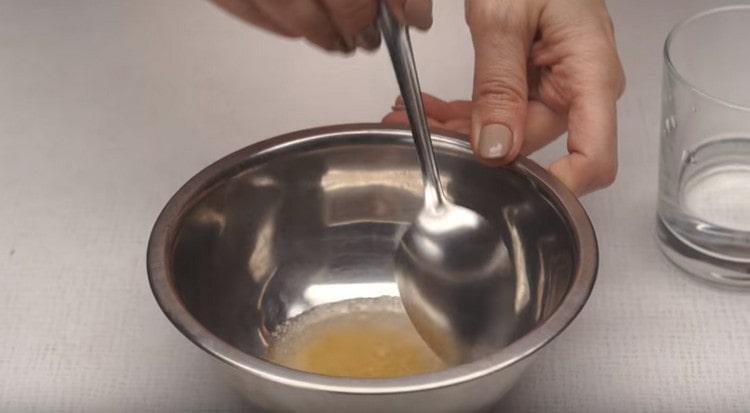
- Pour gelatin (1 teaspoon) into a bowl and fill it with water (2 tablespoons). Stir and leave for 5-10 minutes to swell the gelatin.
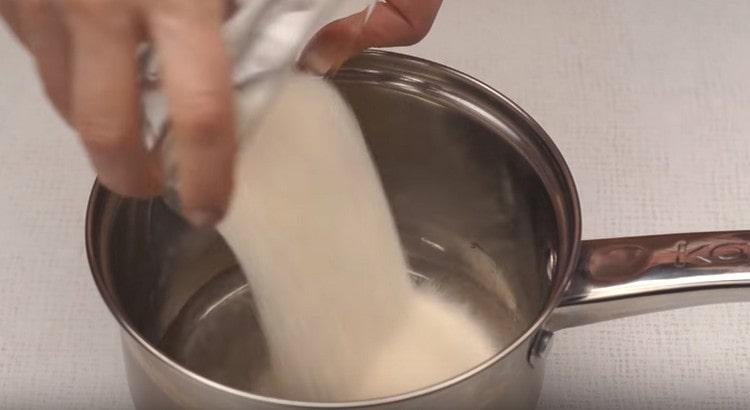
- Pour water (5 tablespoons) into a stewpan, add lemon juice (a teaspoon) and pour sugar (200 grams).
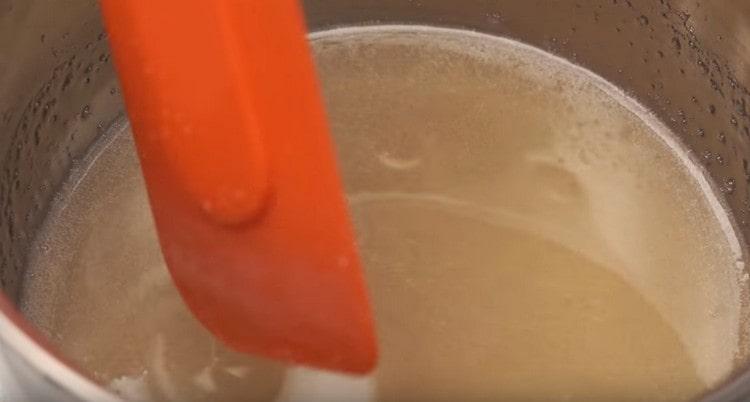
- Put the stewpan on the fire and bring it to a boil with continuous stirring with a wooden or silicone spatula. All sugar should dissolve.
- When the sugar has dissolved, remove the syrup from the heat and put the swollen gelatin to it.
- Beat the whole mixture with a mixer for 4-5 minutes until a dense white mass is obtained.


We decorate Easter cakes
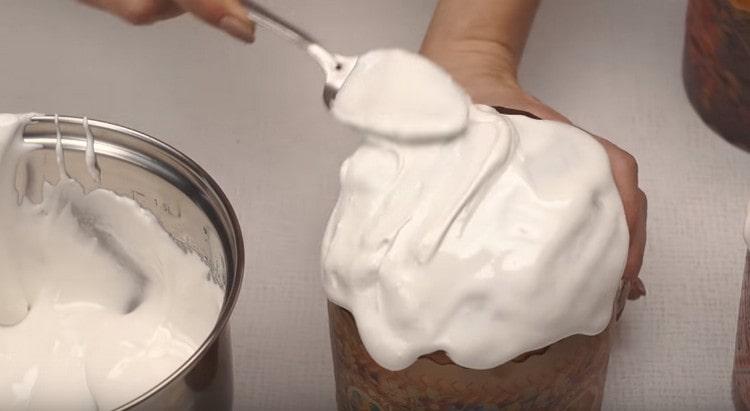
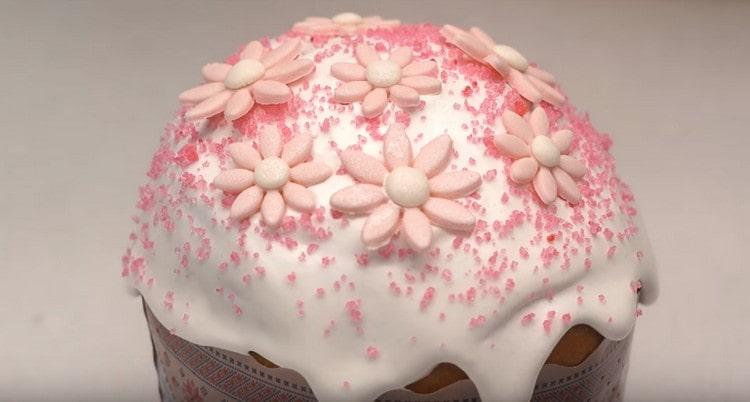
- Decorate the cooled cakes with the prepared glaze immediately, as it freezes very quickly. Do this with a tablespoon.
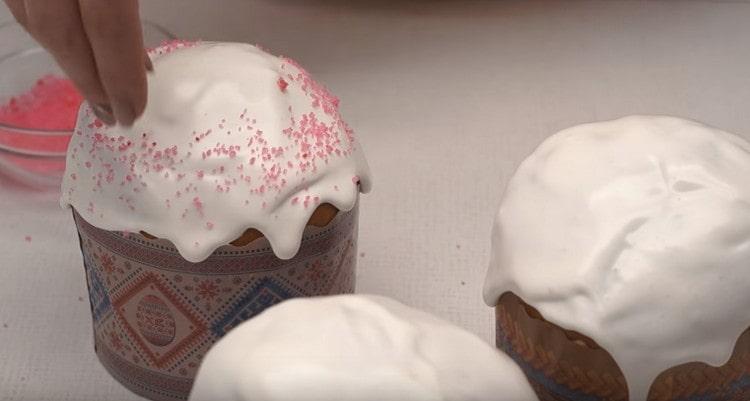
- While the icing on the cakes is not frozen, decorate them with prepared colored sugar.
- At the request of Easter cakes, you can decorate with colored sprinkles and flowers or figures made of mastic.
Video recipe
After watching the video you will learn how to cook the dough, knead the dough and bake Easter cakes. And also learn how to prepare decorations and beautifully decorate Easter cakes.
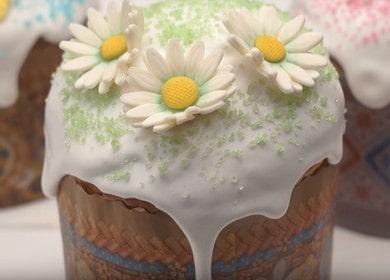
You have learned the recipe for making Easter cakes. According to this recipe, Easter cakes are very tender, airy and delicious. The icing prepared in a special way does not crumble even after several days of storage. Bake Easter cakes according to the recipe and write in the comments if you liked it.
