Kitchen appliances and utensils: an oven, a baking sheet, baking paper, a kitchen towel, a whisk, a sharp knife, a kitchen scale and other measuring accessories.
Ingredients
| Components | Proportions |
| puff yeast dough | 700 g |
| egg | 1 PC. |
| granulated sugar | optional |
| canned cherry | 250-300 g |
| Wheat flour | 20-40 g |
Step cooking
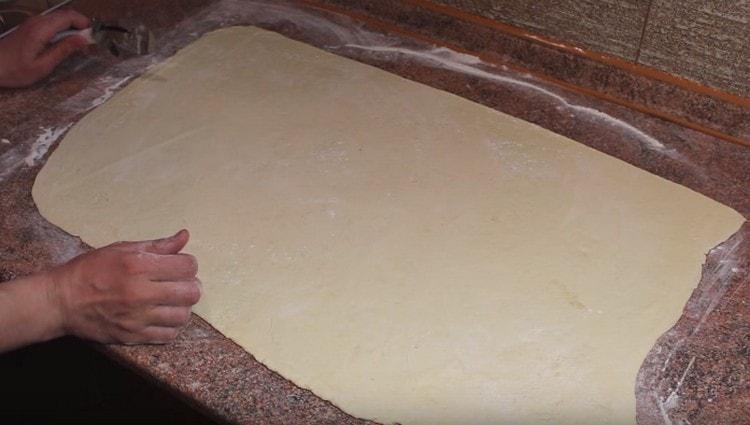
- We lay out the finished puff yeast dough weighing about 700 g on a table, which is pre-sprinkled with a small amount of flour. Using a rolling pin, we roll out the dough into a rectangular layer 3-4 mm thick.

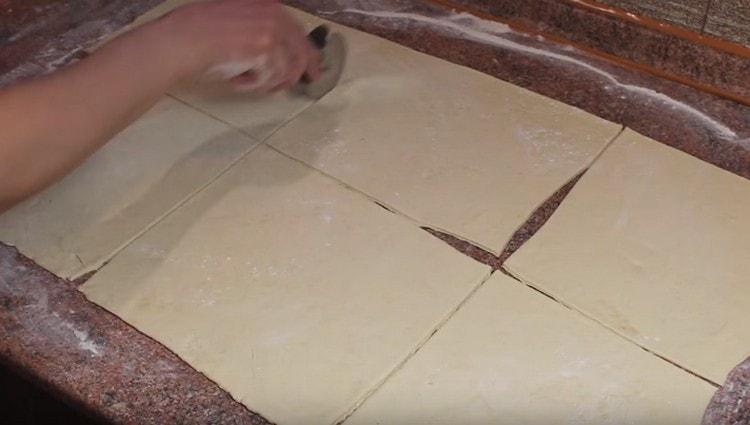
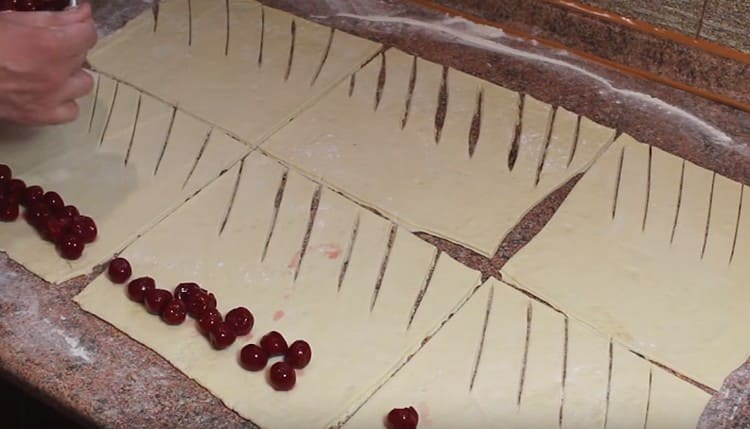
- The resulting layer is cut into six identical squares.
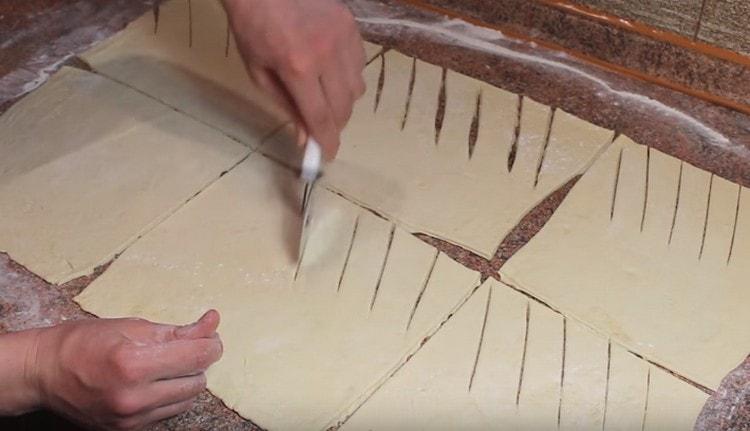
- We take one square and visually measure 5 cm - this part of the test will be filled with filling. The rest of the square is cut into strips.
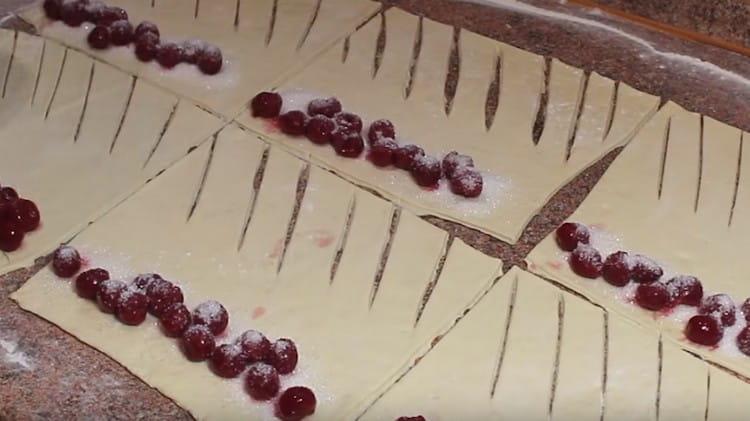
- Canned pitted cherries are laid out on the whole part of the square. If the berries have too much juice, then mix them with corn or potato starch. Also in this recipe, the use of fresh fruits is allowed.
- Sprinkle the berries with granulated sugar or icing sugar. Determine the amount of sweet ingredient yourself, focusing on your own taste.
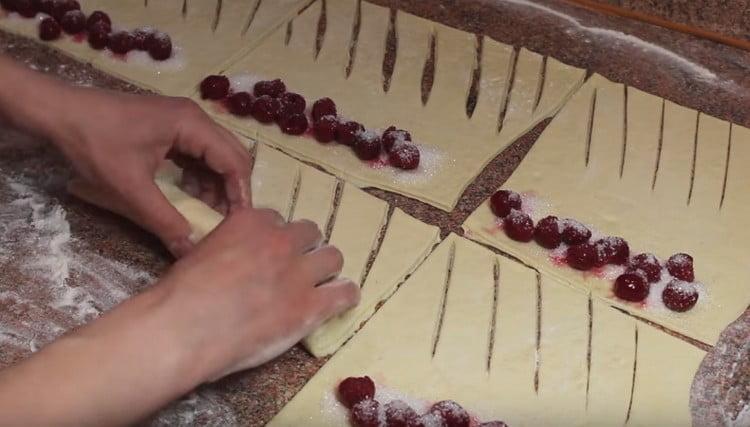
- Wrap a square in a roll.
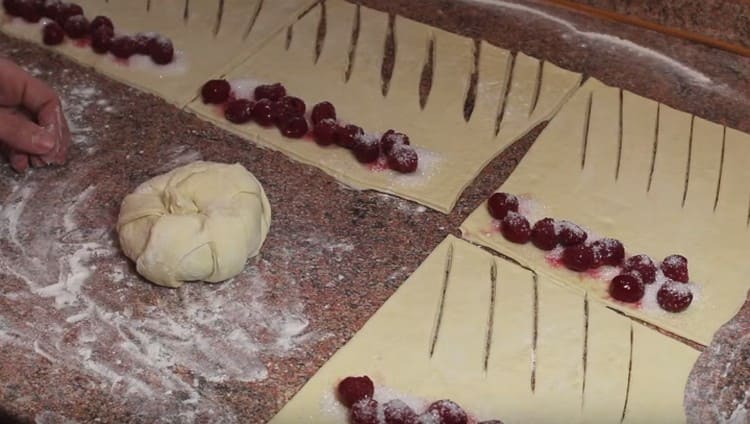
- Then twist it into a snail.
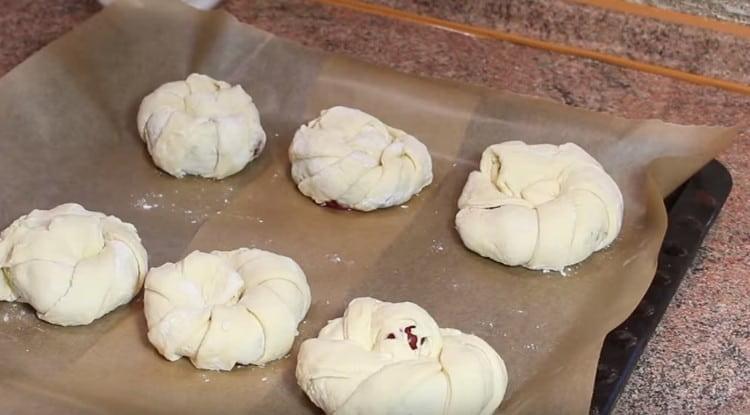
- The formed puff is sent to a baking sheet covered with baking paper. We do the same with the rest of the squares, making beautiful puff buns of them.
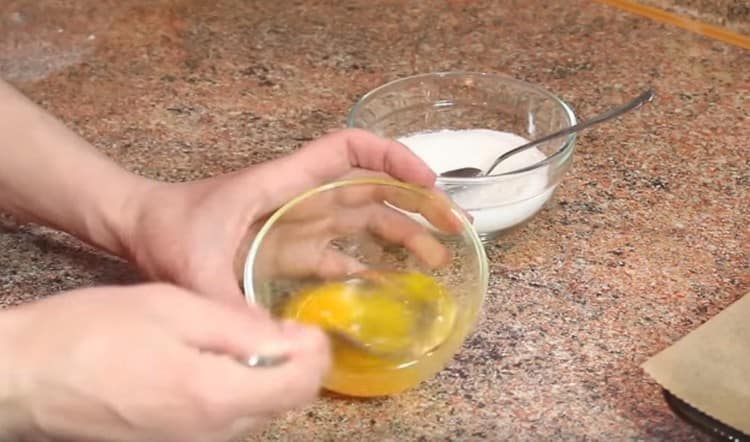
- Formed puff products are covered with a kitchen towel, allowing them to "rest" for 10-15 minutes. In the meantime, break one chicken egg, and then beat it well with an ordinary fork.
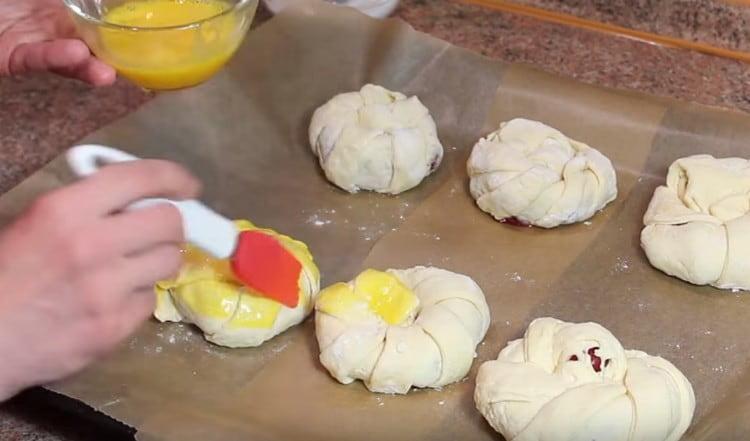
- Abundantly grease the rested buns with an egg mixture, which will give the finished baking a ruddy appetizing look.
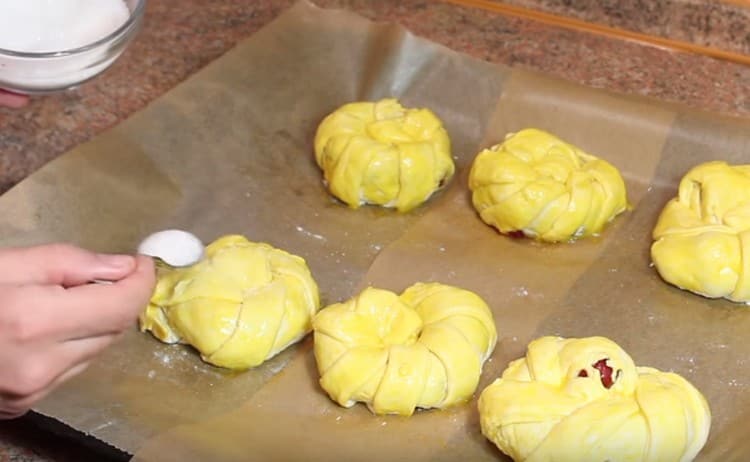
- Sprinkle greased products with sugar.
- We turn on the oven and heat it to a temperature of 190-200 ° C. We send the formed puff pastries to the red-hot oven. Bake a treat for about 15-20 minutes until golden brown. Check the readiness of the puffs with a toothpick. We lay out the hot pastries on a plate and allow it to cool to a warm state, and then we treat ourselves.

Video recipe
Having carefully watched the video presented, you will see the whole process of preparing puffs with puff pastry cherries. An experienced culinary specialist will demonstrate an interesting way to form puff pastries with berry filling, as well as share useful tips that rule out the occurrence of irreparable errors.
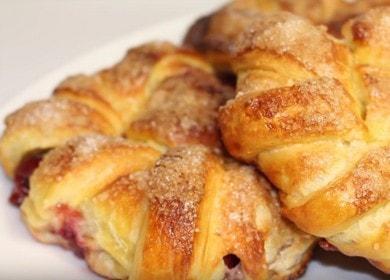
As you can see for yourself, if you have ready-made puff pastry, then making puffs with berry filling will not take much time and will not require much attention from you. The cooked treat has an amazing rich aroma and awesome berry taste. Such pastries will find a worthy place at any festive event. Enjoy cooking and do not forget to write a few words regarding the taste of the layers of cherry prepared according to the described recipe. Enjoy your meal!
