Kitchen appliances and utensils:
- kitchen knife;
- deep bowl;
- teapot;
- skimmer;
- tablespoon;
- colander;
- Dryer.
Ingredients
| Product | amount |
| Squid | 1 kg |
| Water | 4-5 l |
| Salt | 200 g |
Step cooking
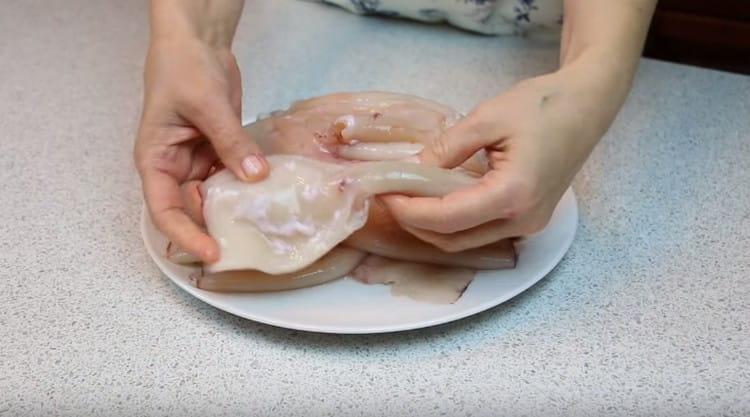
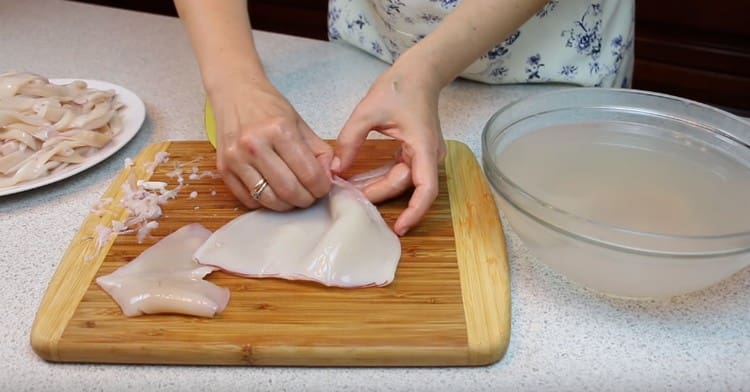
- If you purchased frozen squids, you must first thaw them at room temperature. When they are half-thawed, they must be thoroughly cleaned, all entrails and the chord removed. In total we will use 1 kg of seafood.

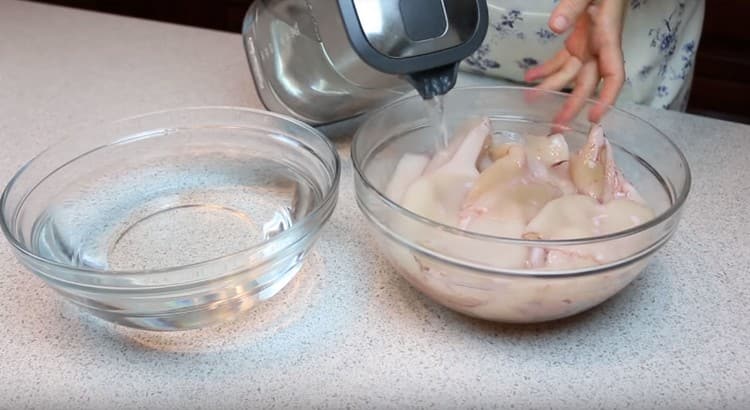
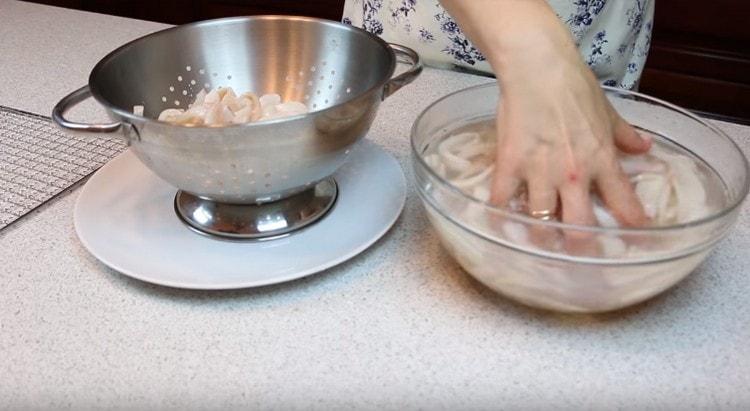
- We shift the cleaned squids into a deep bowl. In a teapot, we heat about 2 liters of water and pour the squids with boiling water. We leave to stand seafood in boiling water for several seconds.
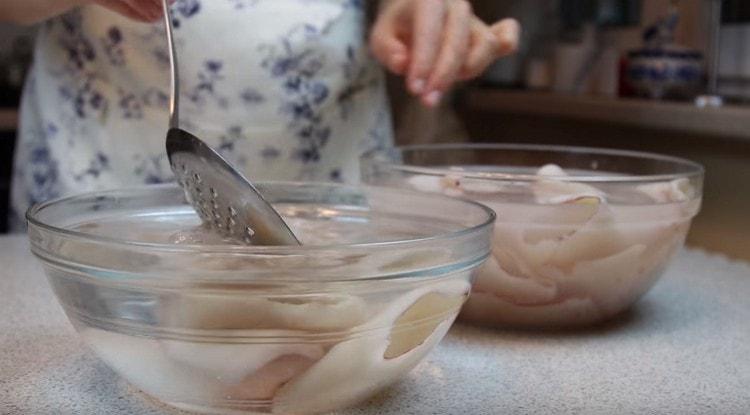
- In a separate bowl we collect about 2 liters of cold water. Using a slotted spoon, we take squids out of boiling water and transfer them to cold water. Doing this is necessary so that the squids are well cleaned and have a pleasant light shade.
- We cut each squid and remove the remaining thin films or any insides inside.
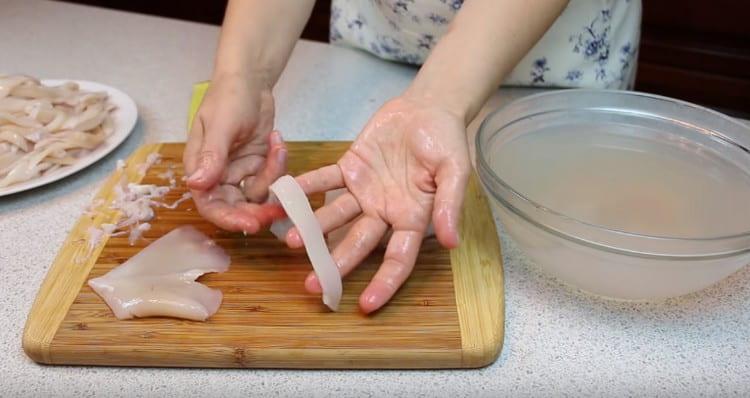
- We cut the squid into strips with a thickness of about 1.5-2 cm. You can cut the squid as you like, including rings.
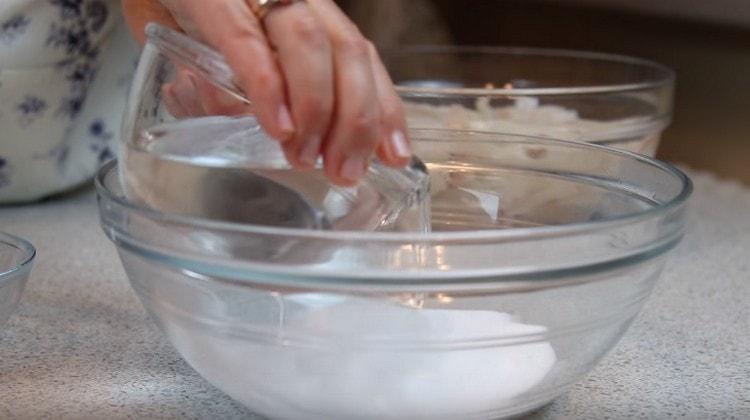
- In a separate bowl we prepare a strong saline solution, in which we marinate the squid. To do this, put 200 g of table salt in a bowl and fill them with 1 liter of water. If you took more squids, then calculate the salt of 200 g per 1 liter. Mix well with a tablespoon.
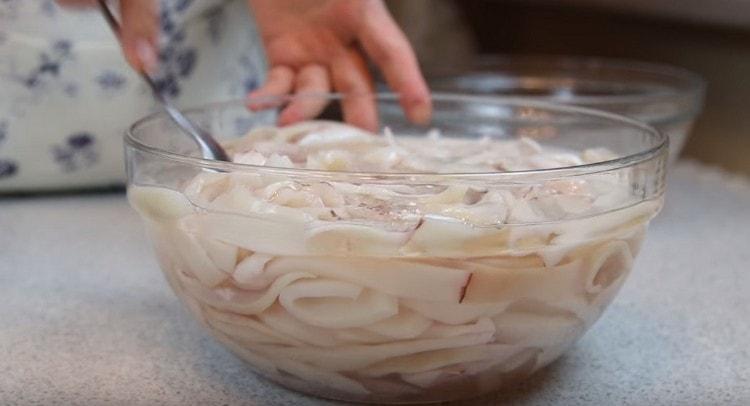
- We shift the squids in saline and pickle for 5 minutes. We mix seafood periodically so that the salt is evenly distributed.
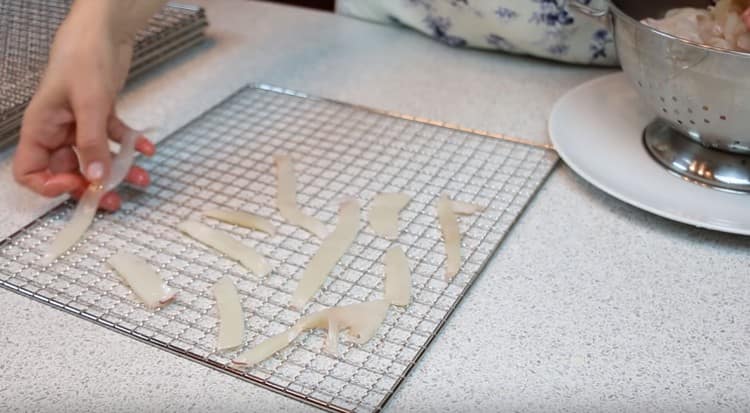
- After 5 minutes, we shift the squid into a colander so that the glass is excess liquid. Rinse them under running water is not required.
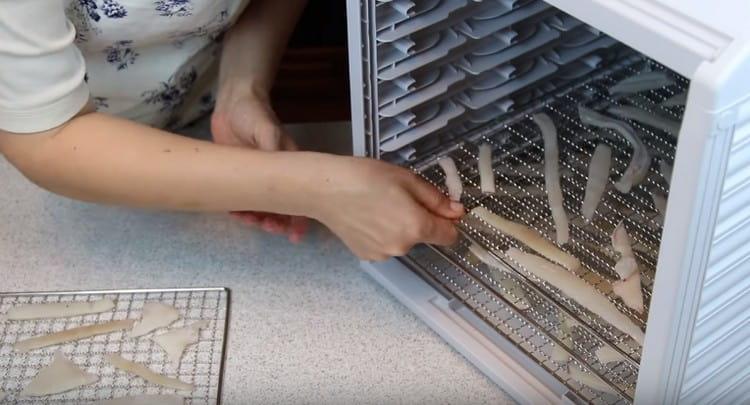
- Sliced and salted squids put on the grid of the dryer.
- We install them in the dryer itself. Set 60 degrees and set to dry for 5 hours. The drying time for squids can be slightly reduced, but it should be at least 3 hours.
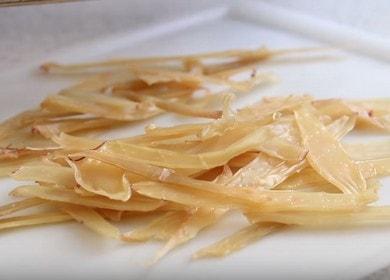
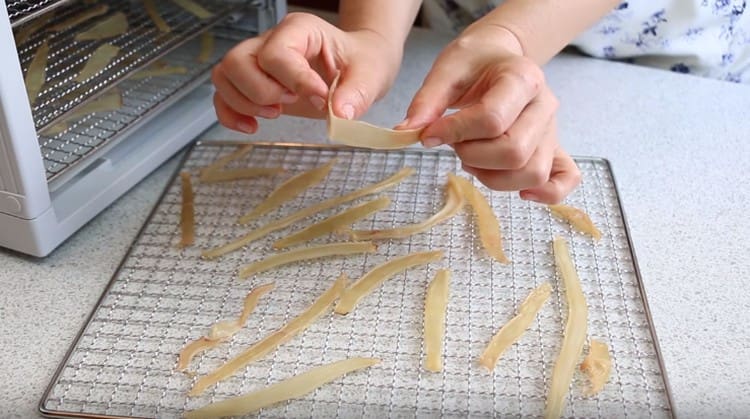
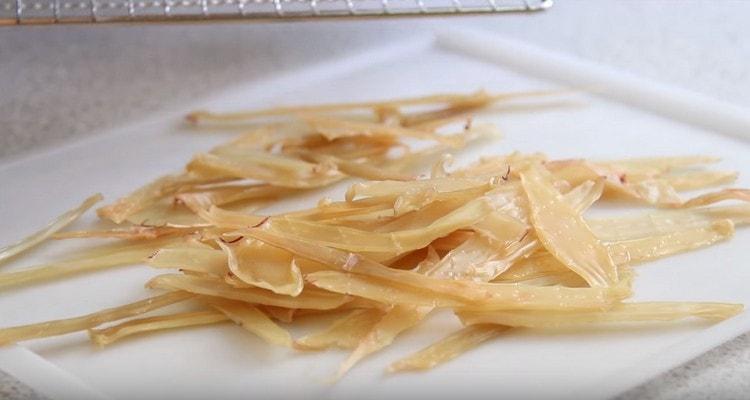
- After 3-5 hours, the squid has dried, but has not yet become brittle and brittle. Dried squids are ready to eat.
- From 1 kg of raw squid, approximately 200 g of dried squid is obtained. Squids are moderately salted, but not salted. The consistency is relatively soft and pleasant. This homemade appetizer is perfect for beer.
Video recipe
The video shows a step-by-step recipe, guided by which, you can cook a delicious appetizer for beer, namely dried squid. Making them is very simple, just have a dryer. The whole process is described in detail, and all the necessary ingredients are indicated. To squid turned out not salted, it is important to strictly observe the ratio of water to salt.
Have you tried squid drying at home, or do you prefer to buy a finished product? Did you have difficulty cleaning raw squids? Do you use a dryer or make dried squid in any other way? Share your recipe for a similar snack in the comments.
