Kitchen appliances and utensils: bowl, towel or lid, cling film, rolling pin, baking sheet, oven, spoon.
Ingredients
| Product | amount |
| Egg yolks | 2 pcs. |
| Flour | 540 g |
| Salt | 1 tsp |
| Water | 250 ml |
| Corn starch | 40 g |
| Butter | 150 g |
| Minced meat | 500 g |
| Onion | 350 g |
| Zira | ⅓ tsp |
| Salt | 1 tsp |
| Ground black pepper | ½ tsp |
Step cooking
- First, melt 250 g of butter in a water bath.

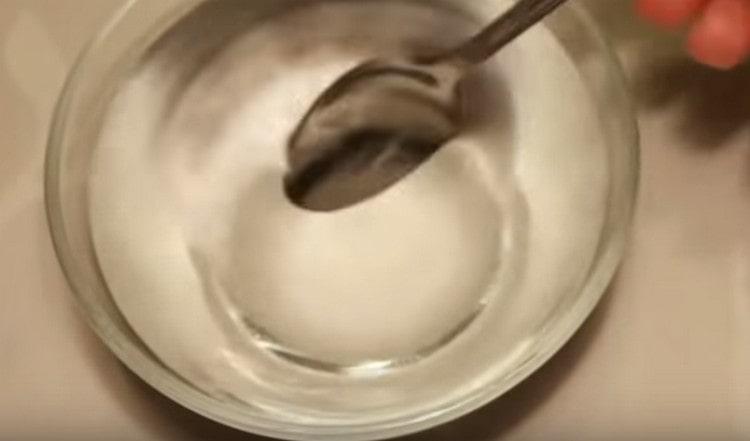
- Pour 250 ml of water into a separate bowl, pour one teaspoon of salt, mix to dissolve the salt.
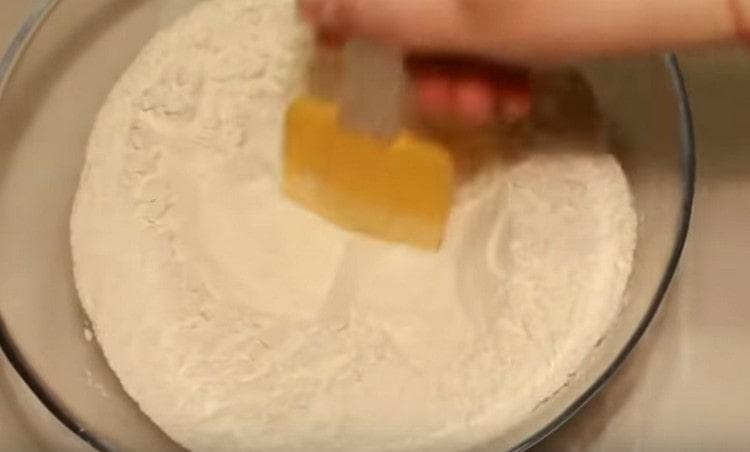
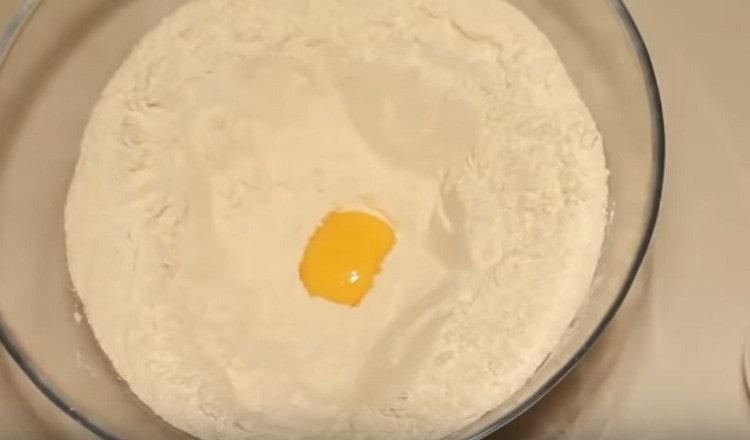
- Sift 500 g of flour into a separate clean bowl.
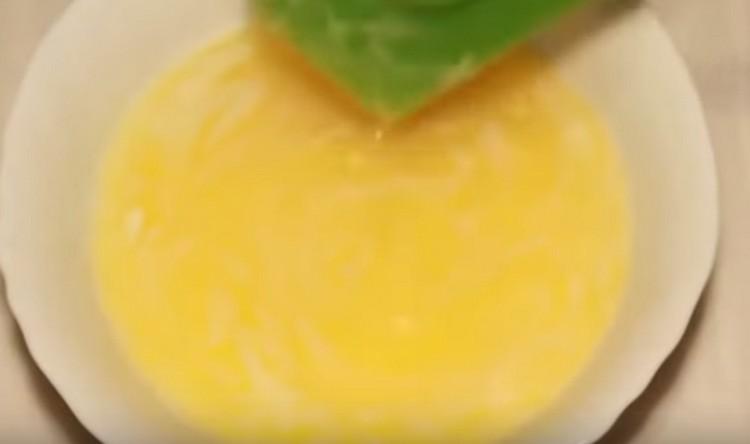
- Separate the yolk from the chicken egg, send it to a bowl with flour, and you can use the protein for other purposes.
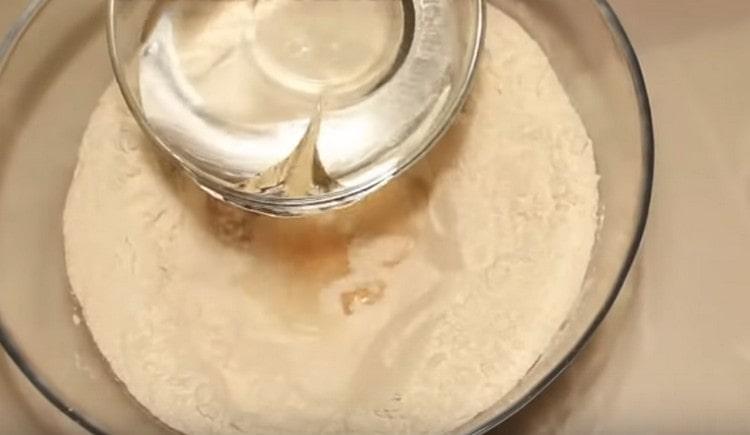
- We add a solution of water with salt to the flour, and knead the dough.
- In the beginning, knead with a spatula, and then with your hands. When the dough becomes one lump, put it on the work surface and knead for seven minutes. After that, put in a bowl, cover with a lid or towel and leave to rest for twenty minutes.
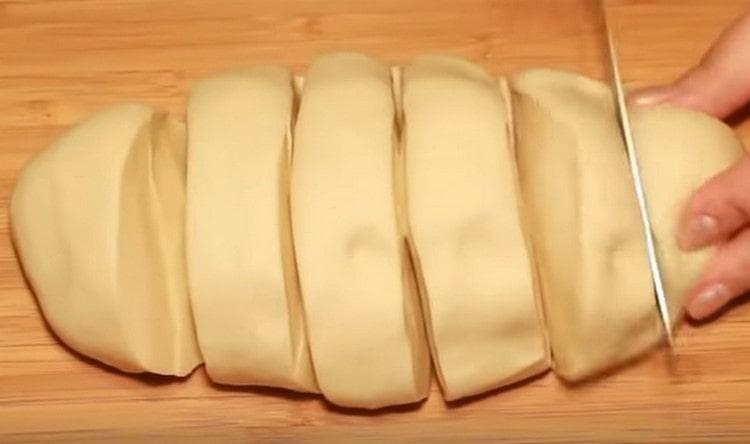
- Then again knead the dough with your hands. If there are lumps of flour left for another 20 minutes to rest. If not, then we form a sausage and divide into six equal parts.
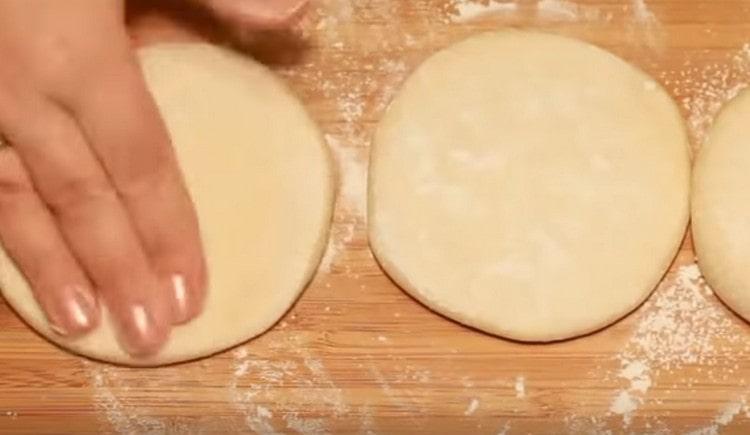
- We form balls, we press a little on top. We spread it on a plate, cover with cling film and send it to the refrigerator for 20 minutes.
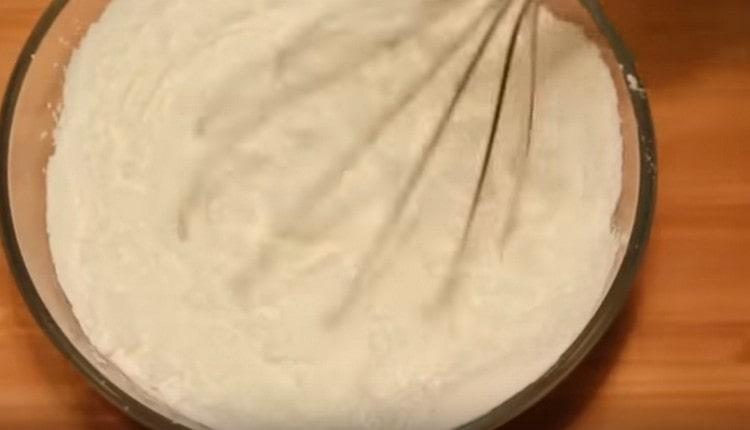
- Pour 40 grams of corn starch into a bowl, add 40 grams of flour, mix with a whisk. This mixture will sprinkle the work surface and the dough.
- We spread three flat cakes in a row, sprinkle flour and starch on top of them. Knead the dough with your fingers, making flat cakes out of it.
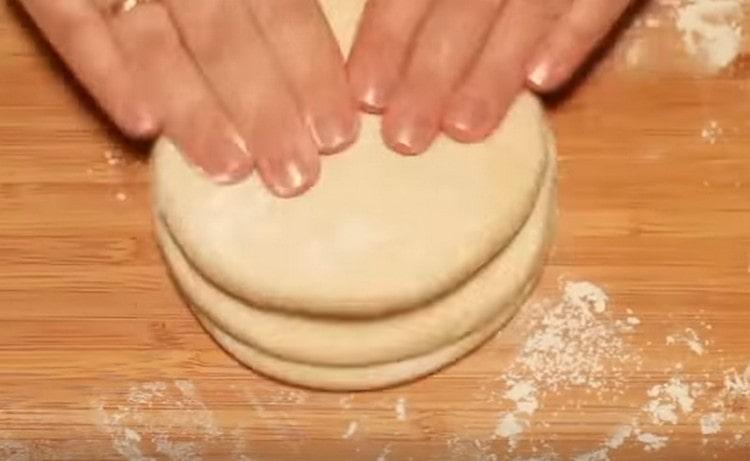
- On one cake, put the second on top and continue to roll out with our hands. Then put the third tortilla on top, knead.
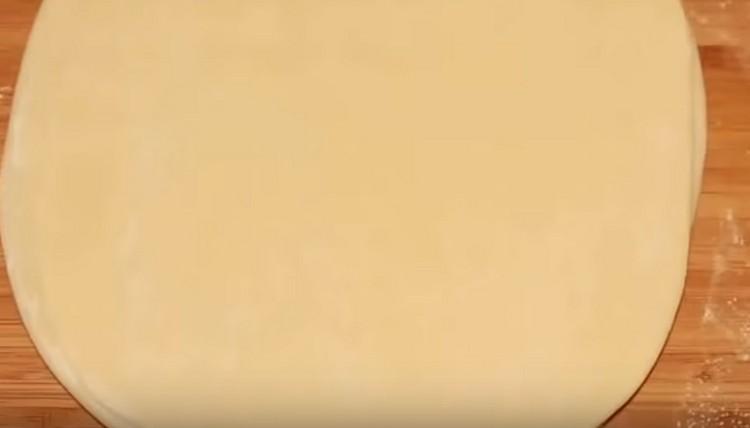
- Then sprinkle flour with each cake and continue to roll out a stack of three. During such rolling, we turn the cakes over, swap them, constantly sprinkle flour with starch. Then we roll them out with a rolling pin, continuing to change the sequence of cakes between them. Roll cakes with a thin layer. We will make each one with a diameter of 45 cm.
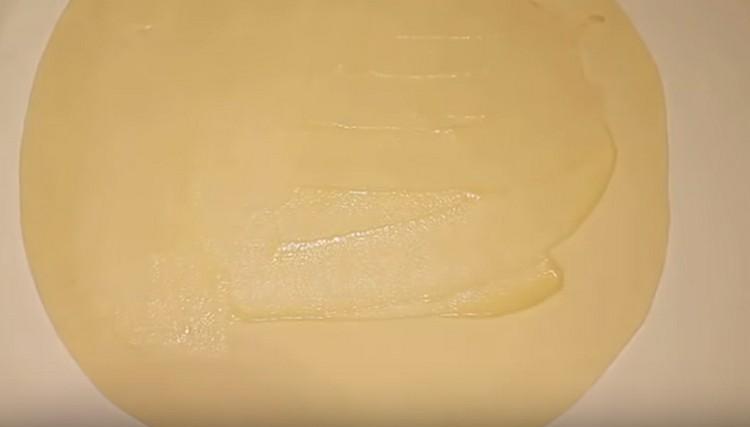
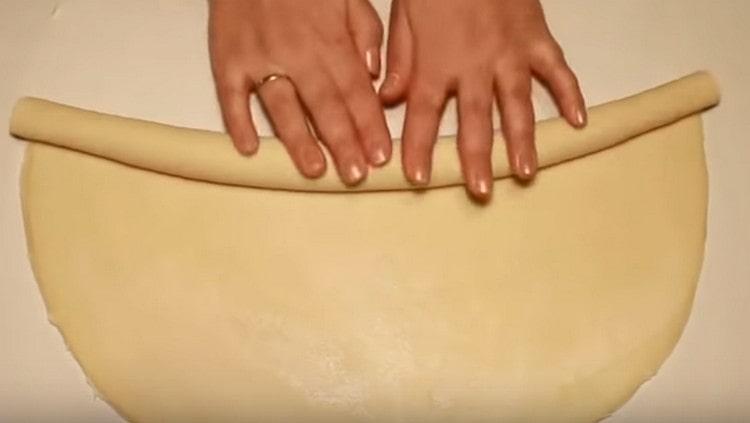
- Grease the first layer of dough with melted butter. For each layer, approximately 2 tablespoons will be needed.
- Put a second on top of it, grease it with oil, then a third, and also grease it.
- We turn it into a bundle, then into a snail, put it in a plate and send it to the freezer.
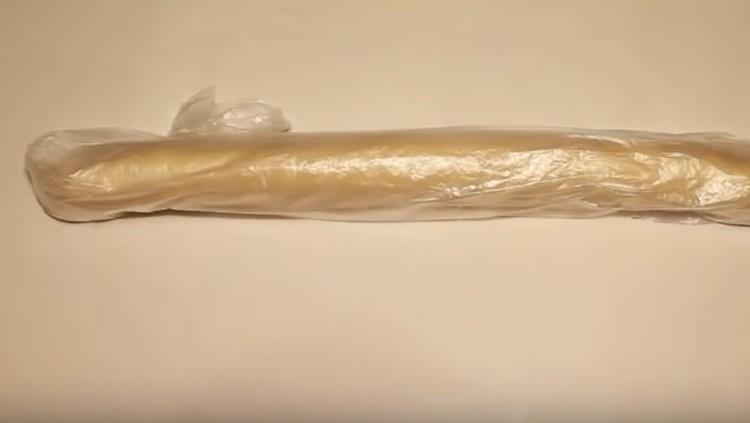
- The remaining three cakes are also rolled out, greased with melted butter. We take a snail from the dough from the freezer, unfold it with a roller and wrap these three layers on it. We wrap it with cling film and send it to the freezer for 2 hours.
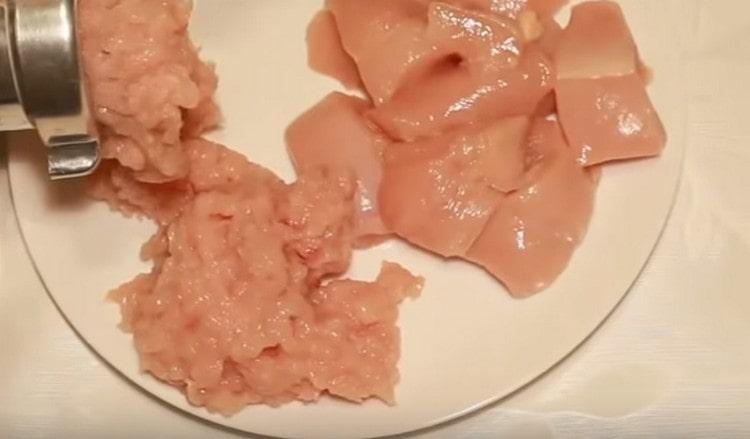
- Now let's get into the filling. We will cook from 500 g of minced chicken, send it to a bowl.
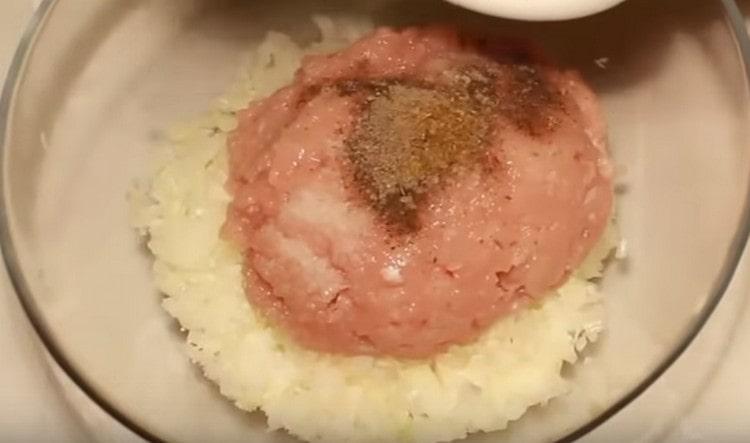
- Three or four onions are cut into very small cubes, sent to the minced meat. Add ½ teaspoon black pepper, 1 tsp. salt, ½ tsp. chopped zira, mix.
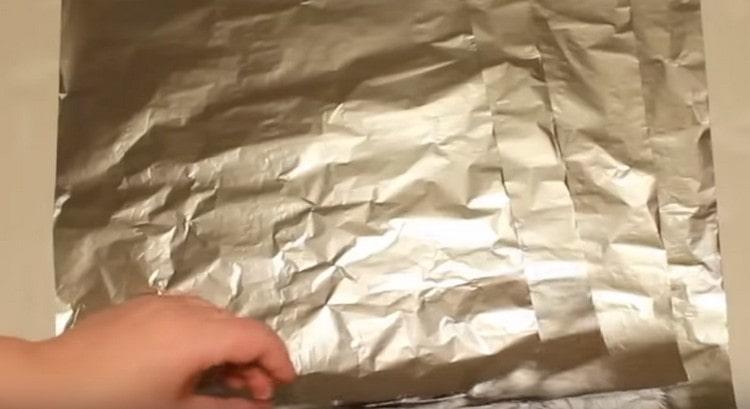
- We prepare the foil to the size of the bottom of the oven. Juice from the samsa filling will drip onto it. We turn on the oven and send the baking tray to it to heat up.
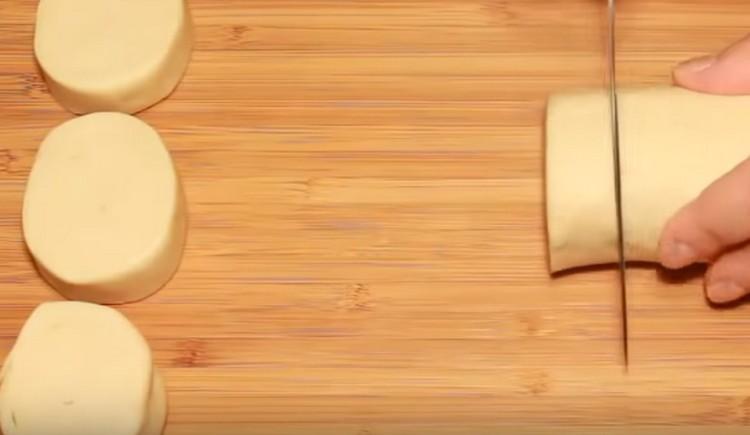
- We cut the dough into 24 identical pieces and send it to the freezer.
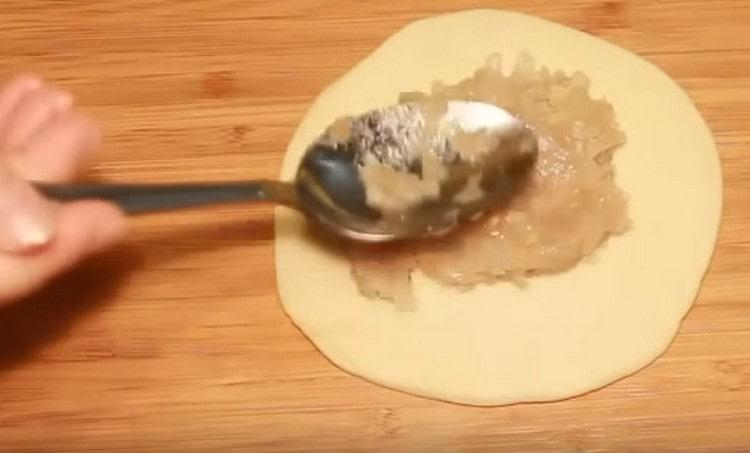
- We take out one piece, we form thin cakes with a rolling pin. In the middle we put one tablespoon of the filling.
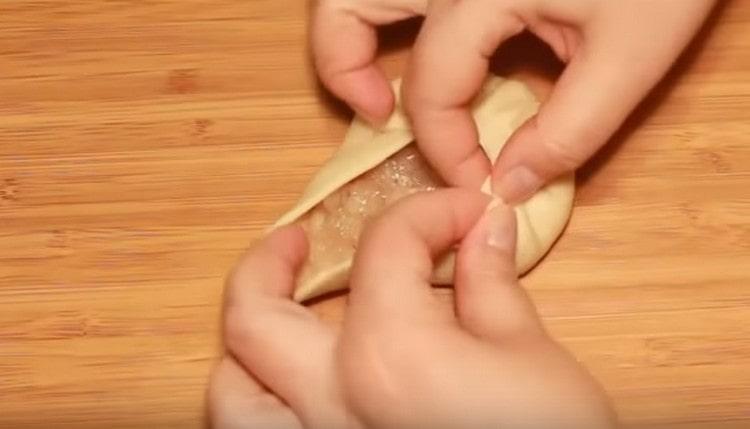
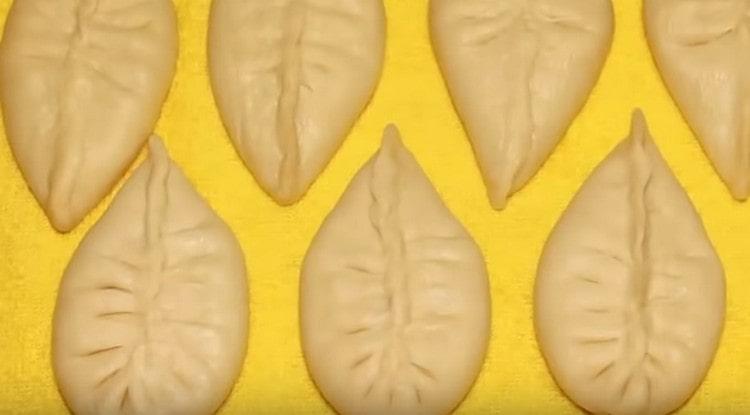
- We collect folds from the edges of the cakes, glue the seam.How to do it right, look at the photo.
- Repeat the procedure with the number of cakes that fit on your baking sheet.
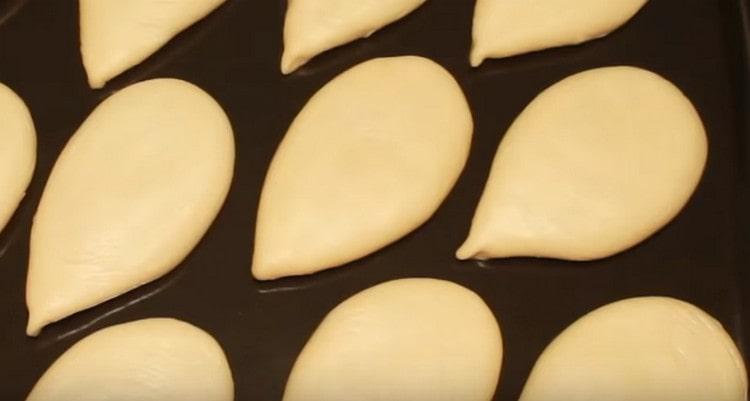
- We spread the blanks on a hot baking sheet with the seam down, press down with our hands so that the dough sticks. From above, grease the yolk whipped with water. Cover the bottom of the oven with foil.
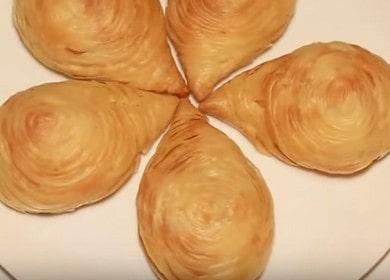
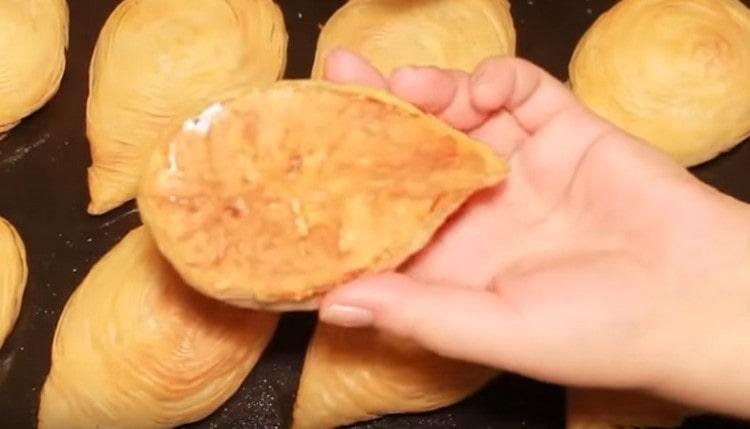
- We send the baking sheet in the inverted form (samsa down) for 20-30 minutes, bake at a temperature of 170 degrees. We take out the finished samsa, put it on a dish and serve.


Video recipe
One of the similar samsa recipe is also presented in the video. You might also find it interesting.
Have you prepared samsa? Did you succeed? Leave your comments about the cooked dish in the comments.
