Kitchen appliances and utensils: deep bowl, lid or cling film, rolling pin, strainer, spoon
Ingredients
| Product | amount |
| Flour | 400 g |
| Egg | 1 PC. |
| Milk | 180 ml |
| Baking powder | 8 g |
| Vegetable oil | 50 g |
| Corn starch (potato) | 150 g |
| Salt | ½ tsp |
Step cooking
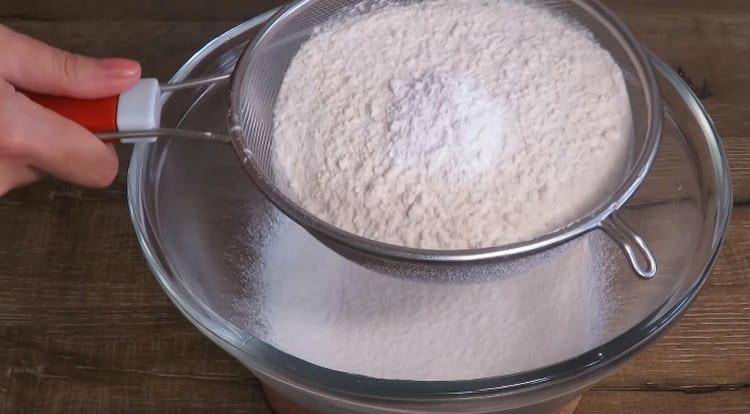
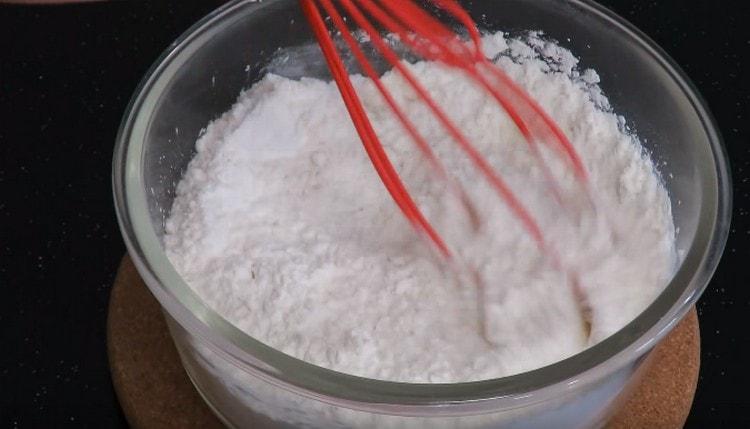
- Sift 360 g flour into a bowl, add 8 g baking powder, ½ tsp. salt, mix.

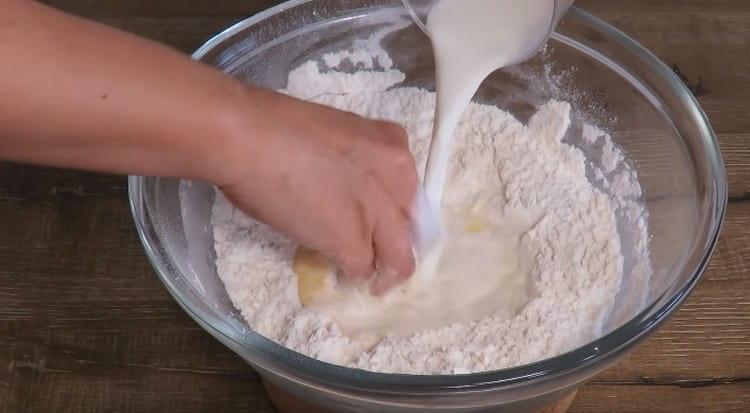
- We make a depression in the flour, pour 180 g of milk and one egg into it.
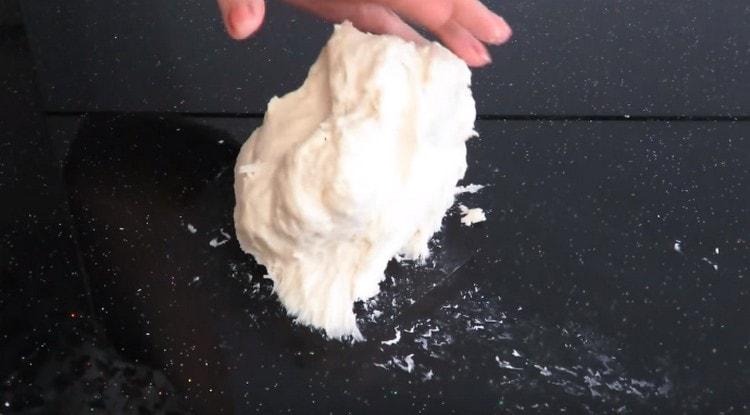
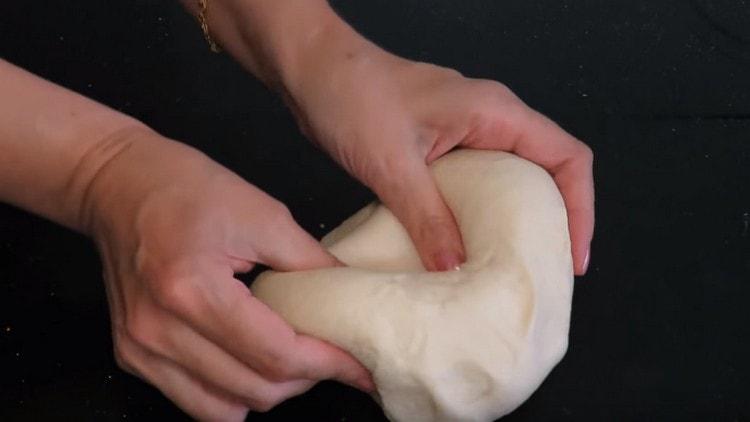
- Mix with a spoon, then put the dough on a work surface and knead for 5-7 minutes without adding flour. The dough will stick to your hands and to the working surface - it should be so. Just take a spatula, remove the sticky dough, return to the total mass and continue to knead until it stops sticking.
- The finished dough is elastic, very soft, does not stick to your hands and is not clogged with flour.
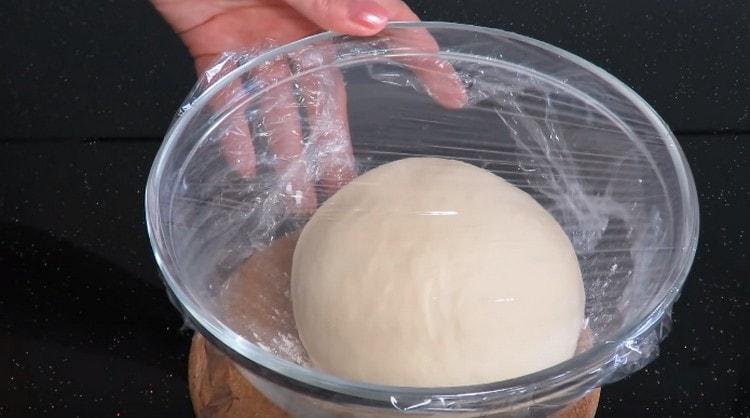
- Sprinkle flour inside the bowl, roll the ball from the dough, put in a bowl and cover with a lid or cling film. Leave the dough to rest for 30 minutes at room temperature.
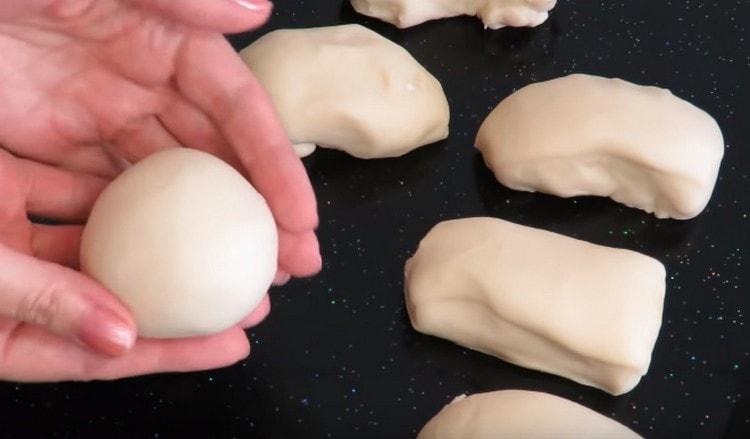
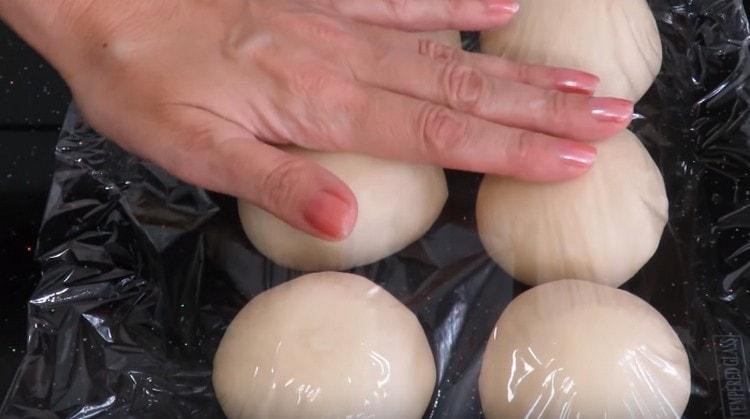
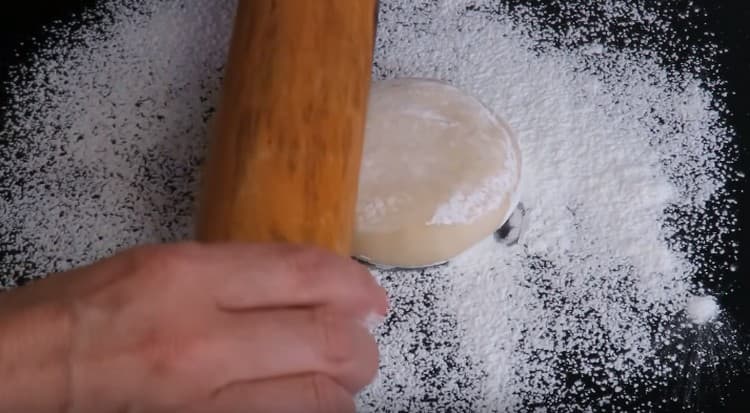
- After that we take out the dough, divide it into several identical parts. We got 6 pieces of 108 grams. From each part we form a ball.
- We spread it on a flat plate, cover with cling film so that it does not wind, and let it lie for another 5-7 minutes.
- Pour 150 g of corn or potato starch into a separate bowl, add 40-50 g of flour, mix. With this mixture, we will sprinkle the working surface during the rolling out of the dough.
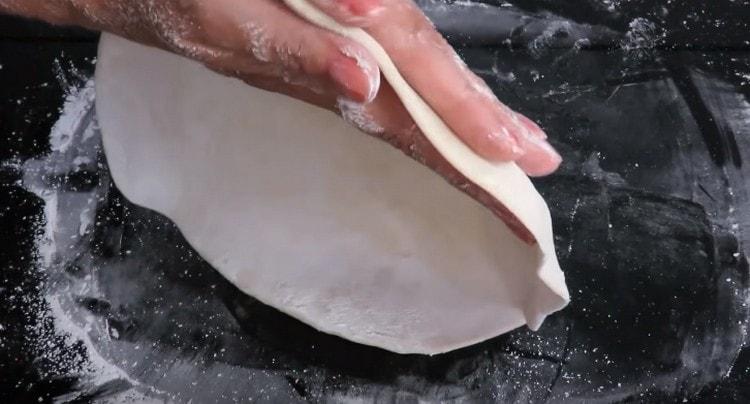
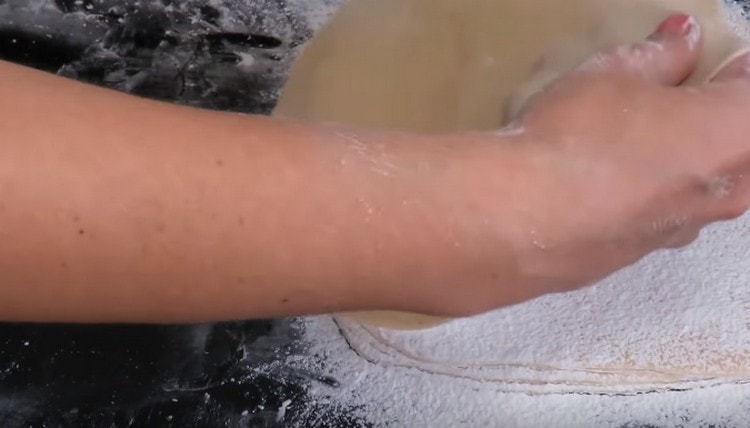
- When the dough rests, sprinkle starch on the working surface, lay out one ball. Dip it on both sides with starch, form a cake with our hands and roll it out with a rolling pin. We also process the rolling pin with a mixture of starch and flour.
- Roll out a layer with a thickness of about 2 mm and set it aside. Repeat this procedure with the second piece of dough.
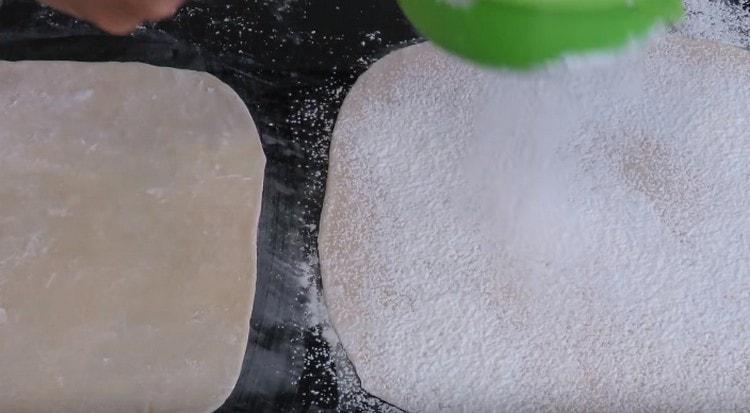
- Now abundantly sprinkle the surface of the first layer with starch and spread the second layer on it. It is very important to sprinkle generously with starch and flour, so that later the layers do not stick together. It’s not worth worrying here, they won’t take in too much flour. We make layers of approximately the same size.
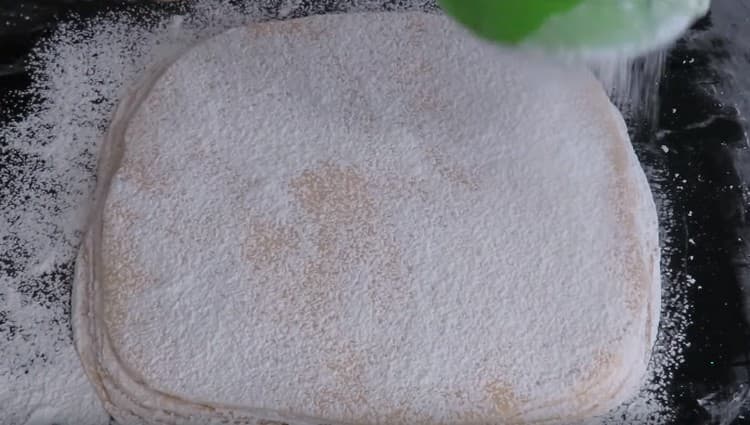
- Then we take the third ball and also roll it the same size and thickness. We spread it on top of the second layer, abundantly sprinkled with starch. Repeat this procedure with all balls from the dough.
- We get a stack of 6 layers with a thickness of about 3 mm. Each of them is well sprinkled with flour.
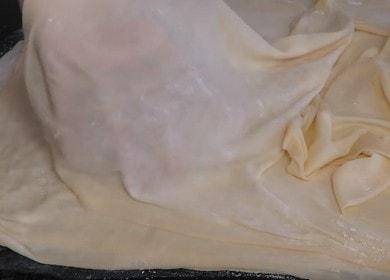
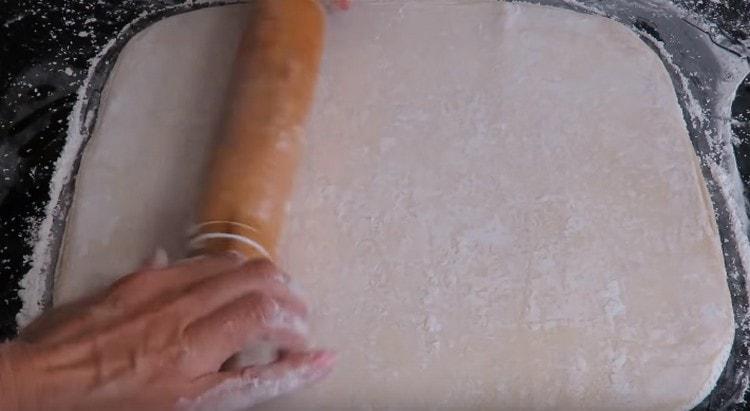
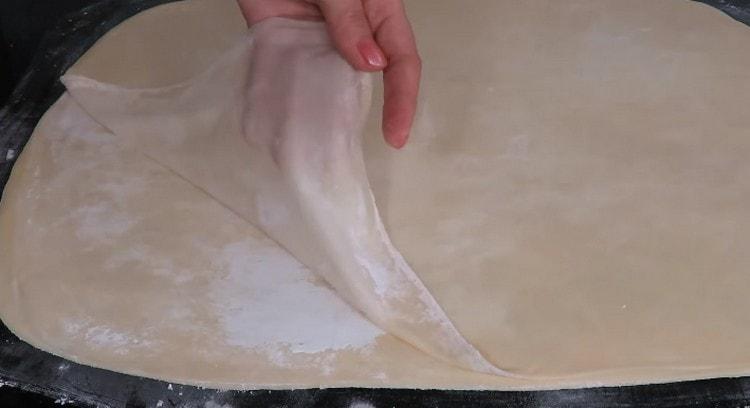
- We generously sprinkle the working surface with a mixture of starch and flour and transfer a stack of dough to it. Sprinkle them with starch on top and begin to roll out (stretch) the dough with a rolling pin. Do not rush while rolling so as not to break the dough.
- We roll out layers of about 45 by 40 cm in size. The dough is very thin, transparent. The excess mixture of starch and flour is swept away with a brush. The layers are ready for baking. They can be combined with sweet or salty filling, to form any baking dish.
Video recipe
We recommend watching this video in order to understand in more detail the process of kneading and rolling the filo dough. You will see how thick the finished layers are, listen to the advice of the author of the video.
There are several options for creating a filo test, we shared the simplest with you. We hope this recipe was useful for you, and baking from such a dough is already being prepared in your kitchen.Share your opinion in the comments about the dish you got from it. What stuffing was used for it?
