Kitchen appliances and utensils
- oven;
- bowls or bowls;
- tablespoon and teaspoon;
- sieve for flour;
- mixer;
- split mold for the cake;
- baking paper;
- a string for cutting biscuit cakes or a sharp long knife;
- pastry ring for cake;
- flat large plate;
- grater.
Ingredients
- Flour - 240-250 g
- Sugar - 180-200 g
- Icing sugar - 200 g
- Egg - 3 pcs.
- Cocoa Powder - 50 g
- Vegetable oil - 180 g
- Butter - 60 g
- Milk - 180-200 g
- Baking powder - 8 g
- Soda - 0.5 tsp.
- Vanillin / vanilla essence on the tip of a knife / - 3-4 drops
- Salt - a pinch
- Chocolate without filling - 200 g
- Sour cream 10-15% - 600 g
- Gelatin - 20 g
- Cherry - 300 g
- Shop cherry cherry jelly for pouring - 0.7 L
Step cooking
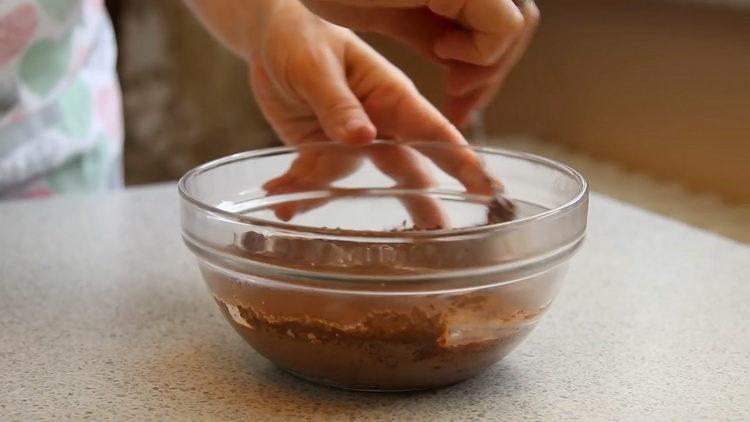
- First, prepare the biscuit cakes. We heat milk (180-200 g) almost to a boil. Mix hot milk and 50 g of cocoa powder. Mix with a spoon until the lumps disappear, leave to cool.
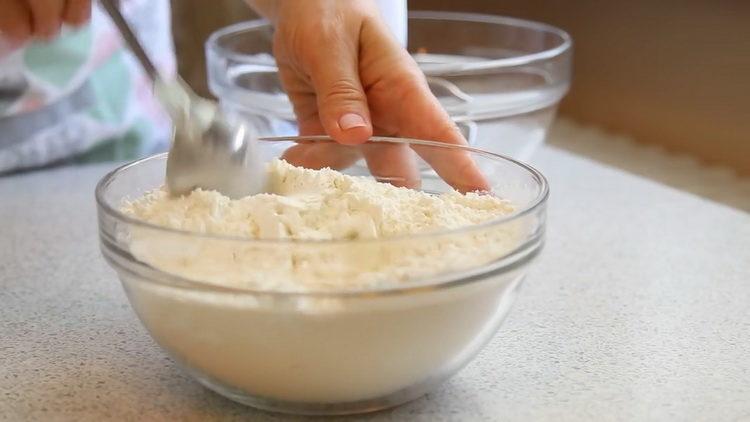
- In another container, mix 240-250 g of flour, a bag of baking powder (8 g) and 0.5 tsp. soda. Dry ingredients are first mixed with a spoon, and then sieved through a sieve.
- In a large bowl, beat 3 eggs with a mixer with a pinch of salt. Beat for 1-2 minutes. Continuing to beat, gradually pour 180-200 g of sugar. Pour warm milk with cocoa into the eggs.

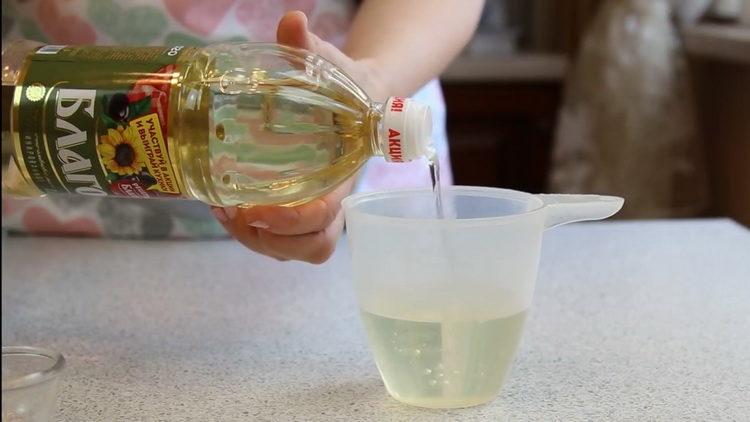
- For flavor add a few drops of vanilla essence or vanillin on the tip of a knife and beat for another 3-4 minutes. Gradually pour 180 g of vegetable oil, beat for another 3 minutes.
- Pour flour with baking powder and soda into the same bowl. Quickly mix the flour into the dough. You don’t need to bother for a long time, otherwise the finished biscuit will turn out too dense. Finish mixing as soon as the dough is uniform.
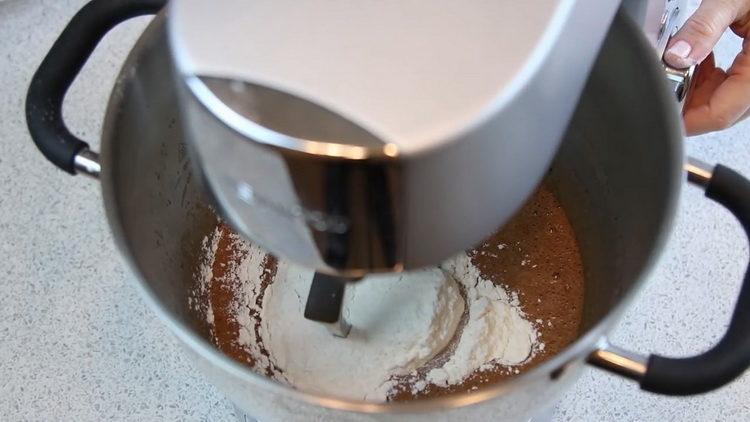
- Cover the bottom of the cake mold with baking paper, grease the sides with butter and sprinkle with flour. Pour the dough into the mold. And so that the dough is well distributed and the biscuit turns out smooth, the form can be scrolled several times on the table.
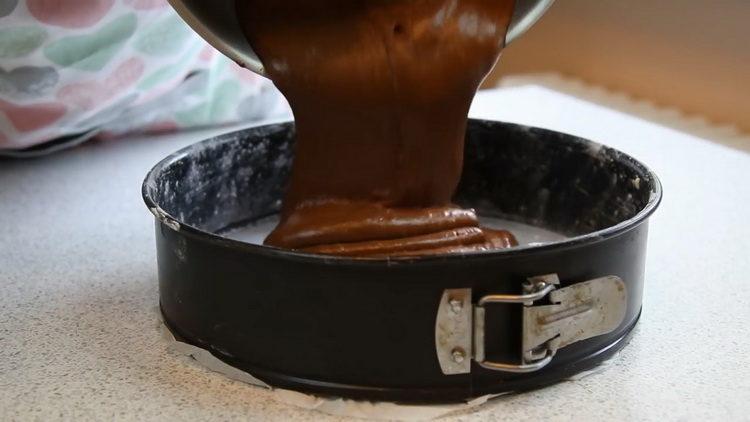
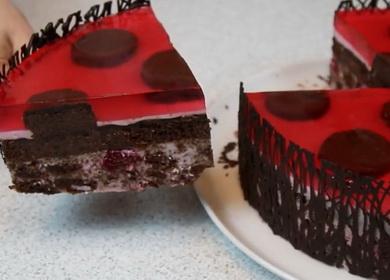
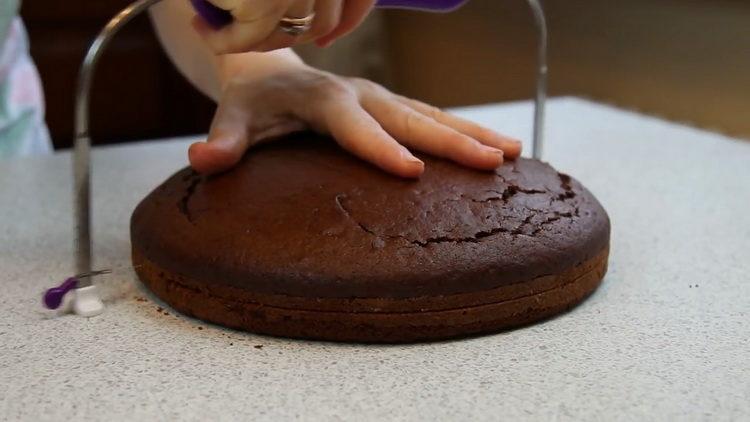
- We put the mold in the oven, preheated to 180 degrees for 30 minutes. Cool the biscuit in the mold until warm, then remove it from the mold and leave to cool completely on the wire rack. Cut the completely cooled biscuit lengthwise into two layers. Korzh bottom will go to the manufacture of spots for the "ladybug". And the top cake will become the basis for the specks. At the top cake, we cut off the upper part so that the cake becomes smooth.
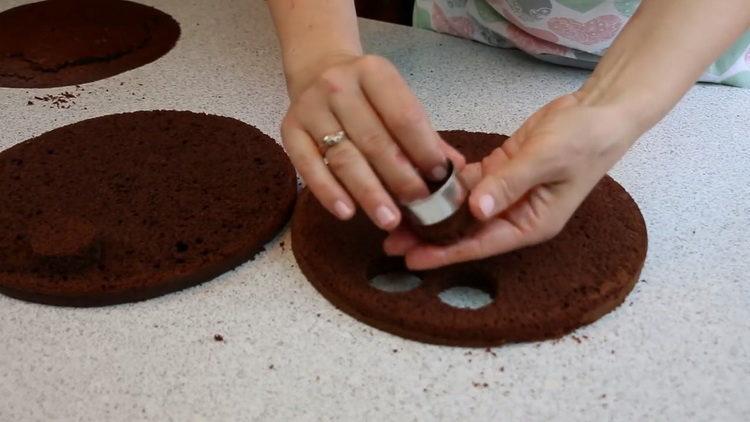
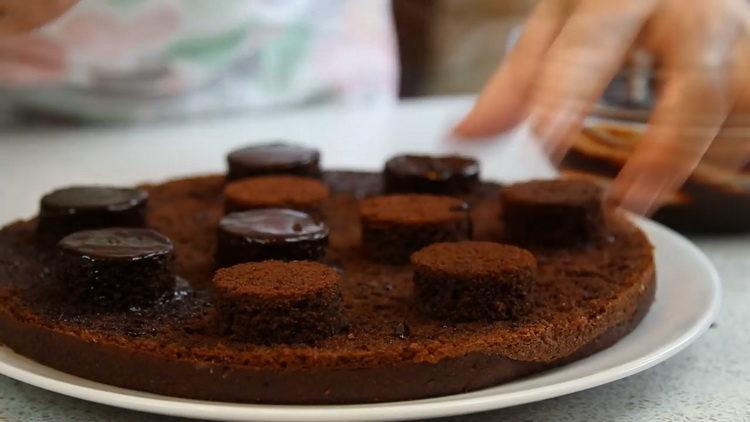
- From the bottom cake we cut out identical circles-spots. You can use a round cookie cutter, a glass or a cup with thin edges.
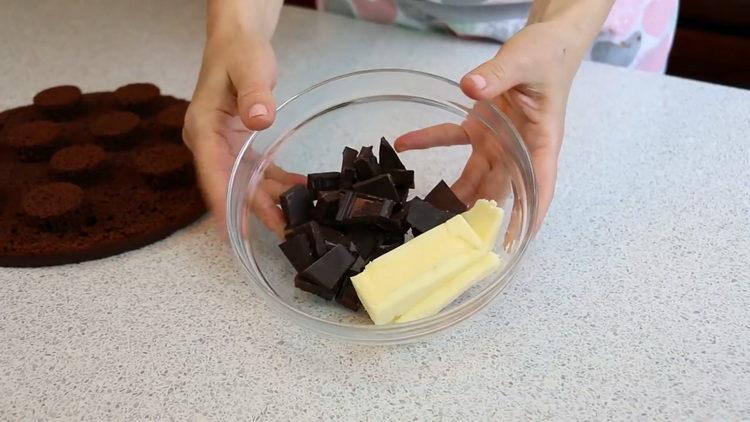
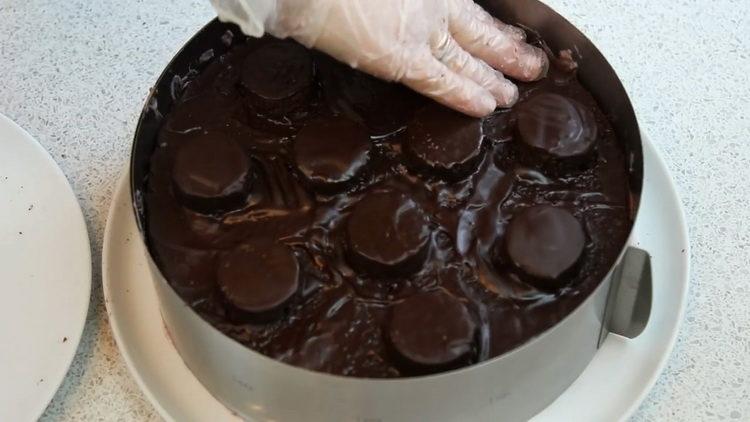
- Cook icing: 100 g of dark chocolate melt with 60 g of butter.
- Glue the “spots” to the cake base with chocolate icing, fill them with icing on top and level them. We coat the cake with the remaining glaze. We put everything in the refrigerator.
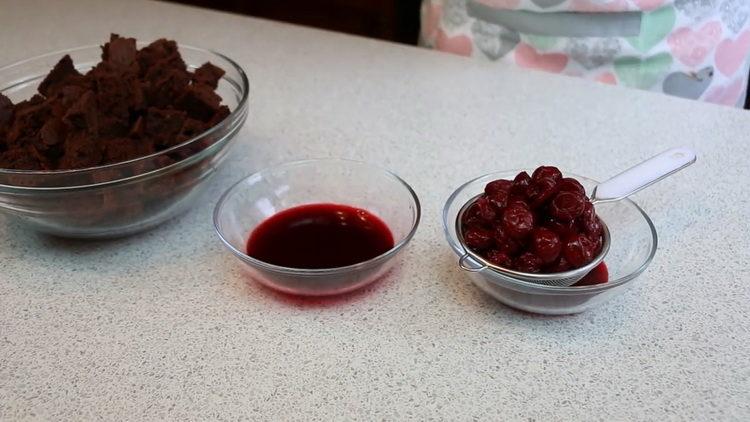
- The remaining scraps of biscuit and the cut hat are cut into small pieces. Cooking cream. We mix in a bowl 20 g of instant gelatin and 160 ml of liquid (water or cherry juice). Leave to stand.
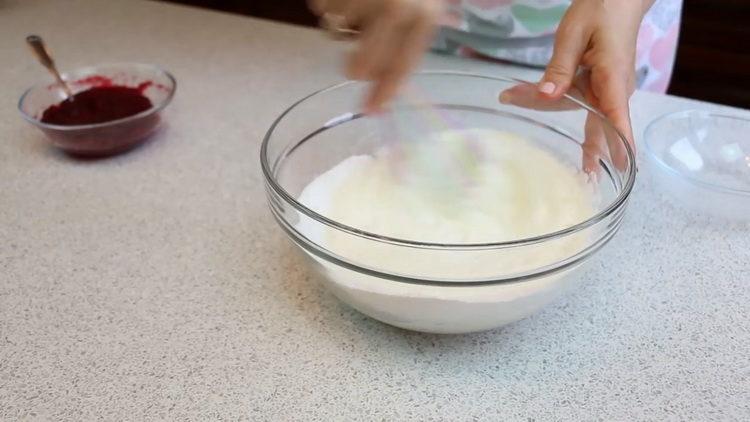
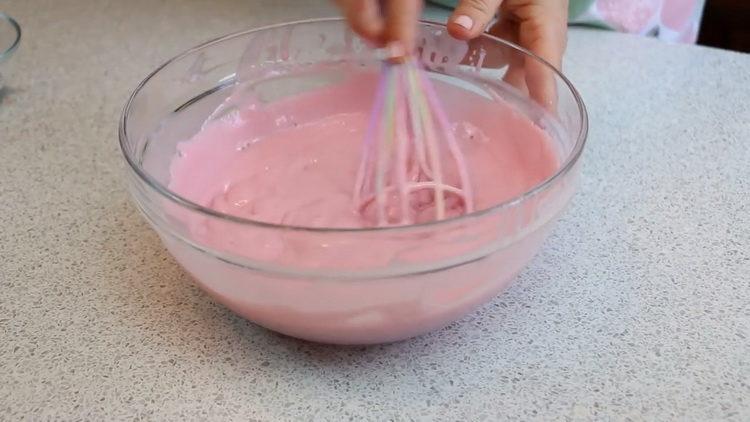
- In another bowl, mix 600 g of sour cream and 200 g of powdered sugar.
- We heat up the swollen gelatin (do not boil!), Pour it into sour cream, mix. Separate 250 ml of cream in a separate container and leave to stand at room temperature.
- Mix the slices of biscuit with the rest of the cream.50 g of chocolate grate.
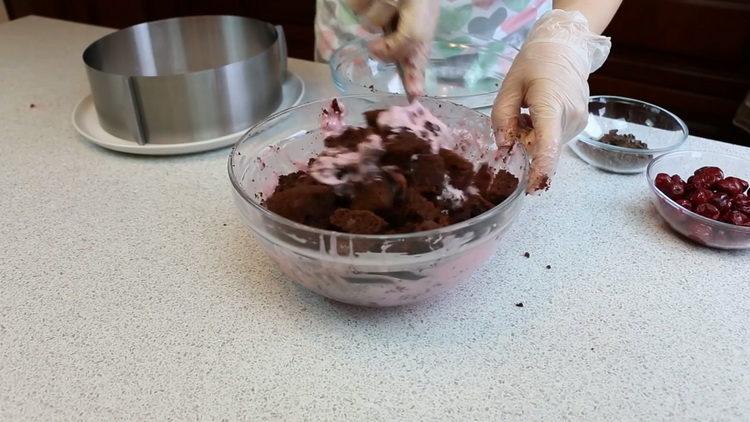
- We collect the cake on a flat dish in the ring. Spread layers of biscuit slices in sour cream in a ring, alternating them with seedless cherries (300 g) and grated chocolate.

- We align and compact the entire mass in the ring. From above, gently close it with a cake with "specks." The space between the spots is covered with a delayed sour cream. We remove all the refrigerator so that the cream freezes.
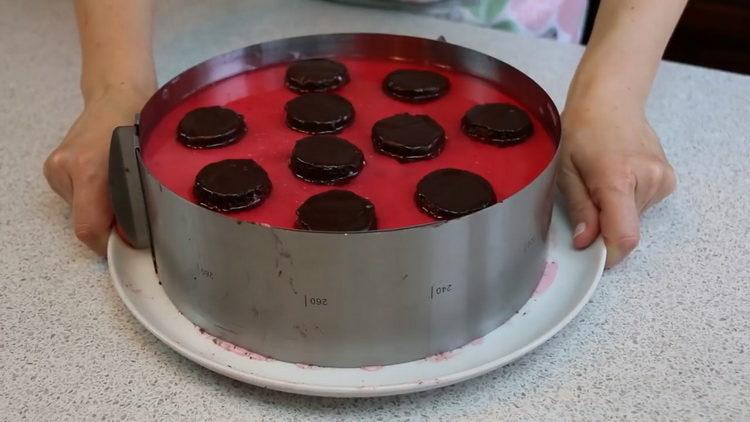
- Prepare cherry jelly in accordance with the instructions. Let it cool to room temperature and fill the top of the cake so that the jelly completely covers the spots. Leave the jelly in the refrigerator until it solidifies.
- When the jelly hardens completely, remove the ring. Decorate the sides of the cake with a chocolate ribbon. From parchment we cut the ribbon a little longer than the circumference of the cake and slightly higher than the height of its sides. Melt 50 g of chocolate, transfer it to a pastry bag. Let the chocolate cool slightly and glue it with the ribbon to the cake.
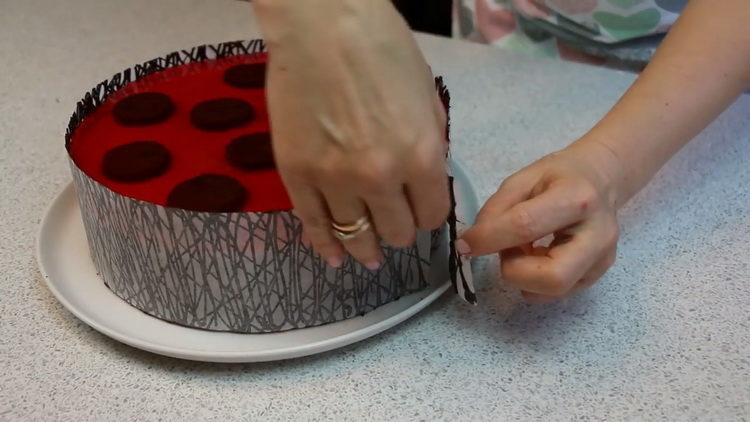
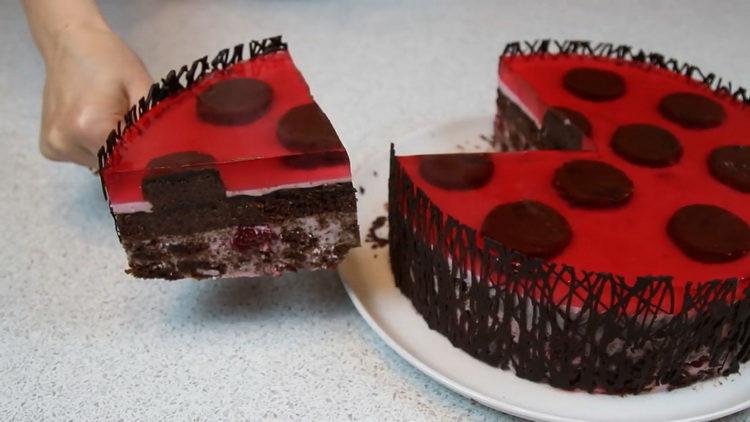
- We put everything in the refrigerator so that the chocolate freezes. Then remove the parchment. Ladybug Cake is ready!
Video recipe
Be sure to watch the video recipe to see the sequence of preparation and assembly of the cake.
Pies and home-made cakes bring a unique feeling of comfort and celebration to the house. Over time, each mistress collects her own collection of sweets. Tell us about your favorite cakes in the comments and be sure to try making a Ladybug at home.
