Kitchen appliances and utensils
- oven;
- plate;
- fridge;
- mixer;
- several bowls;
- knife;
- scapula;
- stewpan;
- tablespoon;
- 2 split rings with a diameter of 22 cm;
- foil;
- parchment paper;
- a baking sheet;
- grater;
- sieve;
- dish;
- peeler.
Ingredients
- Wheat flour - 250 g
- Kefir 2.5% - 250 ml
- Cocoa - 50 g
- Sugar - 300 g
- Eggs - 3 pcs.
- Soda - 1.5 tsp.
- Baking powder - 1 tsp.
- Vegetable oil - 4 tbsp. l
- Sour cream 20% - 600 g
- Vanilla sugar - 1 tsp.
- Chocolate (milk, black) - 50 g
Step cooking
Biscuit
- Break 3 eggs into a bowl, add 100 g of sugar and beat with a mixer for 7-8 minutes.
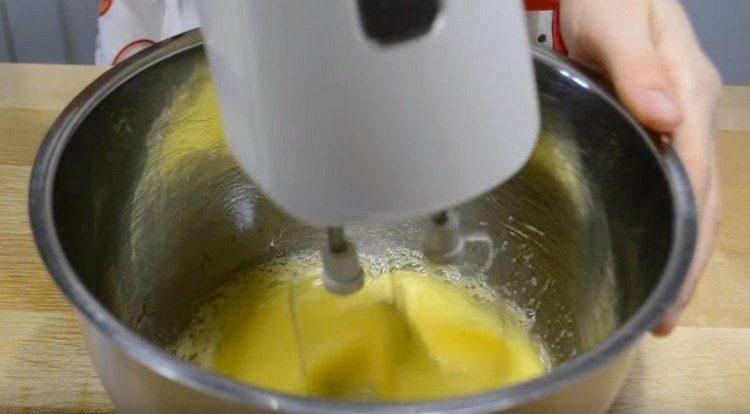
- The mass should increase in volume by 3 times, become lush and light.
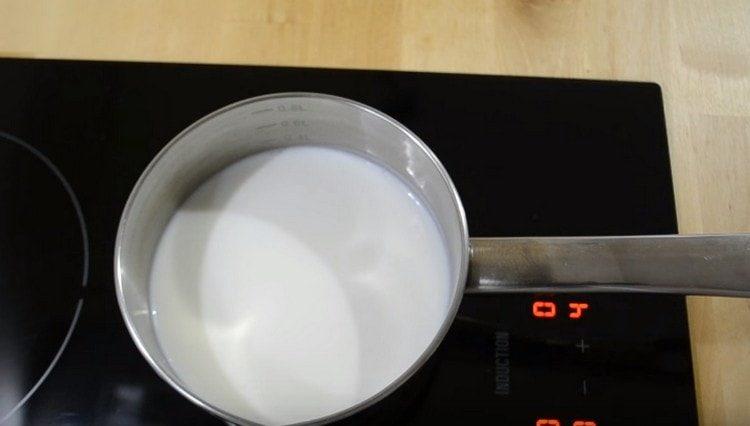
- We take kefir 2.5% fat at room temperature. If you have kefir from the refrigerator, then it must be poured into a saucepan and a little heat on the stove literally to room temperature.
- Pour kefir into a separate bowl and add 1.5 teaspoons of soda. Mix with a spoon. The mass should foam and increase in volume.
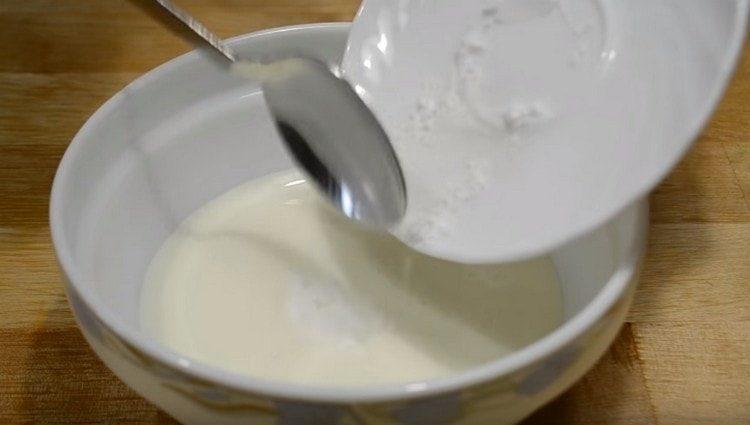 If this does not happen, then kefir is not acidic enough, and you need to add a little lemon juice or vinegar.
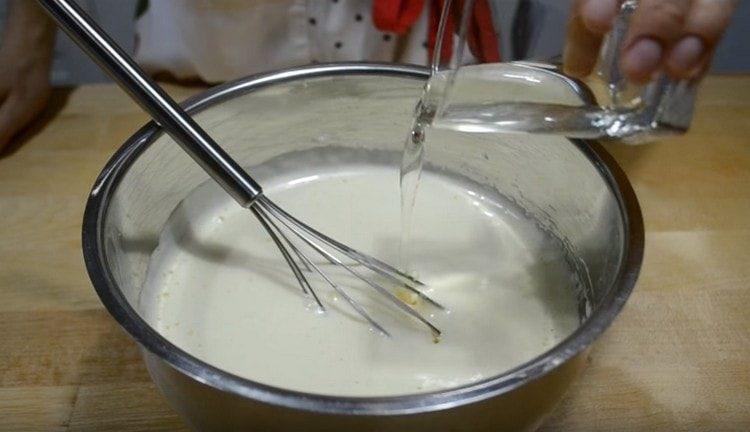
 - Pour kefir into the egg mixture, mix with a whisk and add 4 tablespoons of vegetable oil. Mix again.
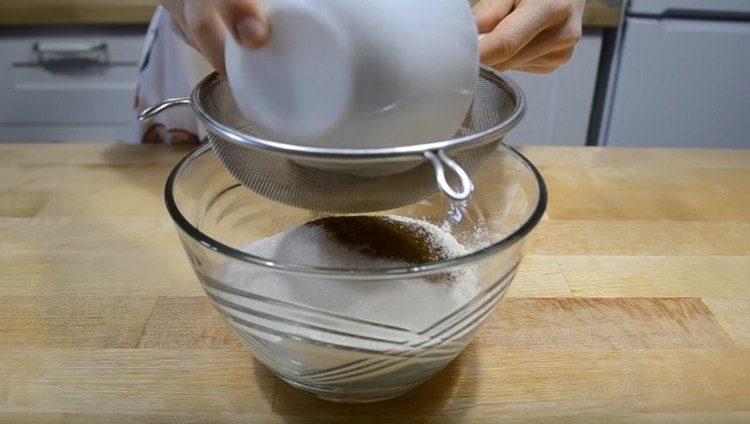
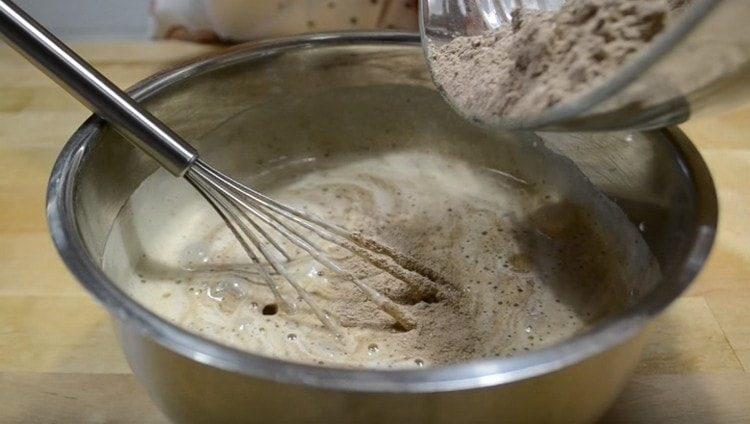
- Sift 250 g of flour into a dry bowl. Add 1 teaspoon of baking powder, 100 g of sugar to the flour, and sift 50 g of cocoa. Stir well with a spatula.
- The resulting dry mixture is added to the liquid ingredients. Gently mix with a whisk until smooth. Knead for a long time is not worth it. If there is no whisk, you can mix with a mixer at minimum speed.
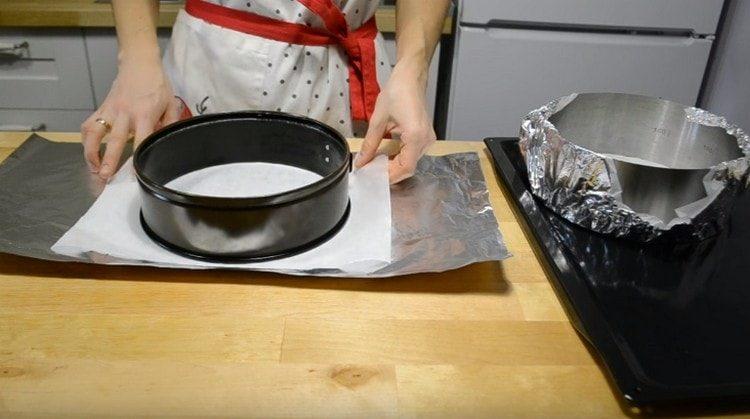
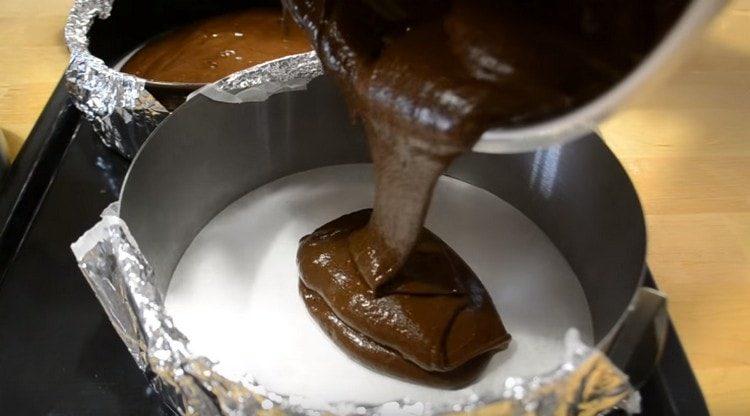
- This dough should not stand for long. Therefore, it is better to bake 2 cakes simultaneously, dividing the dough into 2 forms. For baking, we use 2 split rings with a diameter of 22 cm. We take the foil and cover its center with parchment paper. We put the ring on top and fix it with foil. Spread on a baking sheet.
- We divide the dough into 2 forms. If you use the scales, it turns out about 450 g. We even out the dough with a spoon.
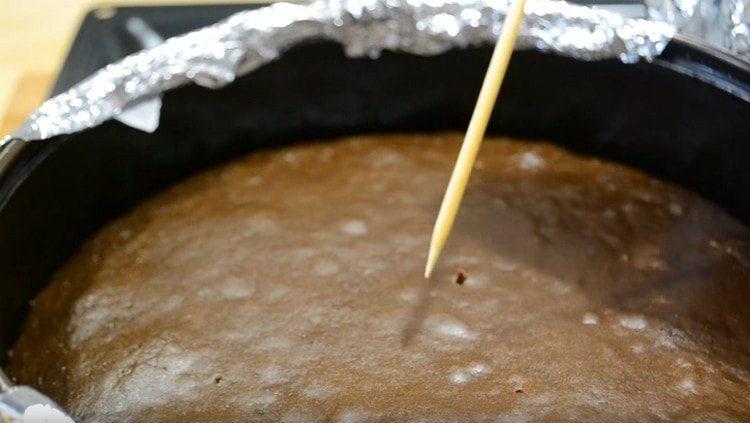
- We put the baking sheet in the oven, heated to 170 degrees for 30-35 minutes. During baking, the oven cannot be opened, at least for the first 20 minutes, otherwise the dough will fall. Readiness check with a toothpick or wooden skewer. If it comes out of the biscuit dry and clean, then it is ready.
- We leave the finished biscuits in the mold for 5-10 minutes, after which we take them out of the molds and put them on the wire rack until they cool completely.
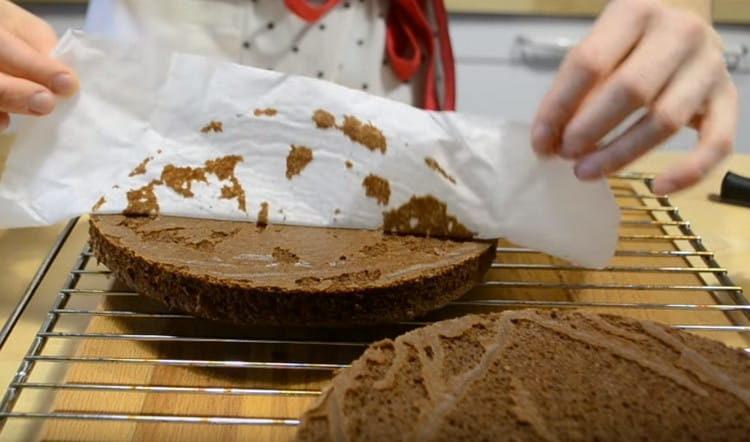
- Cut the upper crusts from biscuits and cut into 2 cakes.
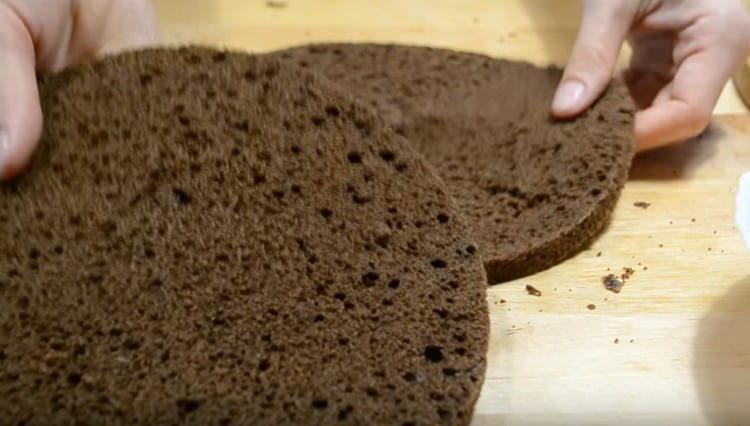
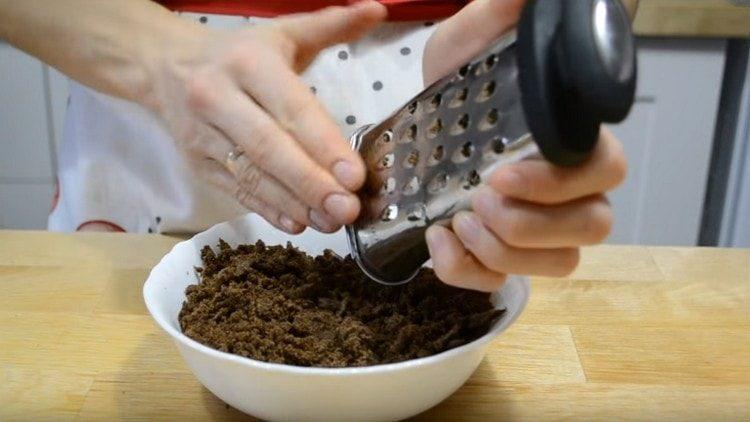
- Grind the scraps on a coarse grater into biscuit crumbs.
Cream and cake assembly
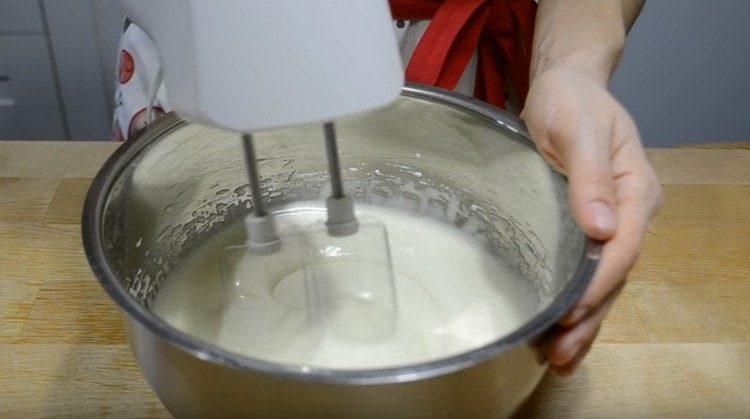
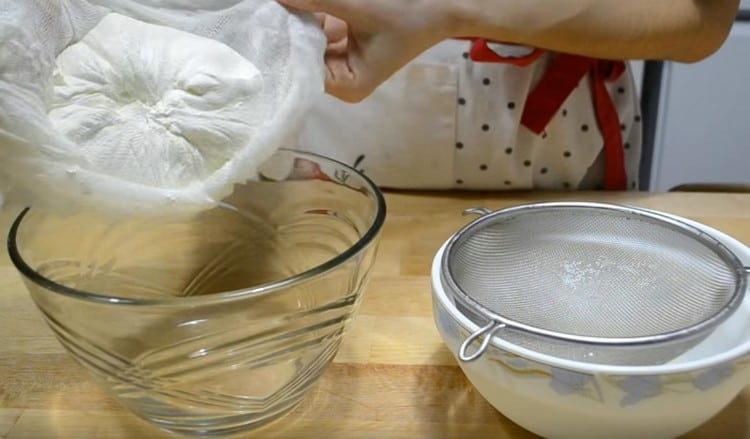
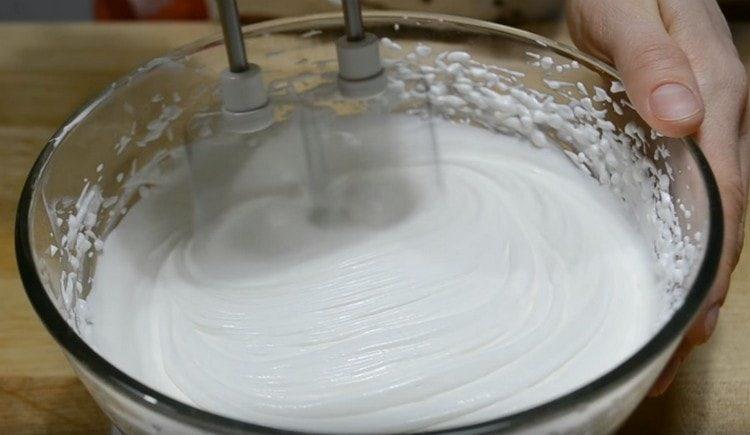
- In order to make sour cream, put a sieve on a bowl of a suitable diameter, cover it with gauze folded 2 times. We spread 600 g of sour cream, tie the ends of the gauze and put in the refrigerator for 2-3 hours.
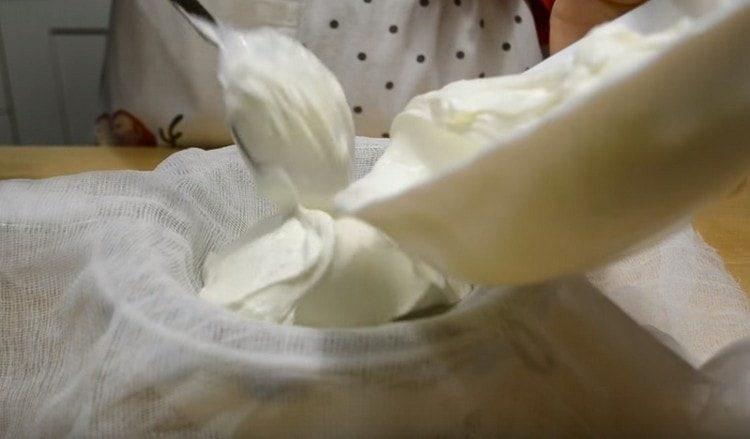
- We transfer the filtered sour cream in a bowl.
- Add 100 g of sugar and 1 teaspoon of vanilla sugar. Beat for about 5 minutes until sugar dissolves.
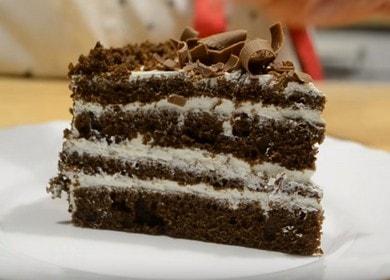
- We begin the assembly of the cake. We put the crust on the dish, cover it with sour cream, level the cream and put the next crust.
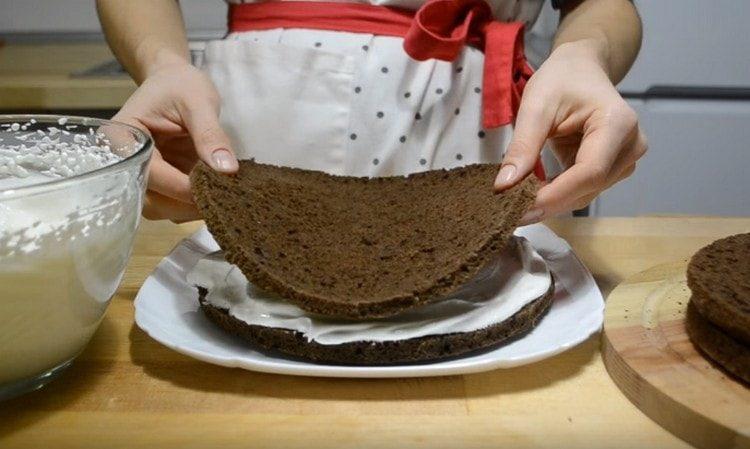
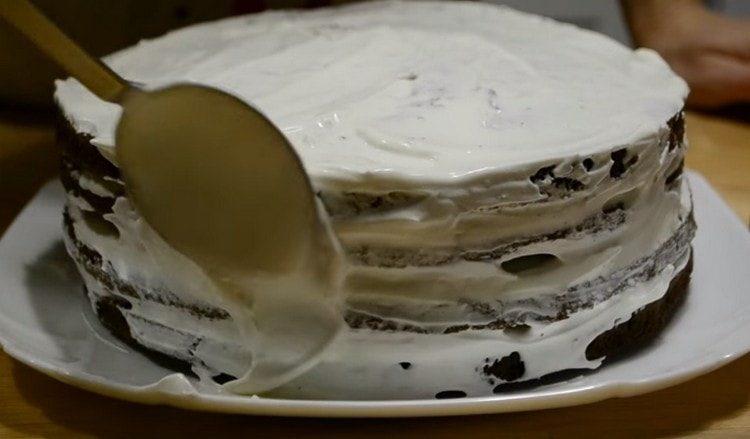
- So collect the whole cake. Cream the top and sides of the cake with cream.
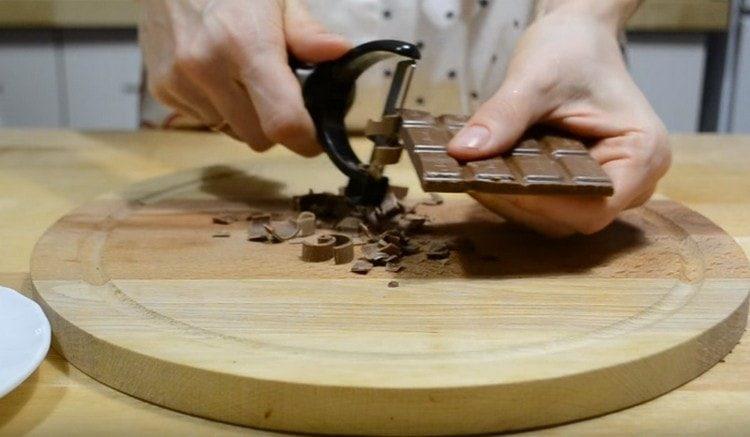
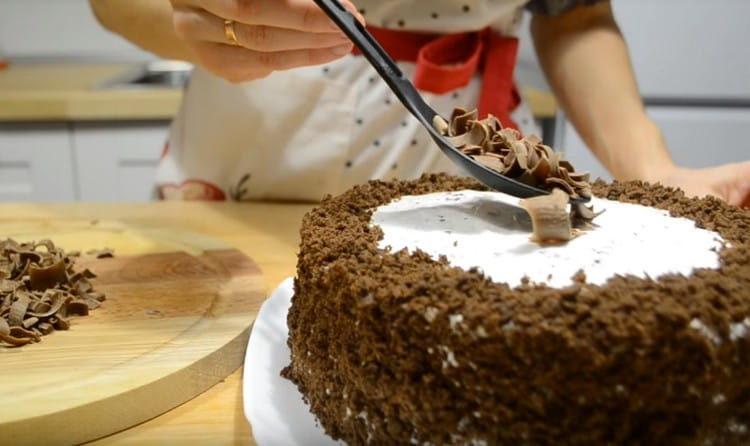
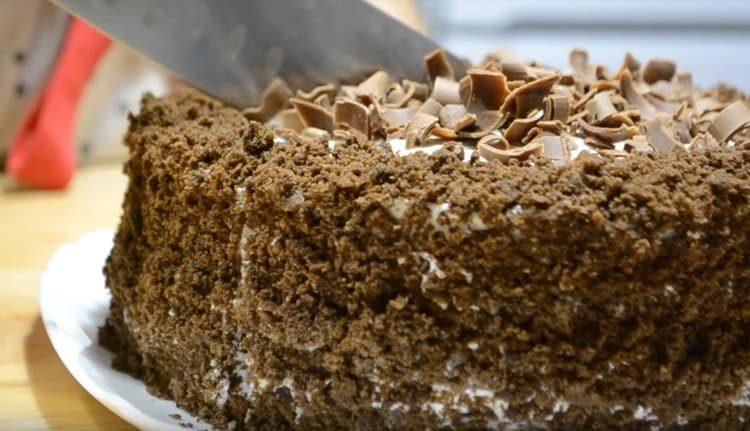
- Chocolate (50 g) can be taken milk or black. Rub it with a peeler. It turns out chips.
- We decorate the sides and edges of the cake with biscuit crumbs.Sprinkle with chocolate on top.
- We leave the cake at room temperature for an hour, after which we put it in the refrigerator for another 2 hours. During this time, the cake manages to soak very well.
Video recipe
This video shows step by step the process of preparing and baking a cake with sour cream.
From this article, you learned how to make a chocolate-and-biscuit cake with Black Prince sour cream. Have you tried making such a cake? Or do you have a slightly different recipe for making this cake? Share your tips and recipes in the comments.
