Kitchen appliances and utensils:
- kitchen stove;
- deep bowl;
- fork;
- glass;
- cutting board;
- knife;
- spoon;
- food container;
- whisk;
- stewpan;
- pan;
- rolling pin;
- a baking sheet;
- a bowl;
- silicone spatula;
- parchment paper;
- food bag with clasp.
Ingredients
| Wheat flour | 560 g |
| Butter | 410 g (260 + 150) |
| Salt | 1.5 g |
| Starch (any) | 30 g |
| Water (ice) | 160 ml |
| Vinegar 6% | 15 ml |
| Sugar | 200 g |
| Vanilla sugar | 10 g |
| Eggs | 3 pcs. |
| Milk 3.2% | 700 ml |
Step cooking
Cooking dough
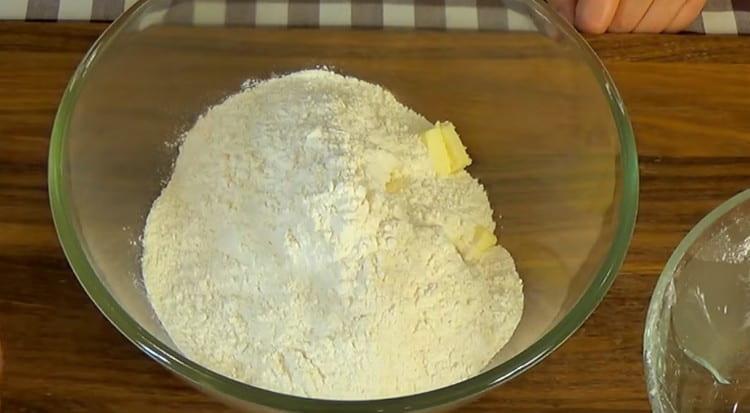
- Take 260 g of very cold butter and cut it into cubes. We sift 460 g of wheat flour in order to enrich it with oxygen. In a deep bowl, combine the butter and flour.

- Using a fork, grind the flour and butter into small crumbs.
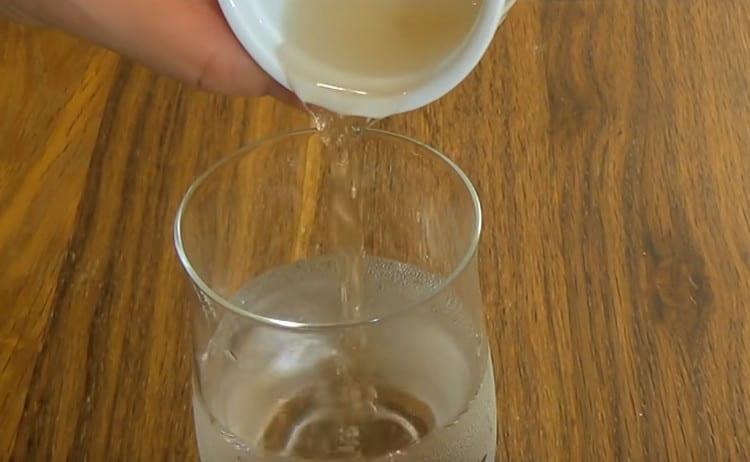
- Then pour 160 ml of ice water into a glass, pour 15 ml of vinegar 6% into it and mix.
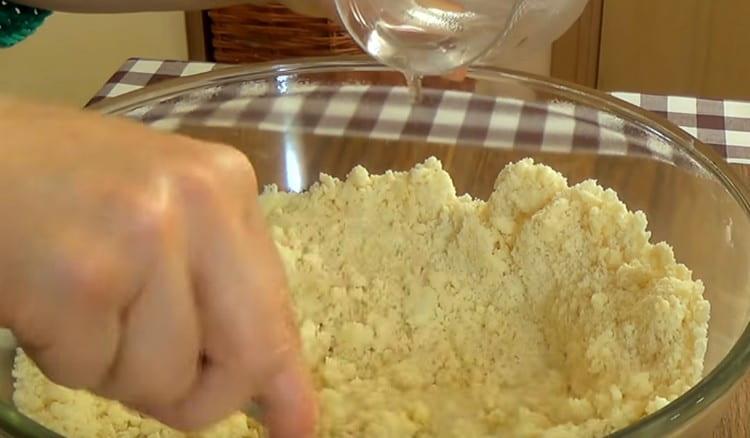
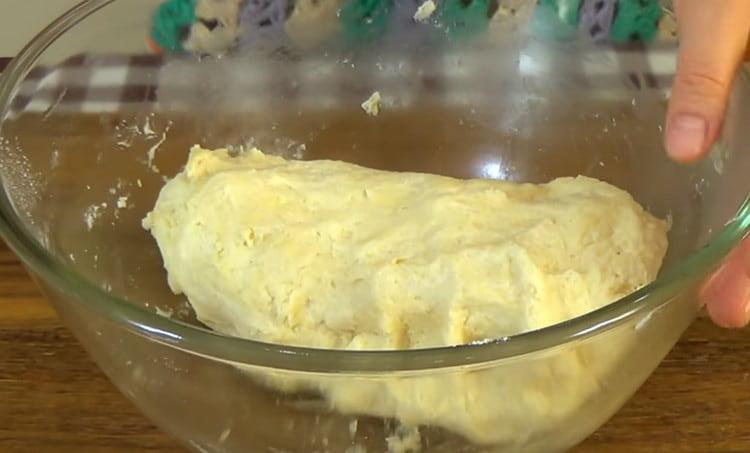
- Pour water with vinegar into a bowl with flour crumbs and knead the dough.
- The dough should turn out soft and elastic, not sticky to the hands.
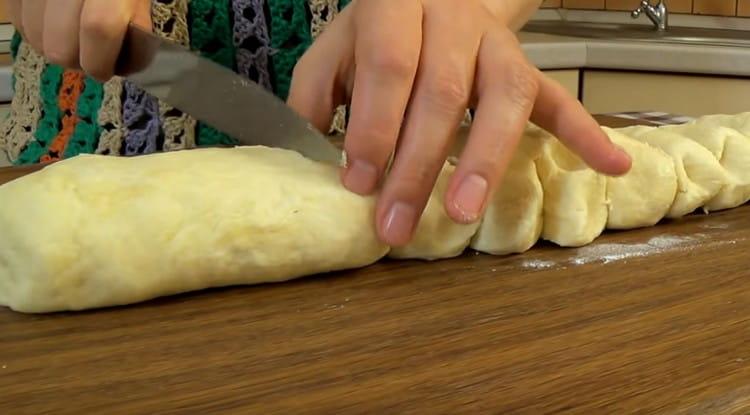
- Next, on a kitchen board or countertop we will form a tourniquet and with a knife we will divide it into 14 parts. For accurate and even separation into pieces, you can use a kitchen scale.
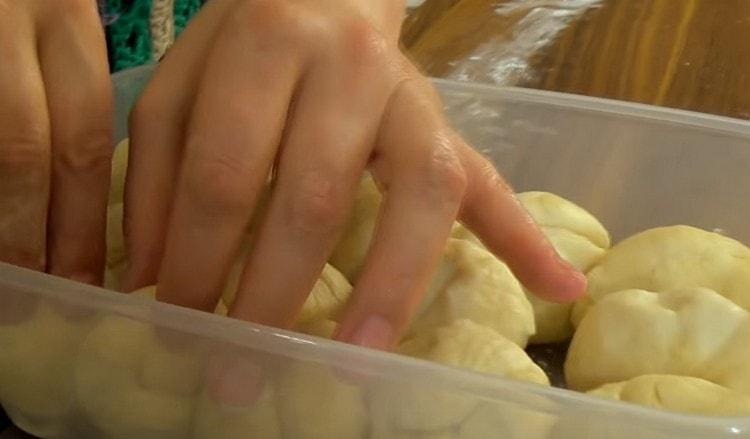
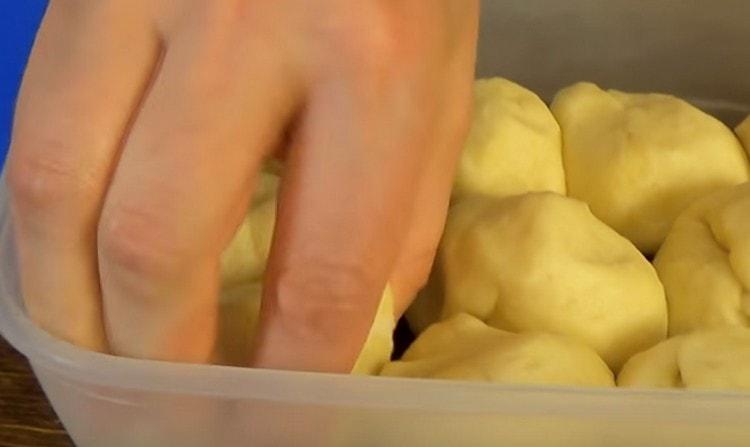
- We roll each piece of dough into a ball and put it in a food container sprinkled with flour. Cover and put in the freezer for 30 minutes.

Cake baking
- First of all, preheat the oven to 200 degrees. After 30 minutes, transfer the container with the dough pieces from the freezer to the refrigerator. And from there we take one piece as the cakes are baked so that the dough does not heat up at room temperature.
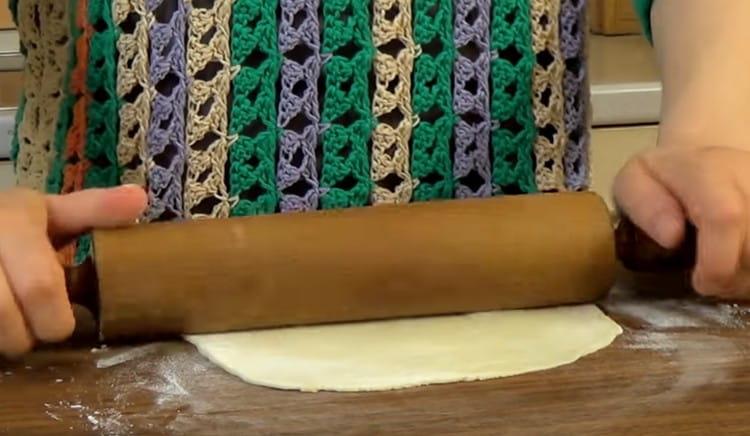
- Next, roll the cakes. We take a ball of dough, put it on a kitchen board sprinkled with flour, a countertop, or immediately on parchment paper and roll out a thin 1–2 mm thick cake roll with a rolling pin. Approximately 100 g of flour you will need to sprinkle the work surface.
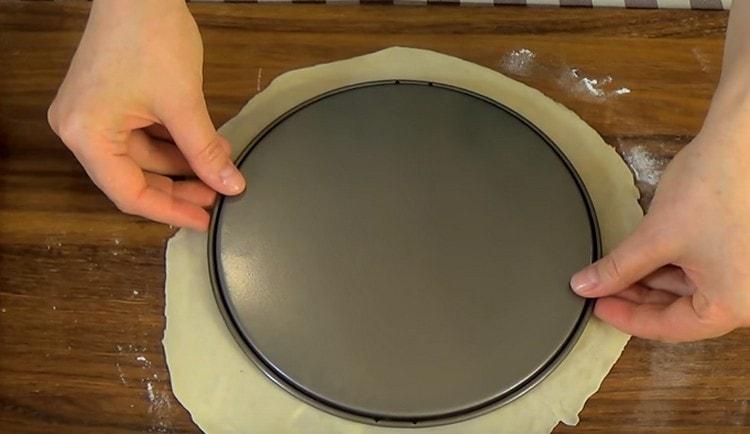
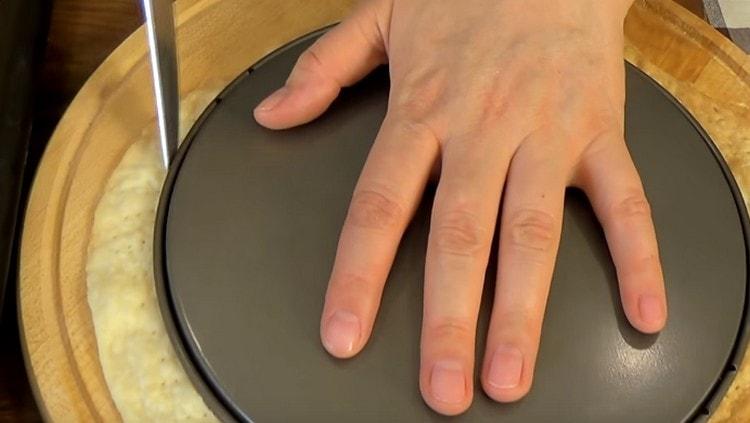
- As a template for shortcakes, we use the bottom of the mold with a diameter of 21 cm, or a plate. The rolled dough should go 2 - 3 cm beyond the edges of the template.
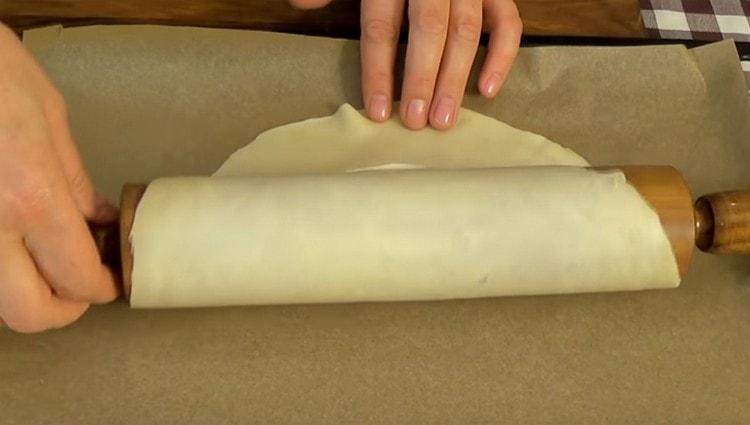
- Using a rolling pin, transfer the cake to a baking sheet covered with parchment paper.
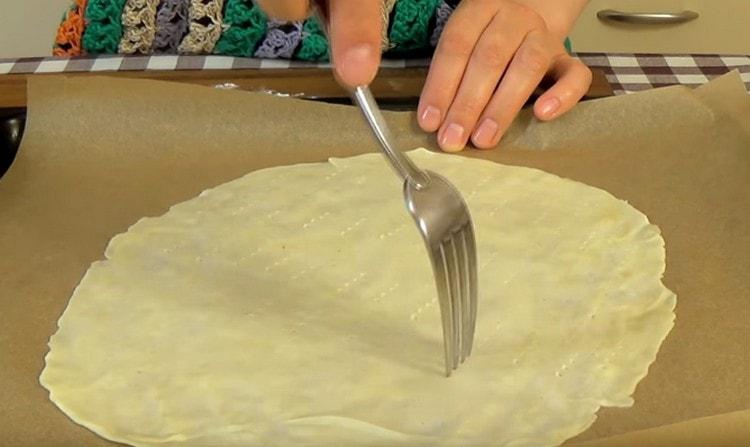
- We prick it with a fork around the perimeter.
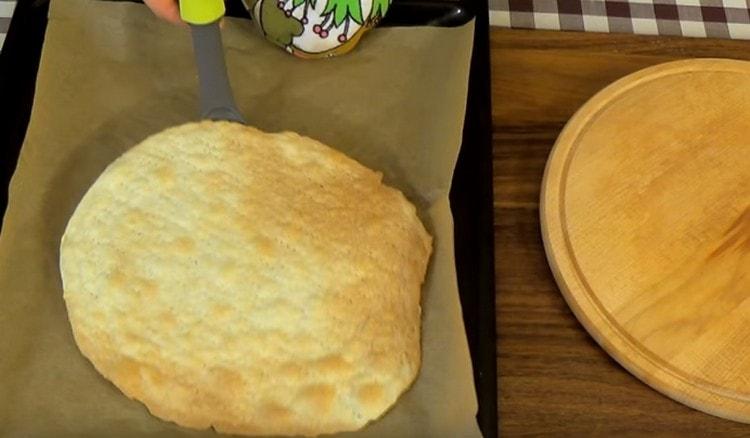
- We send to the oven to the middle level. The baking time of the cake is 7 - 10 minutes until a light golden color. While one cake is baking, we roll out the next and thus bake all the cakes.
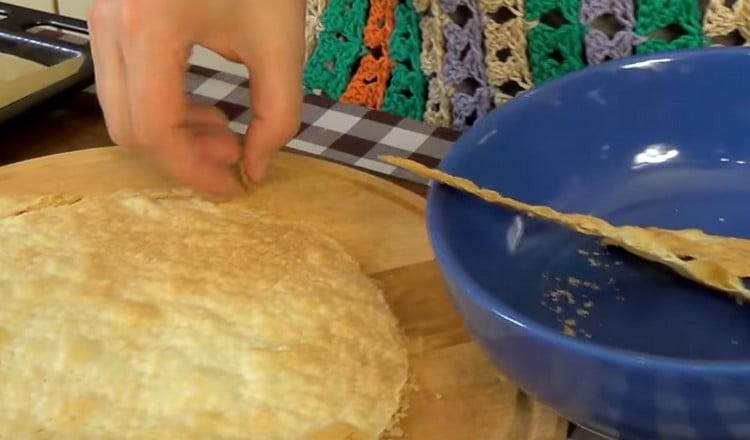
- We immediately transfer the hot baked cakes to a board or a flat plate and cut off the excess edges according to the pattern. If this is done when the cake has cooled, it may crumble.
- We collect scraps from cakes in a bowl, they are useful to us for decorating a cake.
Important! The temperature and baking time of the cake will depend on your oven, so carefully monitor the process to reduce / increase the cooking time or increase / decrease the temperature, if necessary.
Cooking cream
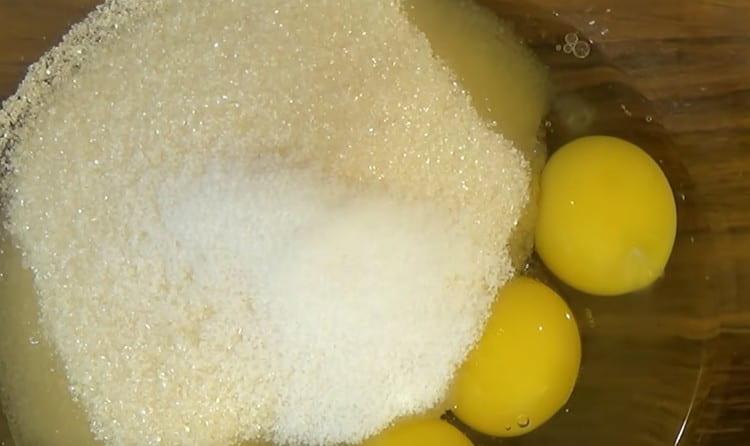
- Break 3 eggs into a deep bowl, add sugar and vanilla sugar.
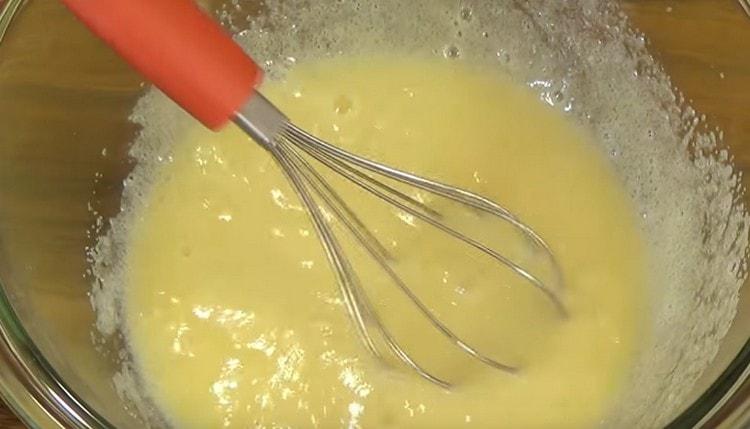
- Beat the whisk in a light, lush mass.
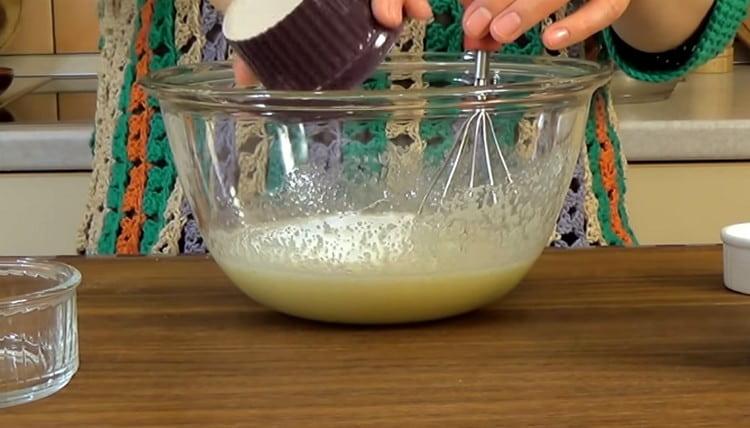
- When the egg mass has brightened and increased in volume, add 30 g of any starch, mix thoroughly so that there are no lumps left. Cream starch can be replaced with flour, but this will degrade the taste, appearance and quality of the cream.
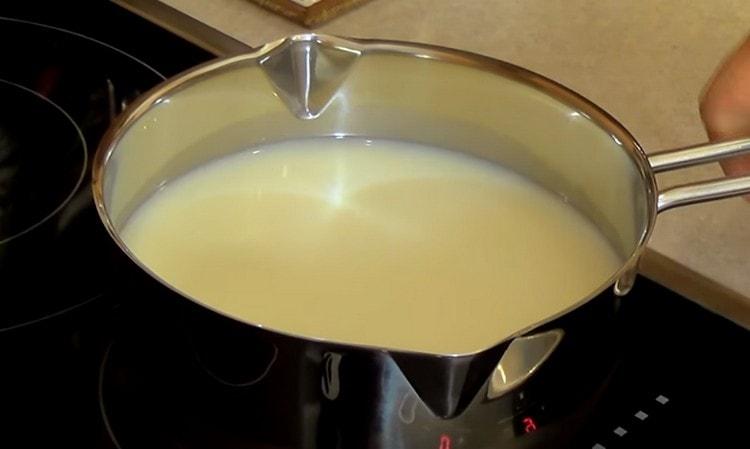
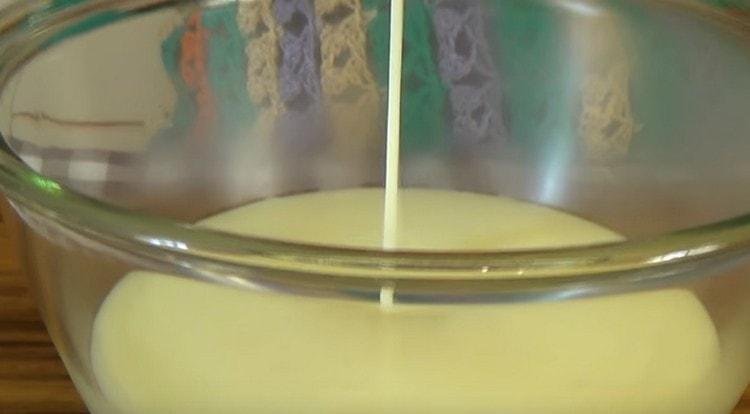
- Pour 700 ml of fatty milk into a saucepan, put on fire and bring to a boil.
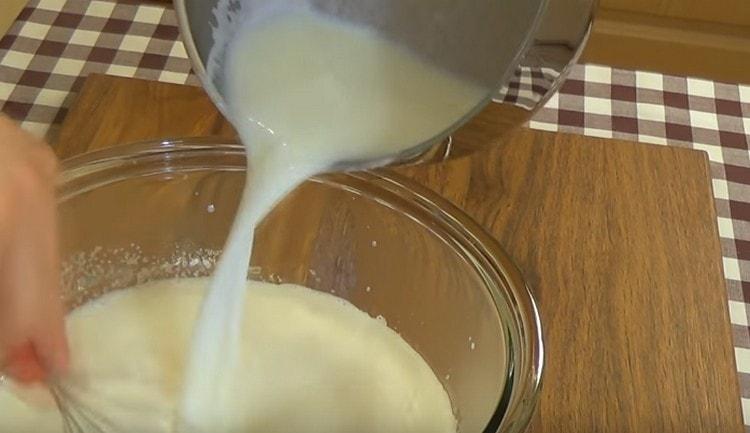
- Pour hot milk in a thin stream into the egg mixture, while stirring well with a whisk so that the eggs do not curl.
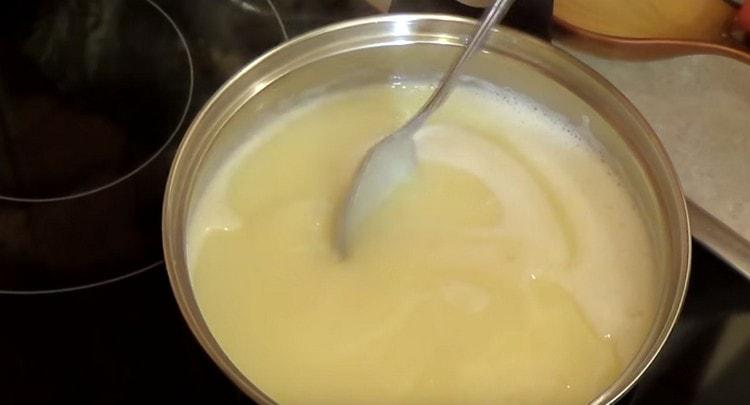
- After all the milk is intervened, pour the resulting mass into a pan and put on a slow fire. Cook the cream until thickened, stirring constantly so that no lumps form.
- Pour the finished cream into a deep bowl until easy to cool. The cream should be stirred periodically so that a crust does not form on top.
- To a cream that has cooled down to 30 degrees, add 150 g of butter at room temperature. Well interfere with his whisk. The cream is ready.

Did you know? If, nevertheless, lumps formed in the cream during cooking, it does not matter, just wipe the finished cream through a fine sieve, and it will again become homogeneous.
Assembly and decoration of the cake
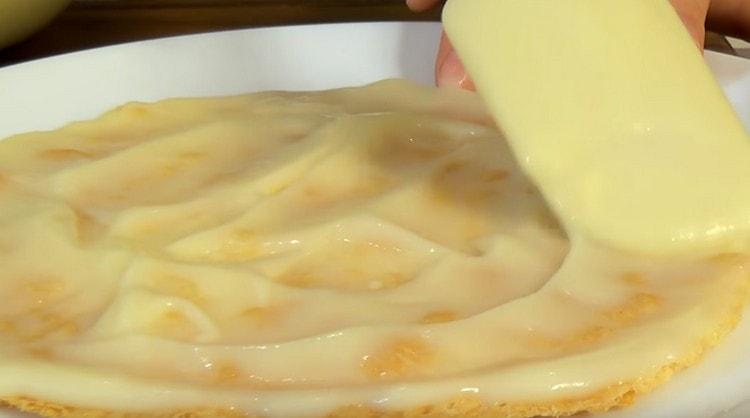
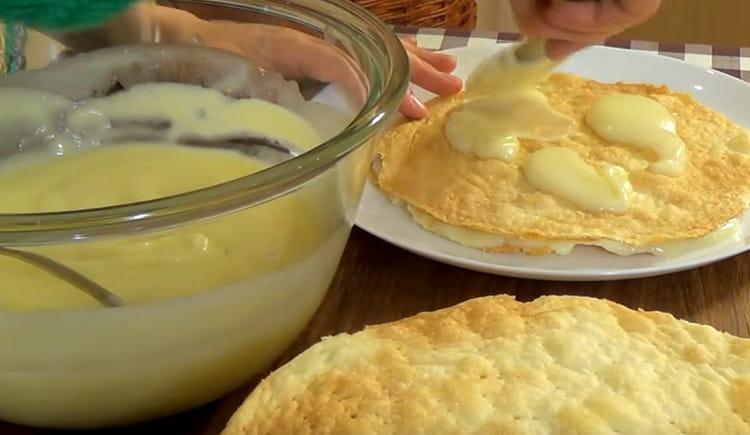
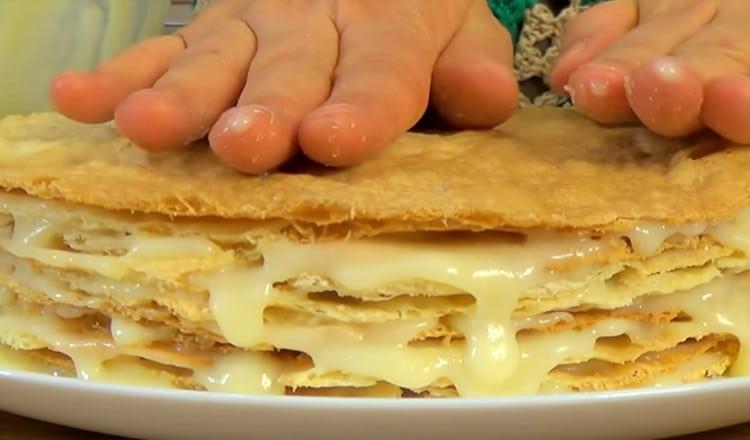
- We start with the fact that at the bottom of the dish, in which we will form a cake, lay out 1 tbsp. l cream, on top of the first cake. Distribute on it 3 tbsp. l cream.
- Cover with the following cake. It is very convenient to distribute the cream over the cake with a silicone spatula.
- Thus, we coat with cream all the cakes. We press the cakes a little to each other so that they are better saturated. As a result, we collect the cake.
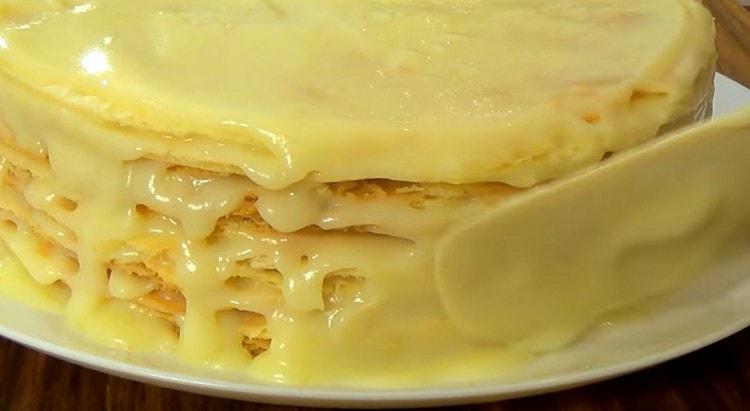
- Top and sides of the cake should be generously greased with the remaining cream.
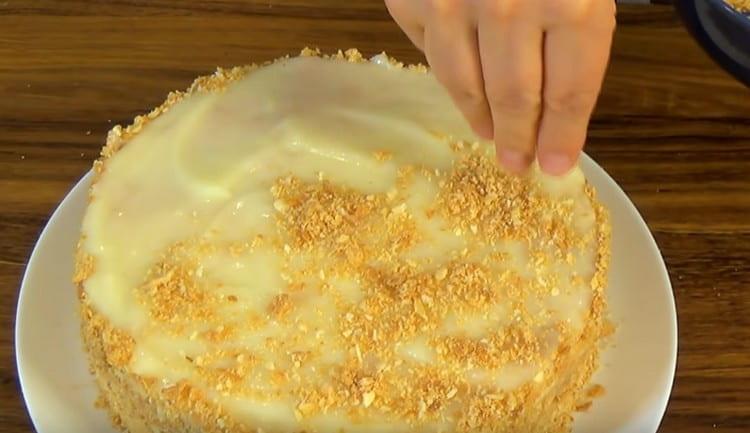
- Let's prepare the sprinkles for the cake. In the food bag with a fastener we place the scraps from the cakes and roll out the rolling pin into medium-sized crumbs.
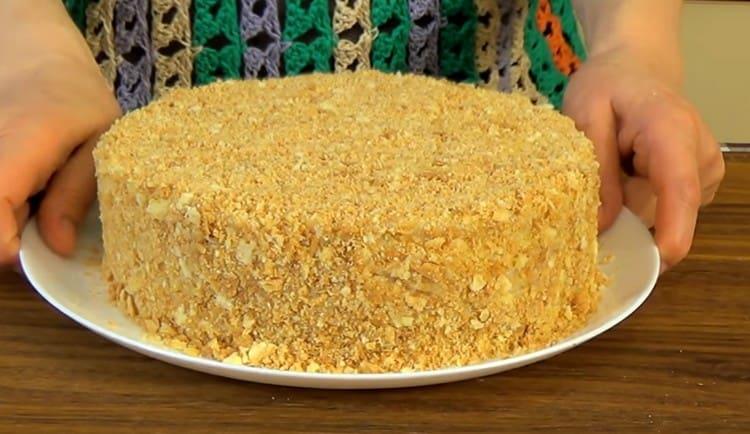
- Carefully sprinkle the sides and top of the cake with the resulting crumbs. The cake is ready!
- The finished cake should stand for 8 - 10 hours in the refrigerator so that it is well saturated and soft. Enjoy your meal!

Video recipe
In the proposed video recipe, you can see in detail how to cook the most popular Napoleon cake, what ingredients were used, how to work with the dough, bake cakes, make a gentle cream and collect the cake. Enjoy watching!
If you liked the classic Napoleon cake, you want to share your cooking options, decorate the dessert, make additions, wishes, then be sure to leave your review in the comments below. Let this version of the cake bring you joy and taste pleasure!
Other cake recipes
Cake Anthill
Cake Prague in accordance with GOST
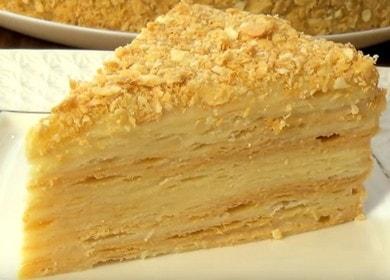
Classic Napoleon Cake
Honey cake in a slow cooker
Cake zebra on sour cream
Cake Prague in accordance with GOST
Classic Napoleon Cake
Honey cake in a slow cooker
Cake zebra on sour cream
Enjoy your meal!
