
Kitchen appliances and utensils: hob, pan with lid, dishcloth, jars with lids, knife, kitchen scale.
Ingredients
| Product | amount |
| Fresh plum | 2 kg |
Step cooking
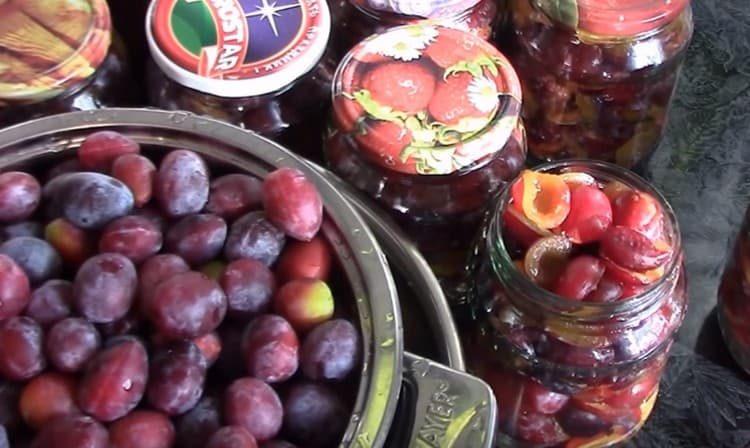
- Thoroughly wash two kilograms of fresh plum, cut each fruit in half and take out the seeds. I wash the floor liter glass jars and tightly fill with plums.

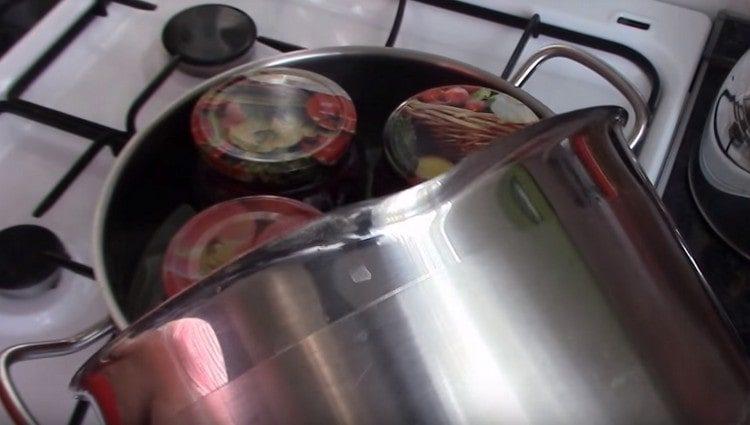
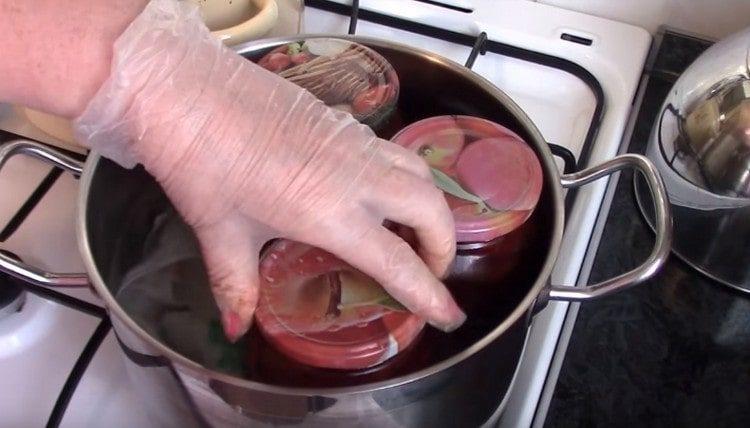
- At the bottom of a large pan we put a dishcloth and pour a liter of cold water. We put jars of plums in the pan and cover them with lids. It is better if there are lids that tighten.
- Add so much water to the pan so that it reaches the shoulders of the cans. We put the pan with banks on the stove and turn on the fire.
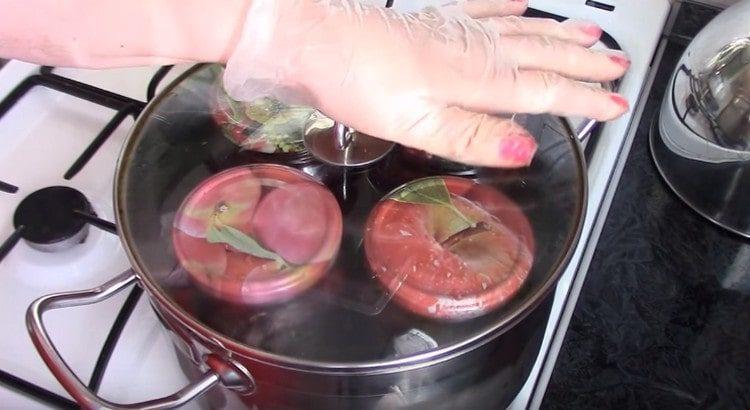
- We cover the pan with a lid and jam until the water boils. After boiling, sterilize for 20 minutes.
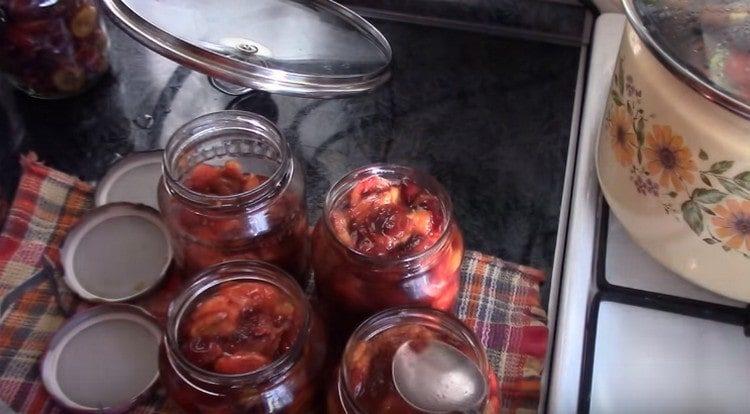
- After 20 minutes, remove the jars from the pan and transfer the plums from one jar to the rest. The fact is that the berry lets the juice and settles, so we fill all the banks to the top.
- Again, cover the remaining cans with lids and put in the pan. We sterilize for another 15 minutes and remove from the pan.
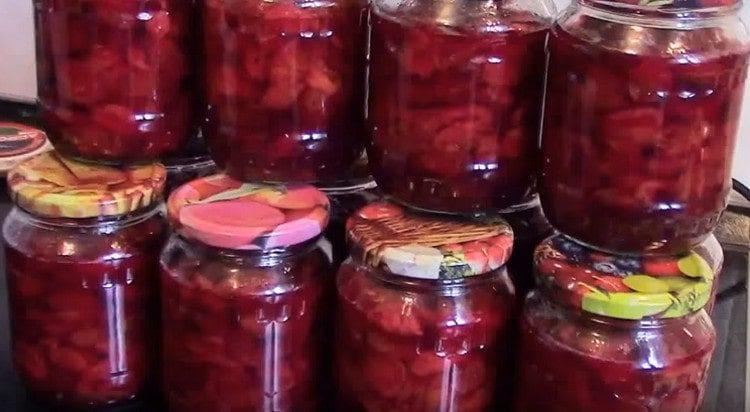
- Close tightly with lids, turn upside down, wrap with a blanket and leave to cool.

Decoration methods and serving options
- This recipe does not contain vinegar, sugar, salt or any other spices. This is done so that the workpiece can be used for different purposes, and not just in baking.
- If you want a specifically sweet preparation, you can add sugar syrup to it.
- Such a blank from plum can be stored for a year both at room temperature and in the refrigerator. If the can is open, then you need to store no more than a month in the refrigerator.
- Be sure to get rid of the seeds, this will help you avoid unnecessary trouble in the future when you are planning to cook something from this plum.
- It is not recommended to close the plums in large jars, as it is better stored in a small container.
- This treat can also be used to make jam. That is, it turns out something like a semi-finished product. Later it will be possible to open these plums and cook with sugar syrup.
Video recipe
In this video you will see a detailed process of preparing blanks for the winter from plums. Such cream can be used as a filling for baking, for sauces and much more.
Plums are a very healthy product that is recommended to be consumed all year round. But it is important to know how to properly close this berry in jars so that it retains a maximum of nutrients and taste. Therefore, be sure to read this recipe and try to recreate it in your kitchen. Do you make preparations for the winter? What fruits and berries do you cover? Would you like to try making a blank for this recipe? Tell us about your experience and opinions in the comments!
